
Running a family is no easy task. We know that we can’t be in ten places at once… but we certainly try. From picking up the carpool at soccer practice, to finishing up a science project and prepping dinner – our heads are left spinning at the end of the day! The last thing we want to worry about is wasting time searching for things as we rush out the door or a twisted ankle thanks to tripping over that pile of who-knows-what that has toppled over.
The added stress of keeping the house in order adds weight to an already heavy load on our shoulders. These family home organization pieces and tips will make your home management a breeze. The newfound structure will add some sanity to not only your space, but to your schedule as well.
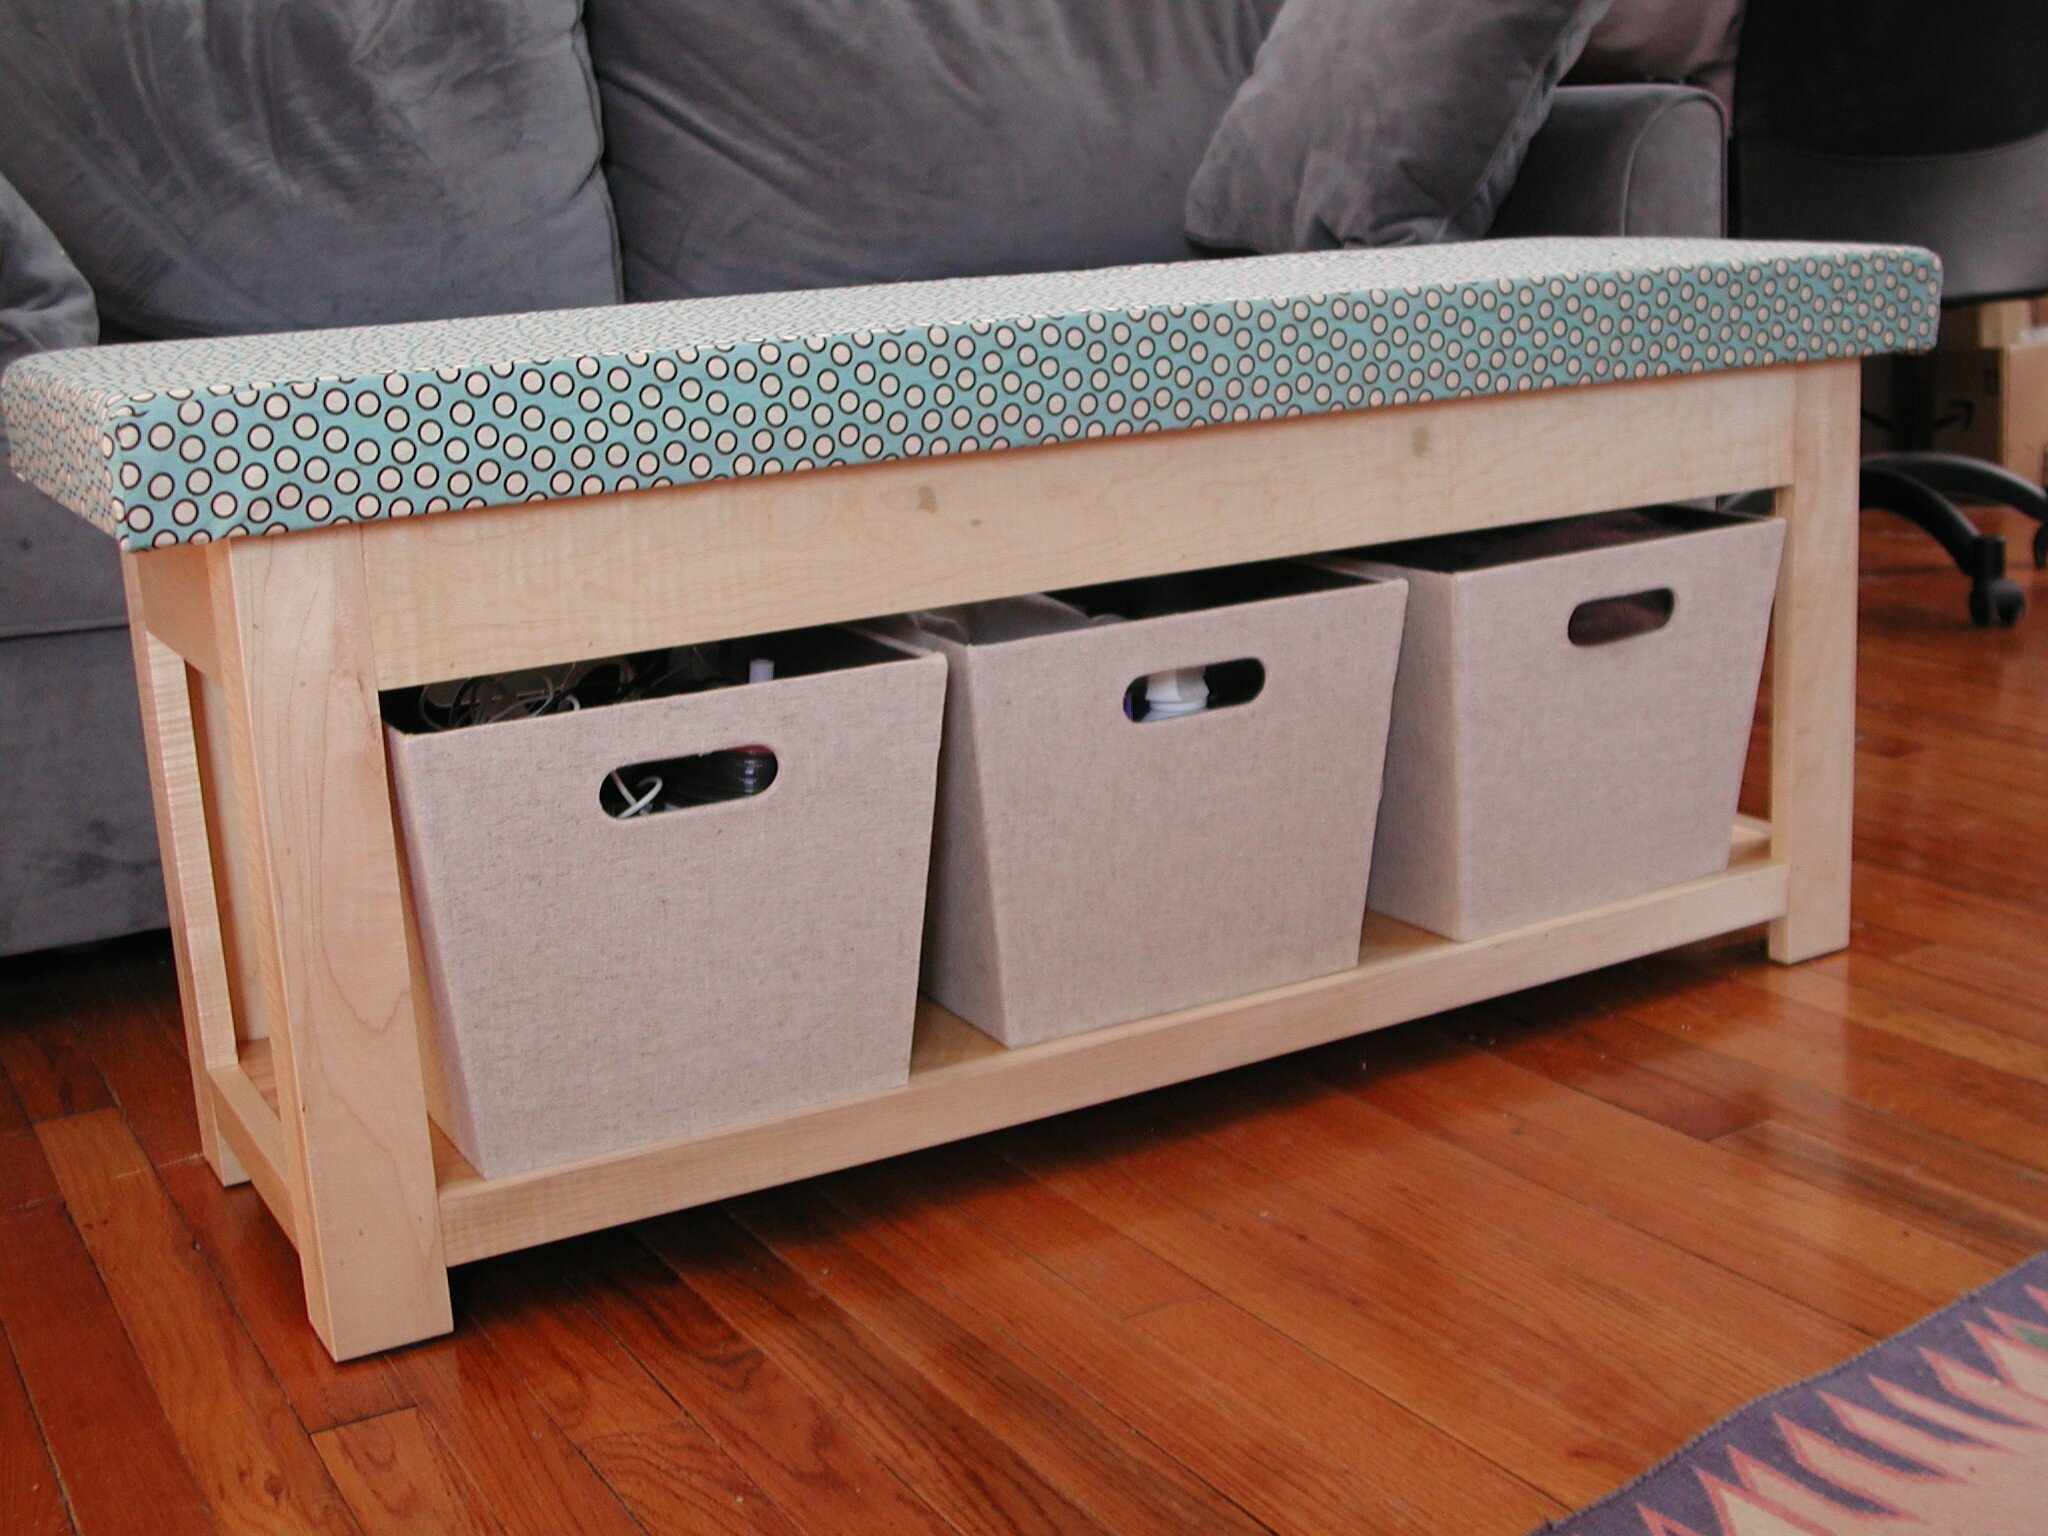
The best storage solutions are simple, yet strategic. The kids tend to play on the floor, so why have their toys stored far from here? Place fabric bins under the coffee table to organize superheroes, dolls, and videogames. These bins come in a variety of textures and colors to easily coordinate with your room’s décor. These bins also work well in the kids’ bedrooms for categorizing school supplies, toys, and clothes.
Extra tip: Looking for extra seating? Or maybe just somewhere to put up your feet? Tuck away the toys in a storage ottoman. These also work great in the living room for clearing clutter, such as remote controls, electronic wires, DVDs, and magazines. These storage solutions are easy access to ensure the kids to do their own tidying up that will only take a quick minute.
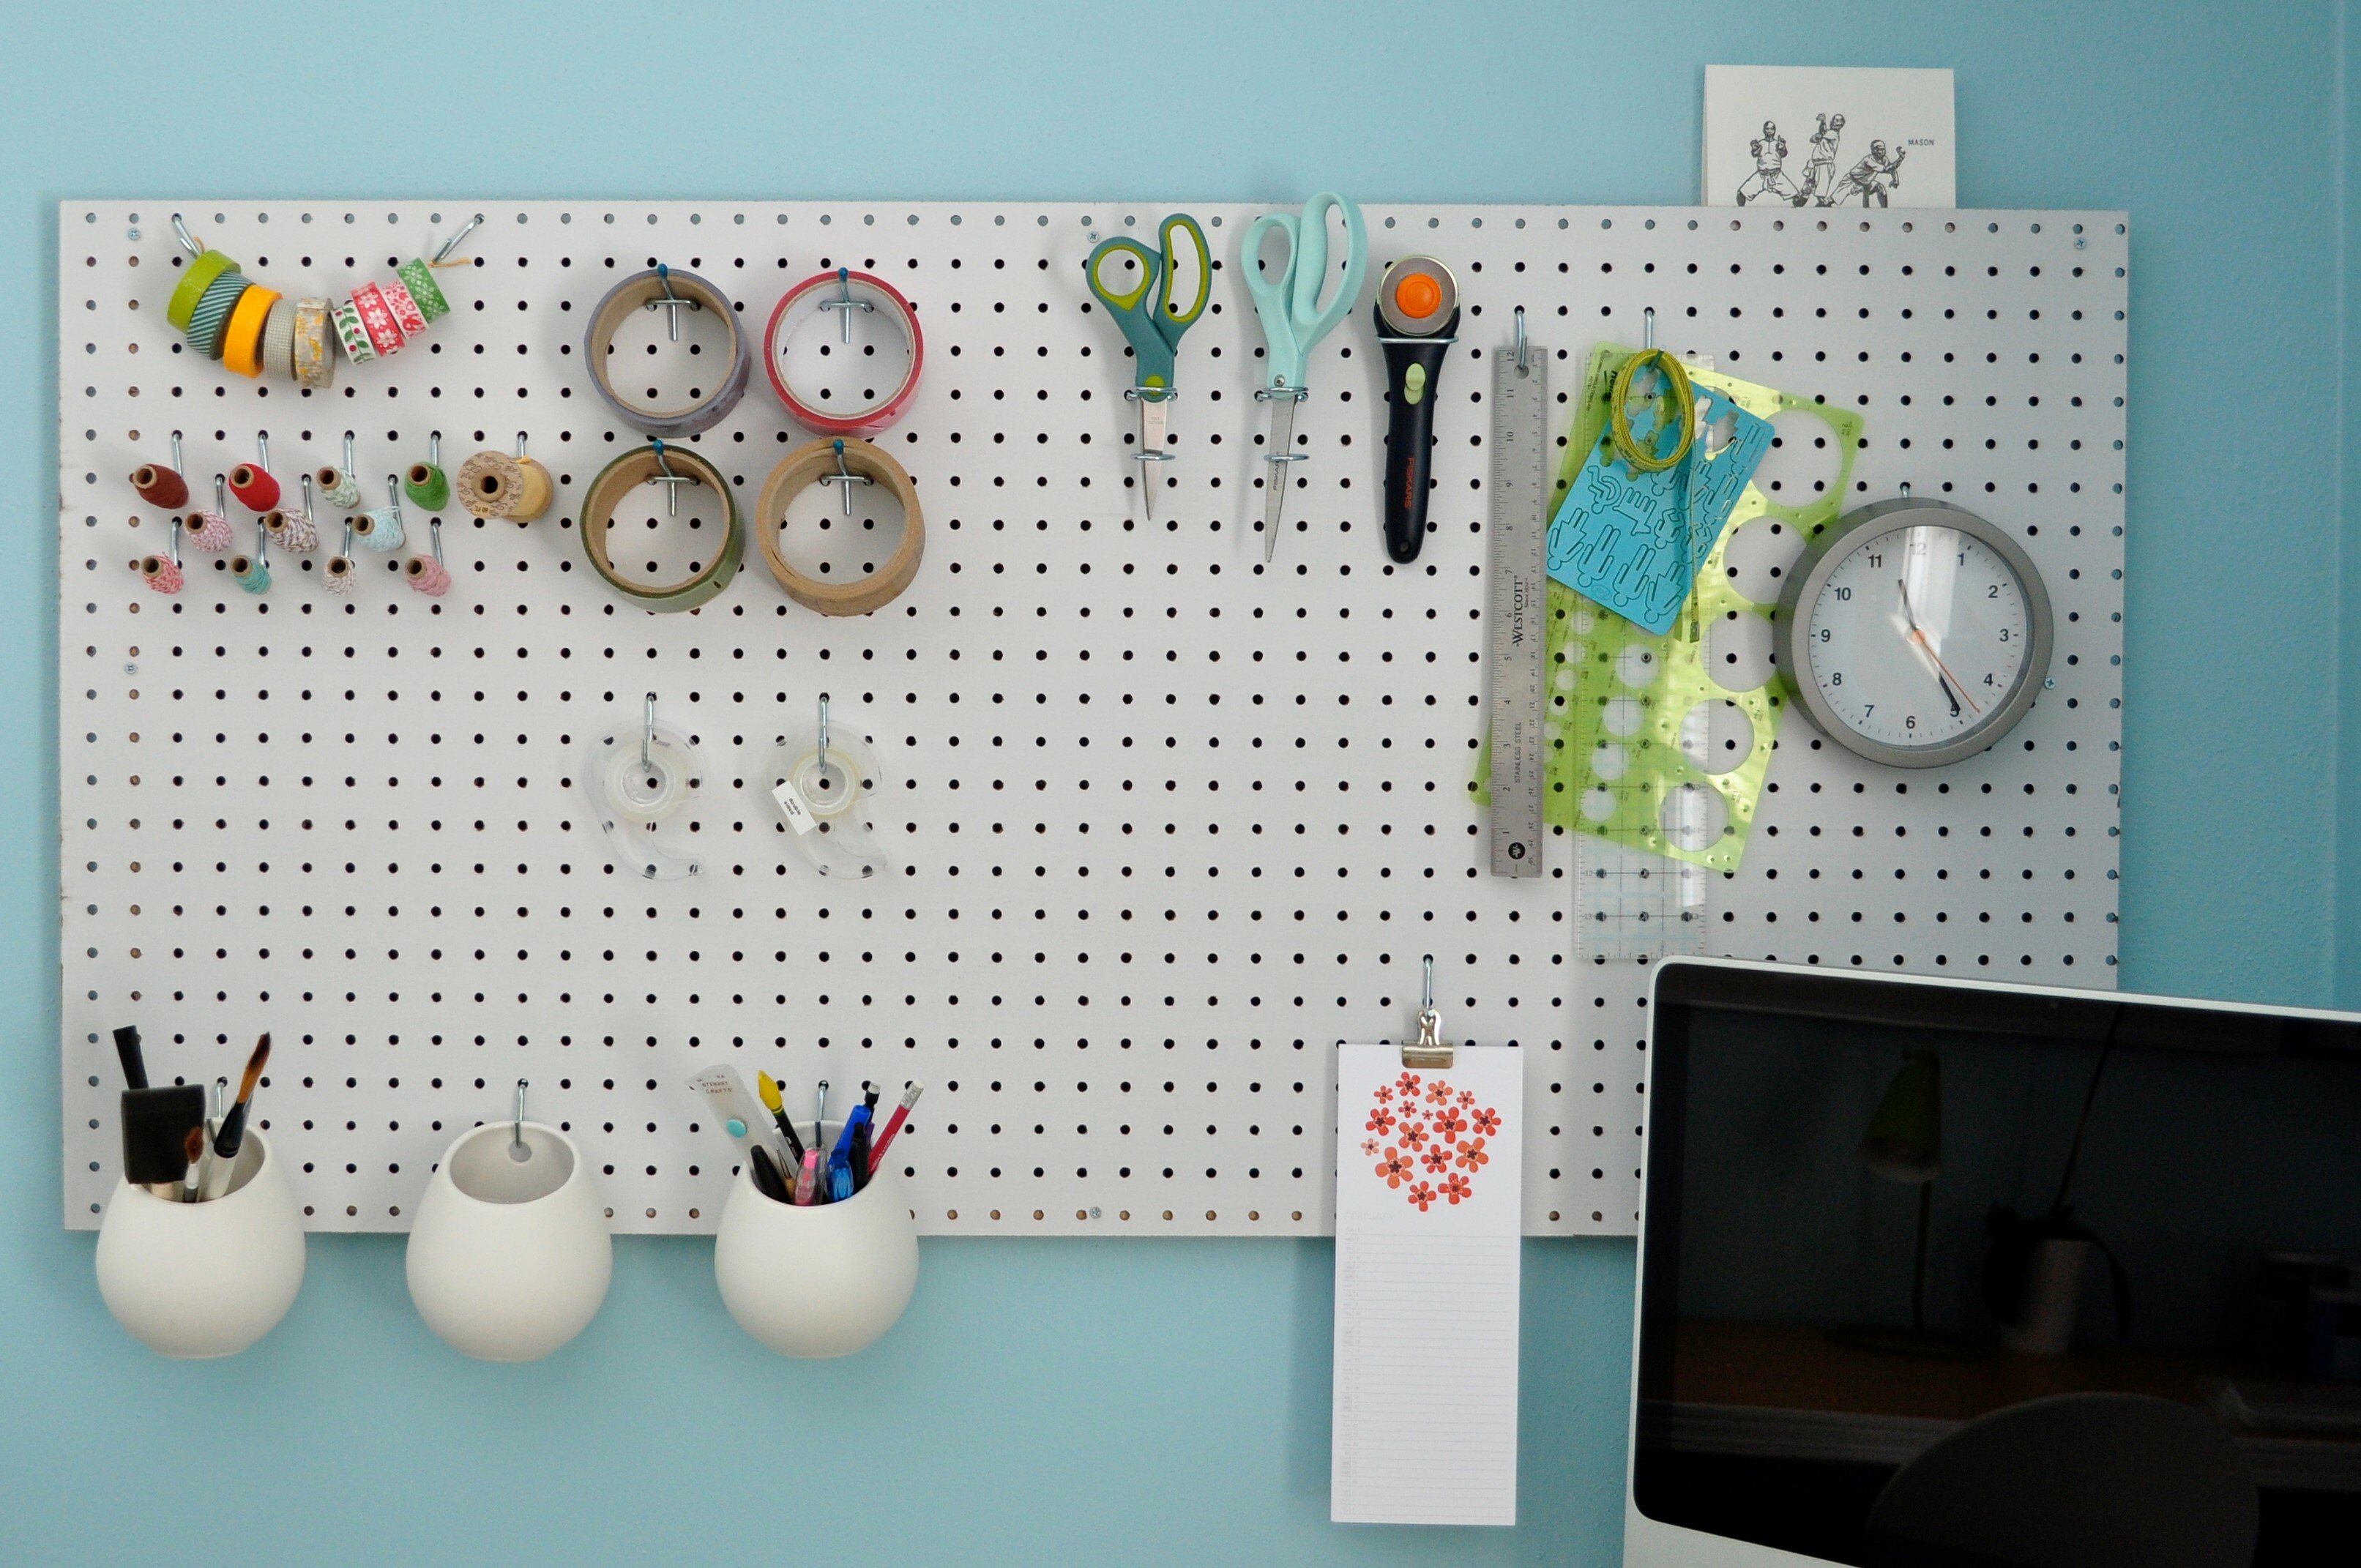
Arts and crafts make an inevitable mess, but this doesn’t mean that finding your favorite supplies should always cause a hassle. Organizing your craft corner will minimize clean up time and allow you to enjoy your time to paint and create without the stress of losing the scissors or a favorite set of watercolors. A clever way to create order in this area is by bringing in a pegboard. Hanging on the wall adjacent to a craft desk or table will maximize vertical storage and will put all of your favorite supplies within arm’s reach. Add hooks to hang scissors, paintbrushes, and yarn. Hang mini containers to the board to hold markers, pens, and pencils. Place rods horizontally and slide on ribbon, tape, yarn, or wrapping paper for a fun and functional display. Have a frenzy of fabric taking over your workspace? Vertical file organizers are perfect for finding that special fabric for your project. Just neatly fold the fabric around cardboard and file away to your wall display.
Safety for kids crafting is always a top priority. Store their special supplies in a clear, over the door shoe organizer. This way they can see what they need, reach with ease, and keep each item in its proper pocket!
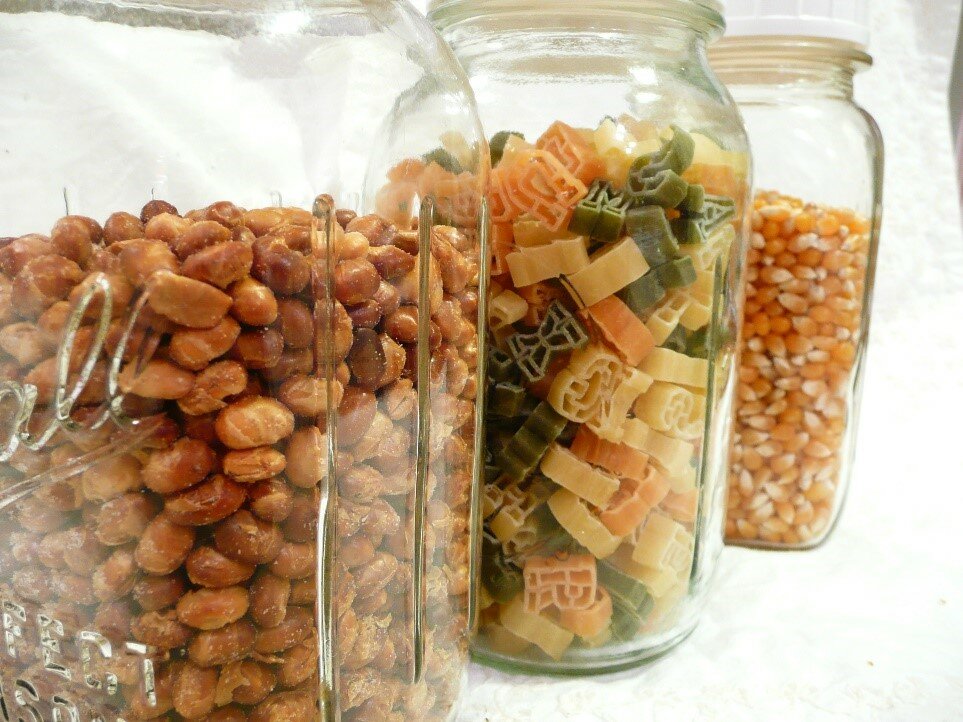
You’re halfway done cooking a meal and after rummaging through a disorderly pantry, you realize you’re out of one of the ingredients. Feeding a bunch of hungry mouths is stressful enough – don’t let the jumbled snacks, pastas, and spices get you steaming. Transparent jars are a life saver…and food saver, too. Placing pasta, rice, snacks, and cereals in clear containers will allow you to see what needs to be added to the grocery list, while keep your foods fresh. Afraid you’ll mistake the honey nut cheerios for the regular cheerios? Add chalkboard paint decals to the jars so you can label and re-label what each one contains. These label decals can also be added to bins for the kids’ snacks. Prevent disorder by categorizing them. For example, place bagged chips in one labeled bin and snack bars in another.
Place similar ingredients near one another. This way you can see if you have all of the ingredients before you get started and they are ready to go –no searching required. Don’t put the spaghetti sauce next to the baking sprinkles! Put all your baking needs on one shelf, your Italian dinner ingredients on another, and taco night’s necessities on another. These simple solutions will reduce the burden of cooking and might even get you enjoying it on even the toughest days.
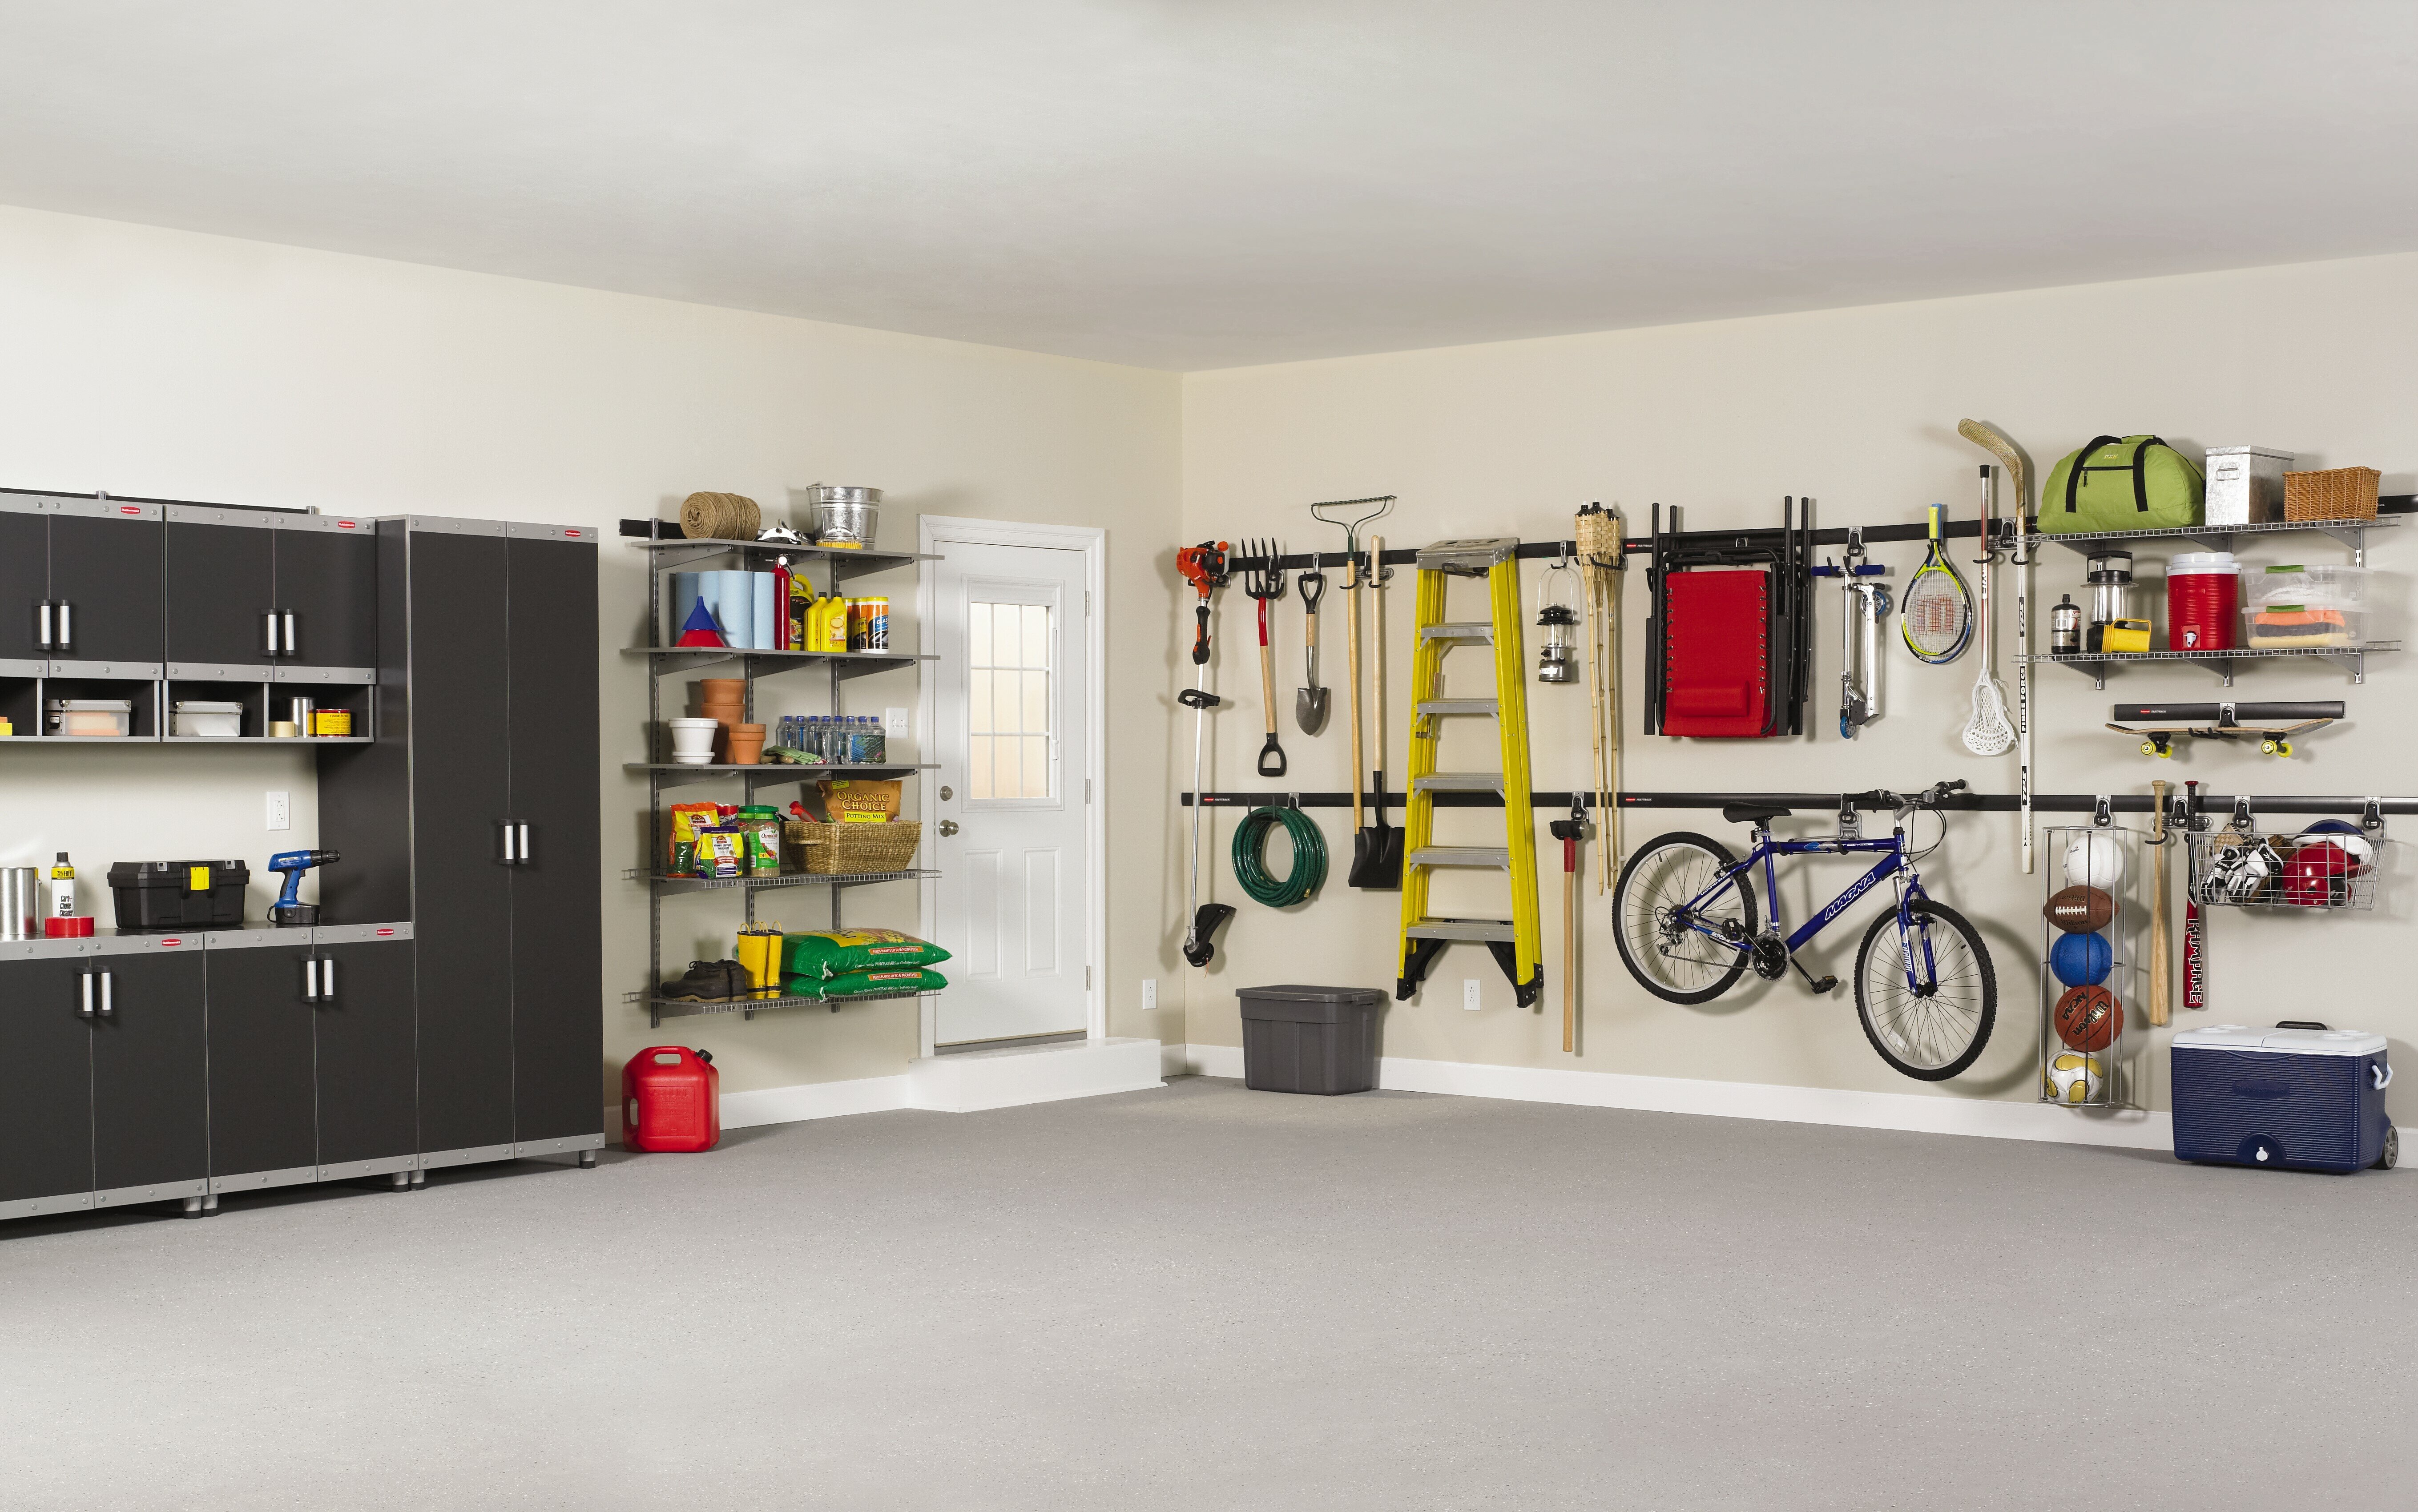
The garage can be a dark and dim place – but it doesn’t have to be scary! The key to a fright-free garage is getting loose items off the floor, like baseballs and repair tools that can roll under the car or get someone easily injured if left out to bump into. Make use of the walls for your storage needs. Bring in cabinets to keep clutter clear of dust and dirt and to maintain organization.
The kids’ sports equipment always tends to be missing, especially when running late for practice or a game. Keep all of their sporting stuff together by creating cubbies for each. Hang bat bags, place balls in bins, and store cleats where you’ll always know they’ll be.
Steven Athea is the co-founder of Modani, a contemporary furniture store with locations across the U.S. Steven has a degree in Design and Architecture from The Architecture School of Antibes in France.


