Today’s post is from Olivia @ DIY Mother! Thank you so much for crafting and posting Olivia!
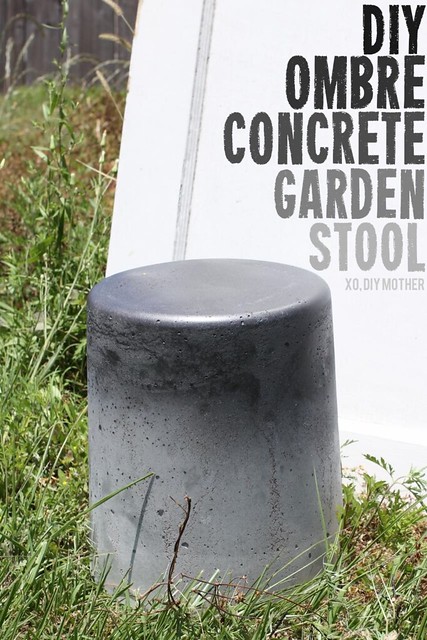
When Chelsea from The Paper Mama made this concrete stool for BHG, I was blown away. I love the simplicity of the concrete and the glam of the gold paint. Of course I had to try it for myself…and possibly do it better.
Spoiler alert: I did NOT do it better. I had never worked with this amount of concrete before, and it was an experience I won’t soon forget.
I’ve been working with concrete for a few weeks now, and after 5 or 6 little projects, I started to get comfortable with the medium. I think a big unwritten rule in DIY is to never get too comfortable! When you start getting cocky, you start getting sloppy.
Which brings me to my point: this project only took me an hour and a half to do, but the cuts on my hands lasted a week! Invest in real tools for real building materials, people! Don’t be like me and think you can use a random tool to mix concrete.
Now that my cautionary tale is out of the way, allow me to guide you through my process and give you some helpful, real life tips along the way. Check out more of my projects over at DIY Mother!
Materials:
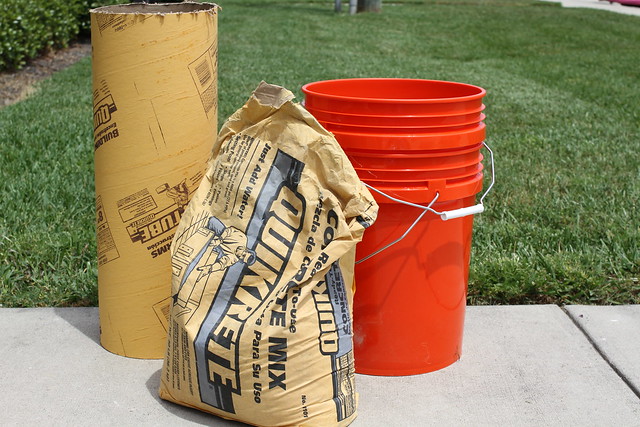
Quikrete concrete mix
*Concrete tube
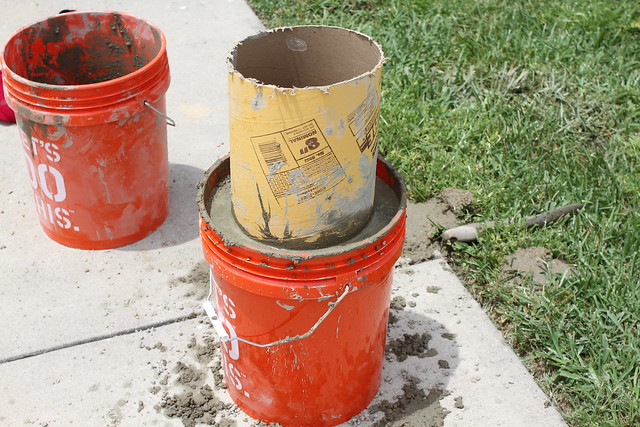
2 Homer buckets (one for mixing and one for the mold)
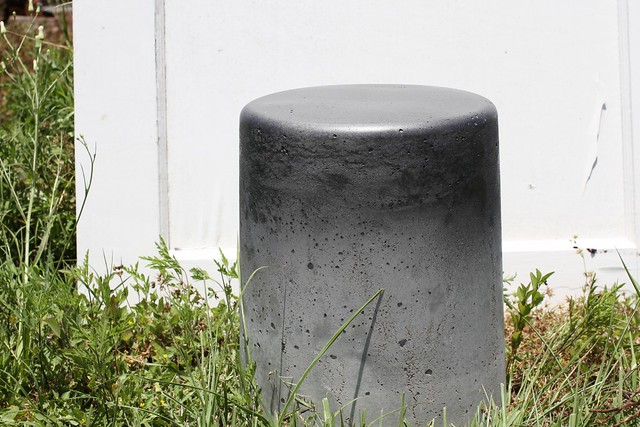
Rustoleum Universal in Dark Steel (it has a beautiful shimmer that really shines in the sun)
*I purchased a tube that was a little too long for this project, so I just cut it in half with a handsaw. I figure I can use the other half for something else down the road.
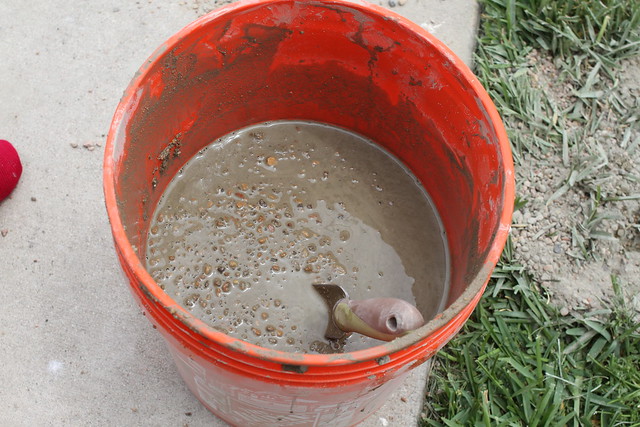
1. I used almost all 60 pounds of the Quikrete mix, so buy at least one 60-lb. bag. Mix it with water until the consistency is like pancake batter. You’ll want to use a long tool for the mixing; anything will do, as long as it’s long and has some kind of attachment at the end.
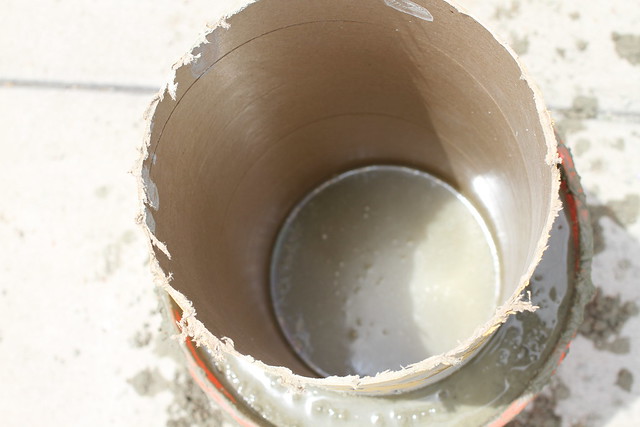
2. Pour the mix into your second bucket, a little less than halfway. Stick the concrete tube in and continue to pour the mix around the tube.
3. Let the concrete cure. Since you’re using a large amount, you’ll want to leave it out for at least 2 days. I left mine out for 3 days just to make sure; also, if your mix is on the watery side, be sure to leave it out longer. It takes longer for watery concrete to cure.
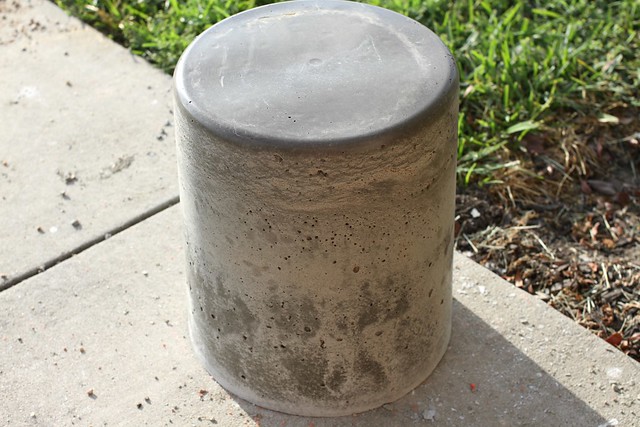
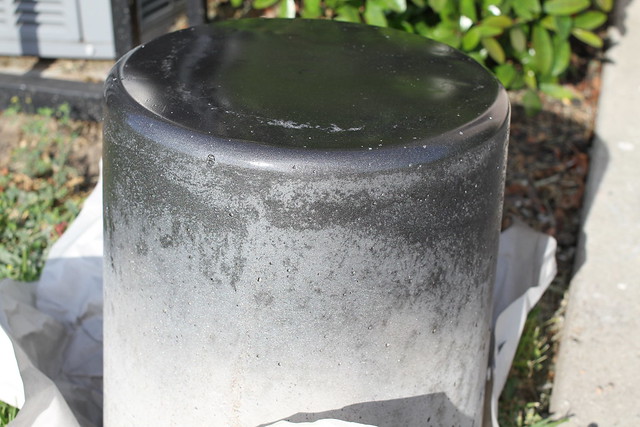
4. To take the stool out of the mold, hit the bucket with a mallet or hammer all around. This should un-stick the concrete from the plastic. I had to cut the concrete tubing with my handsaw and pull it out. My stool was darker on top, and I really liked the look of it so I decided to “enhance” it by spraying it with some spray paint that had some shimmer.
The shimmer/glitter in the spray paint looks gorgeous in the sun. You can’t really see it in the pictures, but it really shines beautifully when the sun is out.
Thanks Olivia!! Make sure to go check out more projects at DIY Mother.
Do you want to guest post on Ladybug Blessings? Send me an email: .