01-17-2011

Handmade Tuesdays [Handmade Pact]

So I hope everyone had an excellent weekend. I had a friend in from Australia and got to play Nashville tourist and had a blast! (Hence my lack of posting!) This week’s Handmade Tuesdays tutorial is a little different in I have never had a food tutorial AND I have never done the tutorial myself. But I am currently obsessed with sushi and wanted to show you how to make your own at home! I do not have any fancy tools, or even the “required” mat. So it can be done with absolutely no supplies other than the food. Enjoy!


First you need to gather your supplies. They sell them at most grocery stores. You may either be able to find them in the International aisle or in the seafood section where they sell the sushi.
Supplies

  • sushi rice- it is a certain kind of rice. It is not as long as other types of rice.
  • Rice vinegar- Do not use regular vinegar. Not the same thing!
  • Seaweed aka nori- this comes in sheets
  • Fillings- I use crab, avocado and I would have used cucumbers if I would have had some.


Start by making and seasoning your rice. Cook the rice according to the instructions and then add the vinegar when it is still hot.
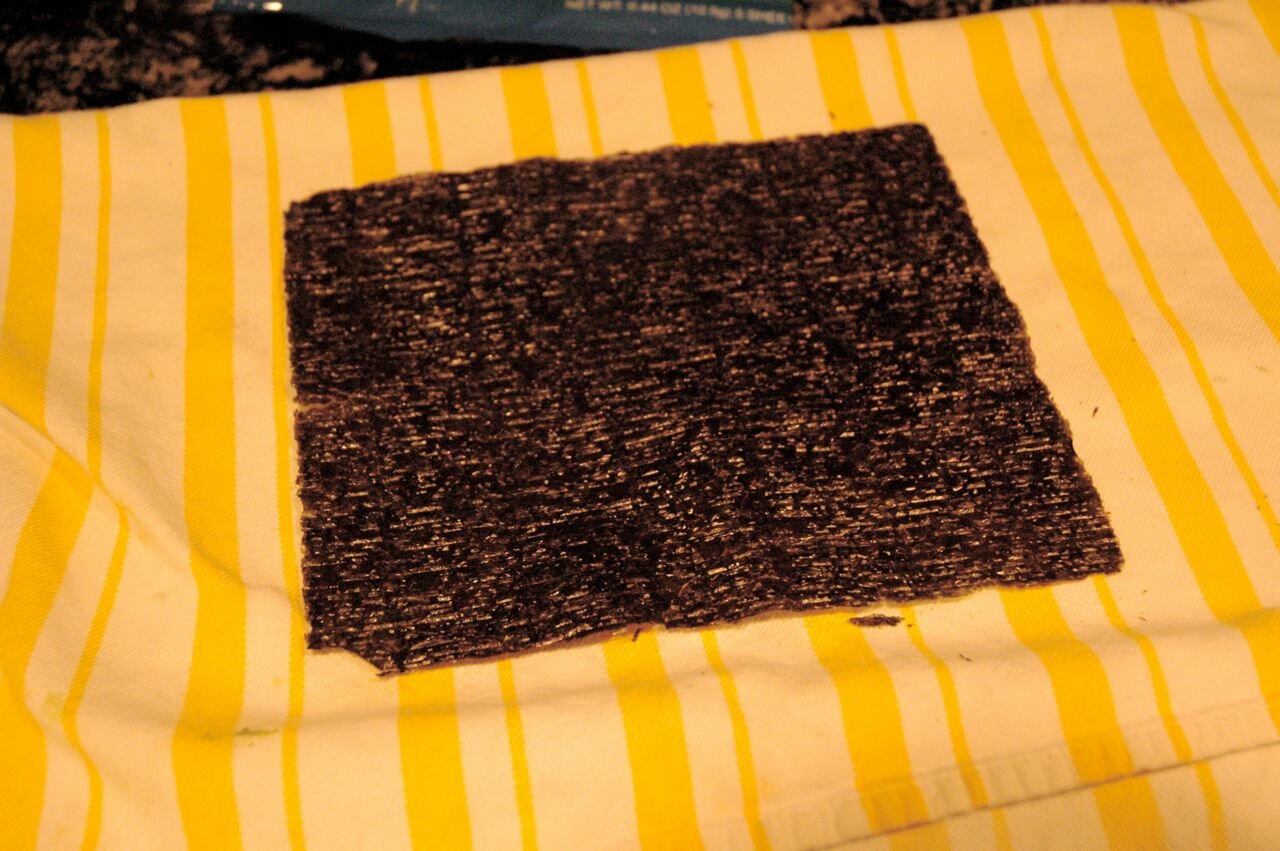

Take your nori and make sure you place it rough side up. You will definitely be able to tell which side is the rough side.
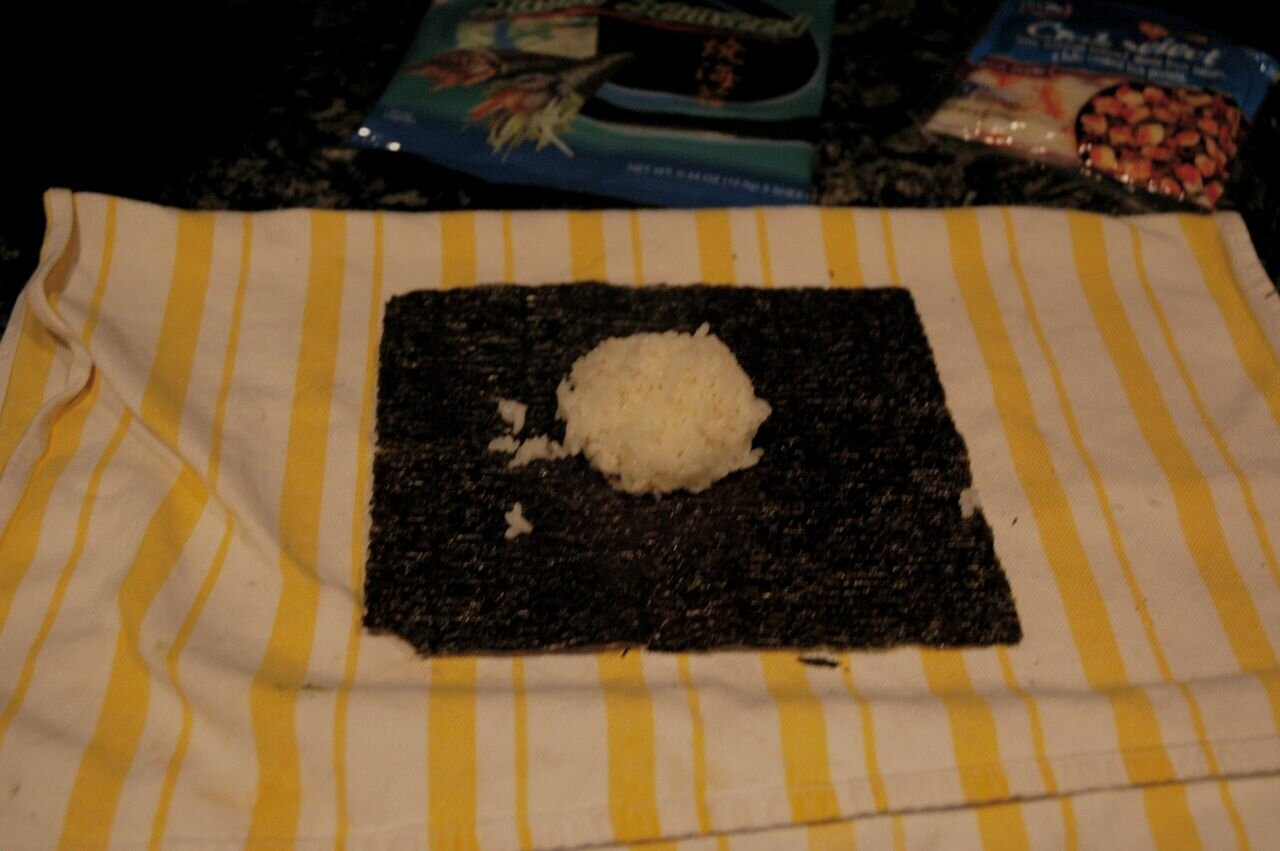

Now make sure to get your hands a little wet (the rice is very sticky) and place a rice ball in the middle of the seaweed. I will warn you that I really like the rice so I tend to use a lot more than necessary (you will see this at the end :)
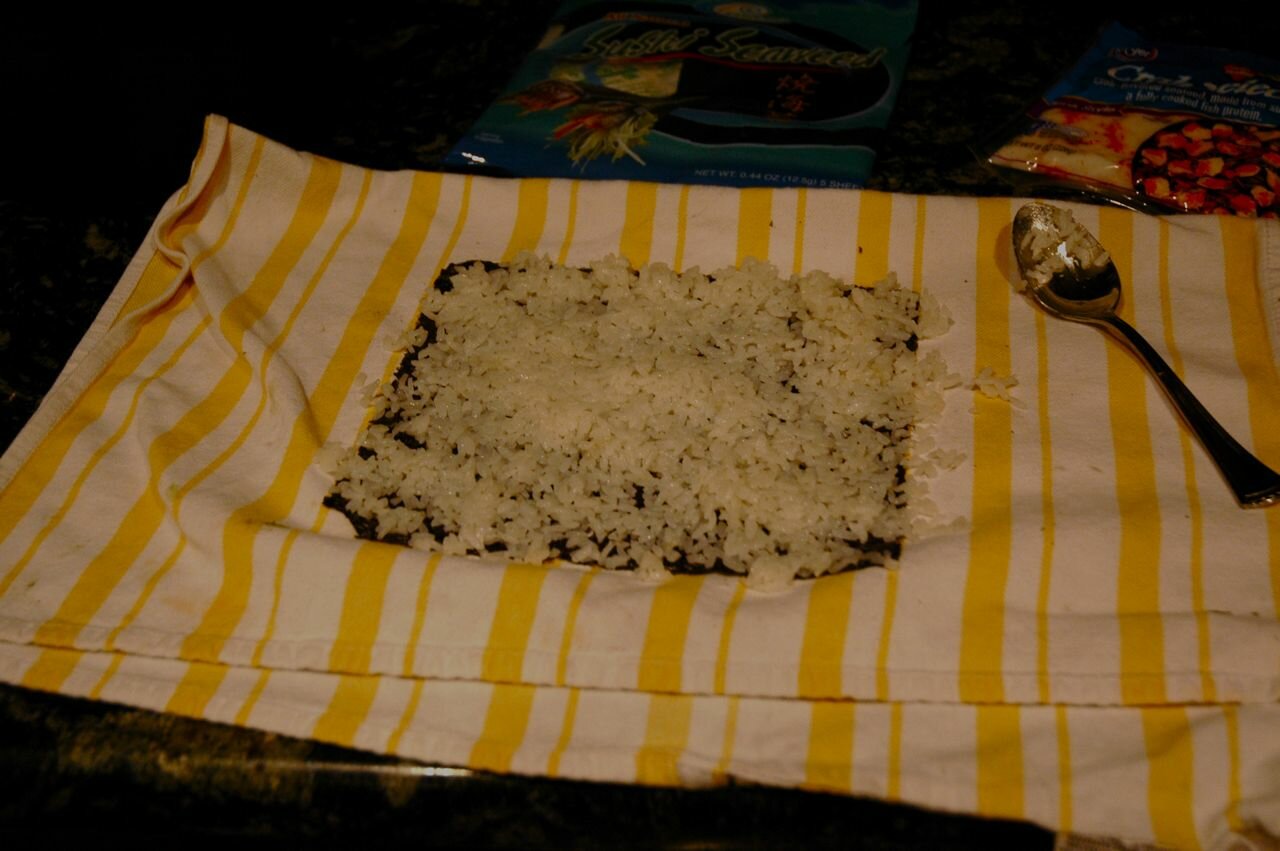

Spread the rice out on the nori. Like I said, I like LOTS of rice, so you do not need to use as much rice.
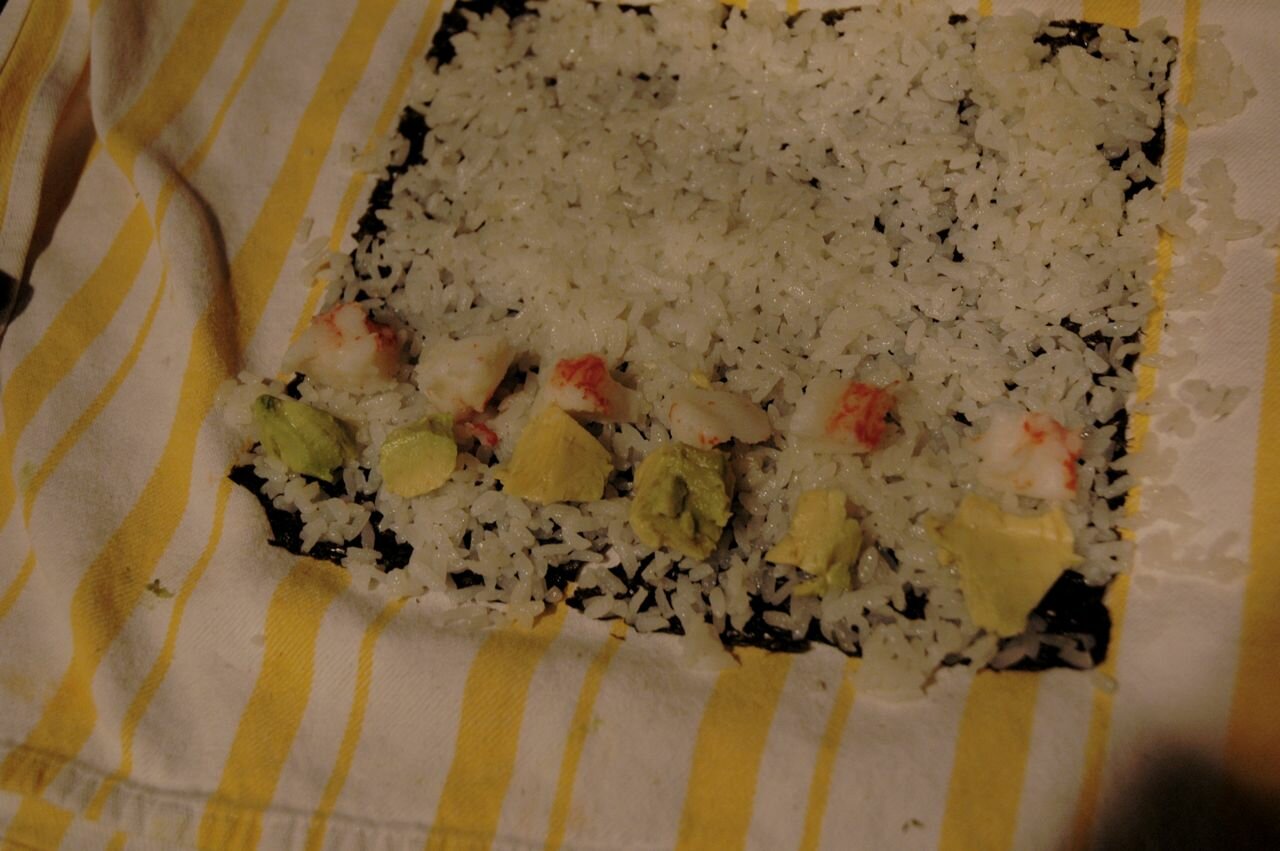

Now place your toppings on top of the rice. I like to space mine out within each piece but you can also spread it out across the whole roll and then just cut through it when you are cutting your pieces.
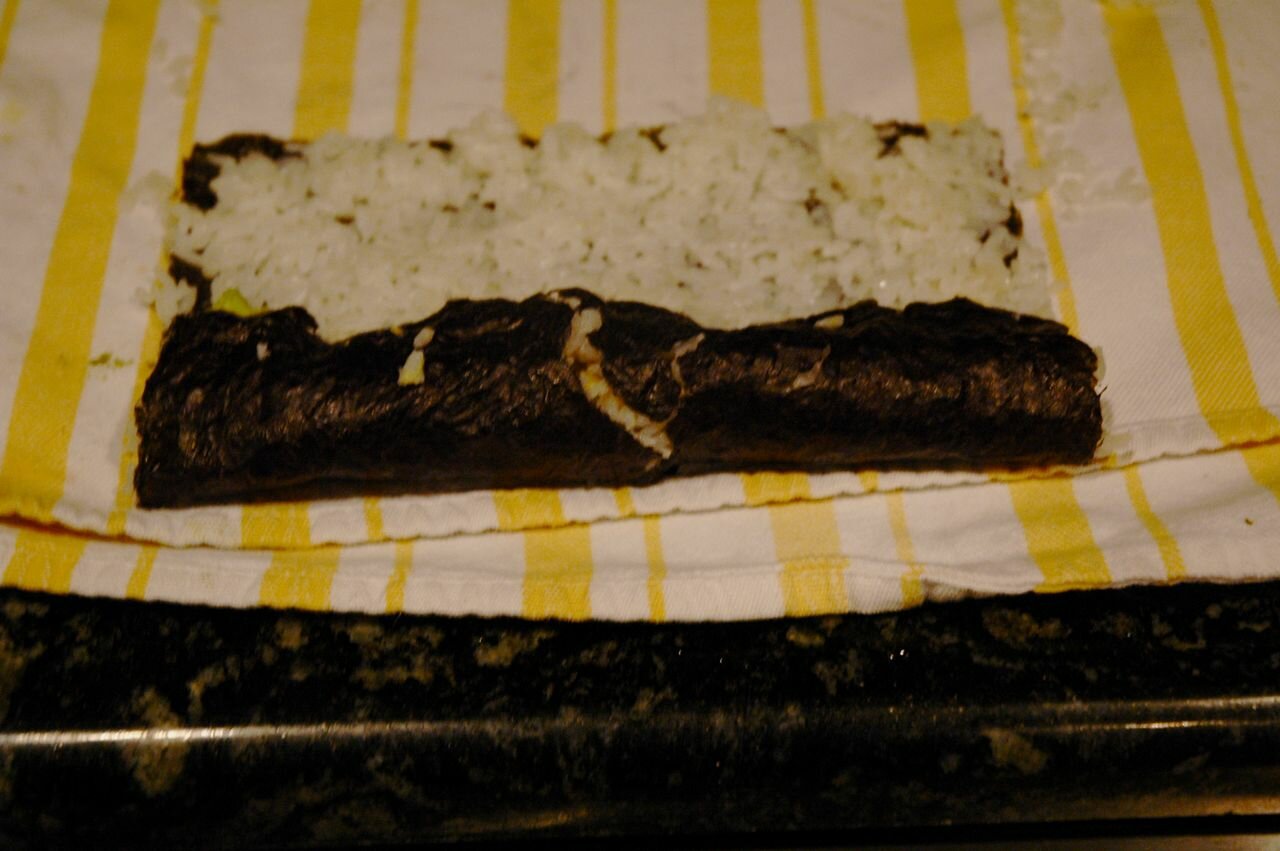

To begin your roll life up the end and bring it over to form a small roll. Make sure the sushi is at the end of the towel so you can roll it over.
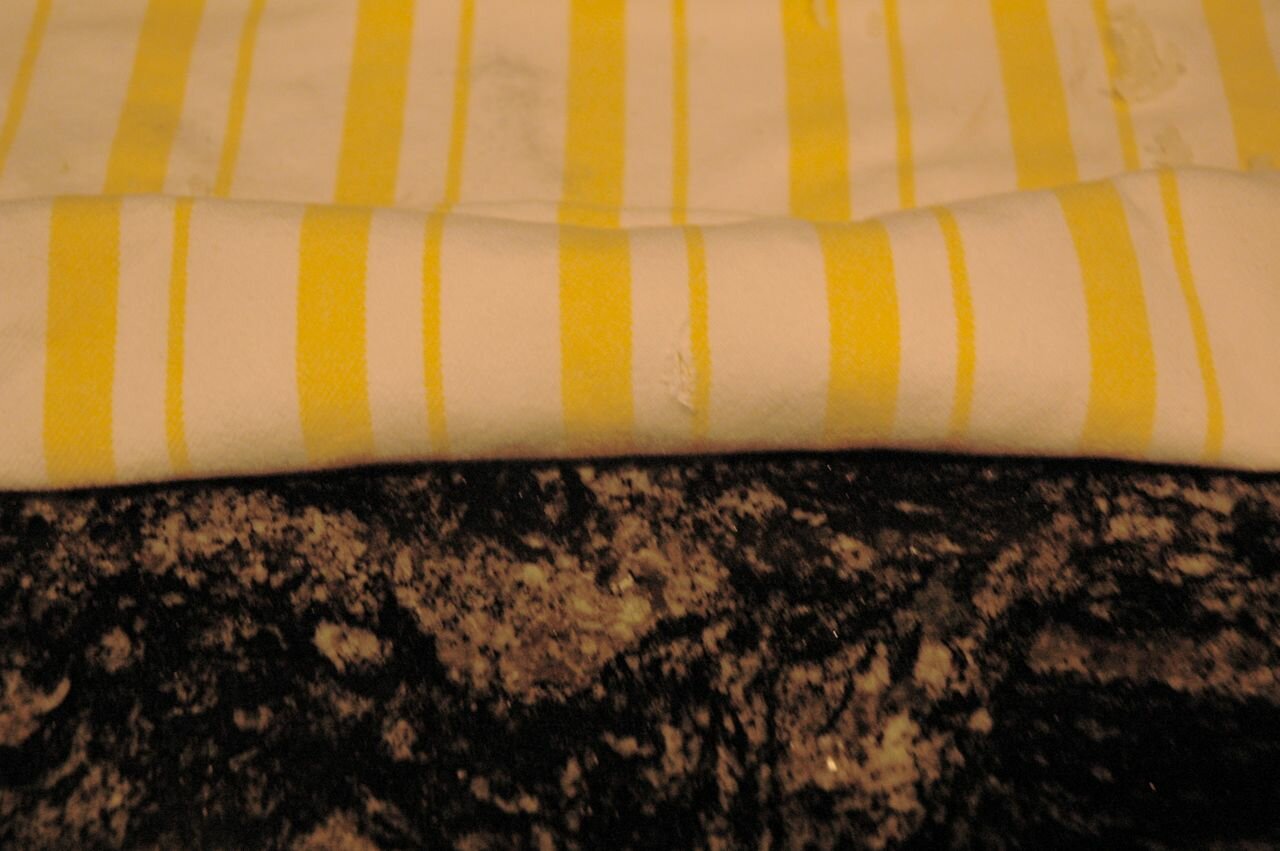

Hold the towel and roll it as tight as you can.
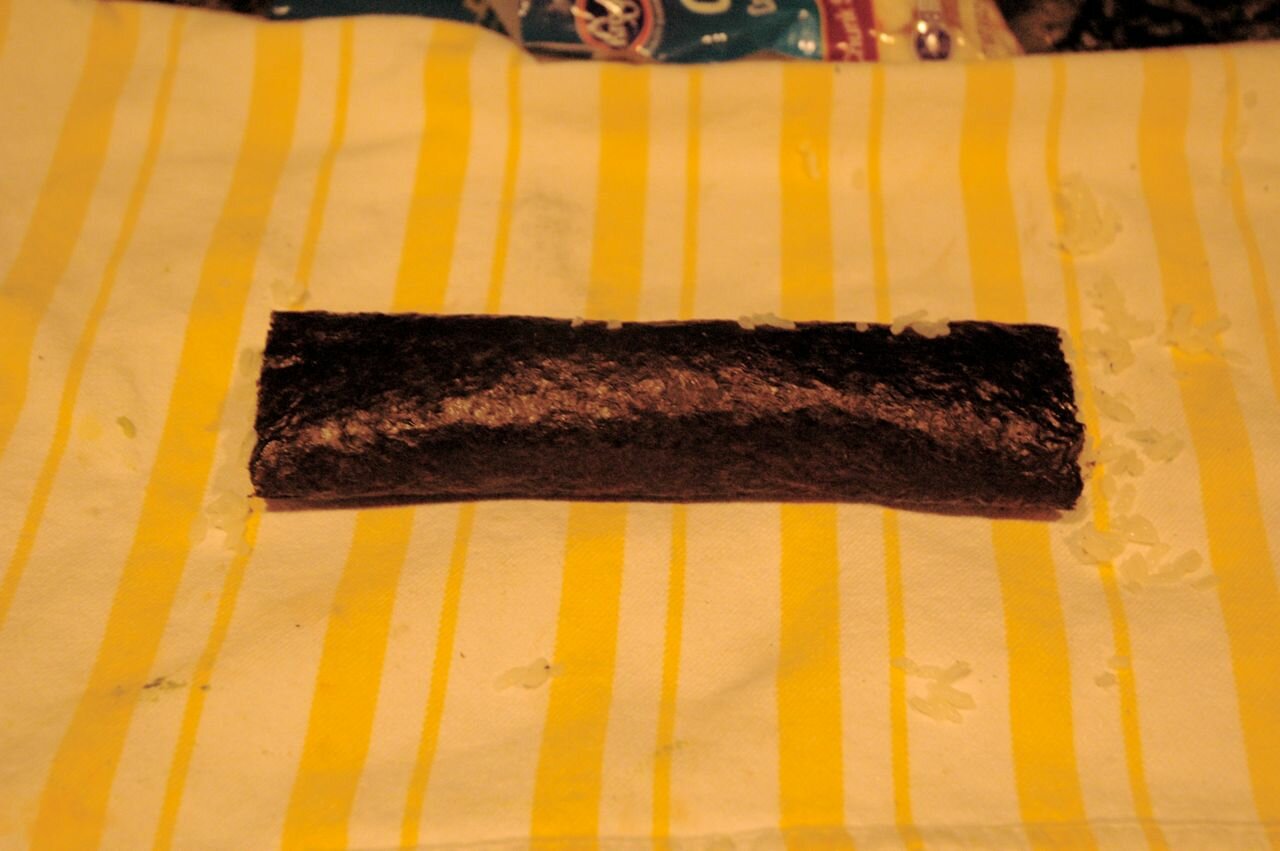

When you are done it will look like this. Nice and tight and rolled up. Now, you can stop here but I like inside out sushi where there is rice on the outside too.
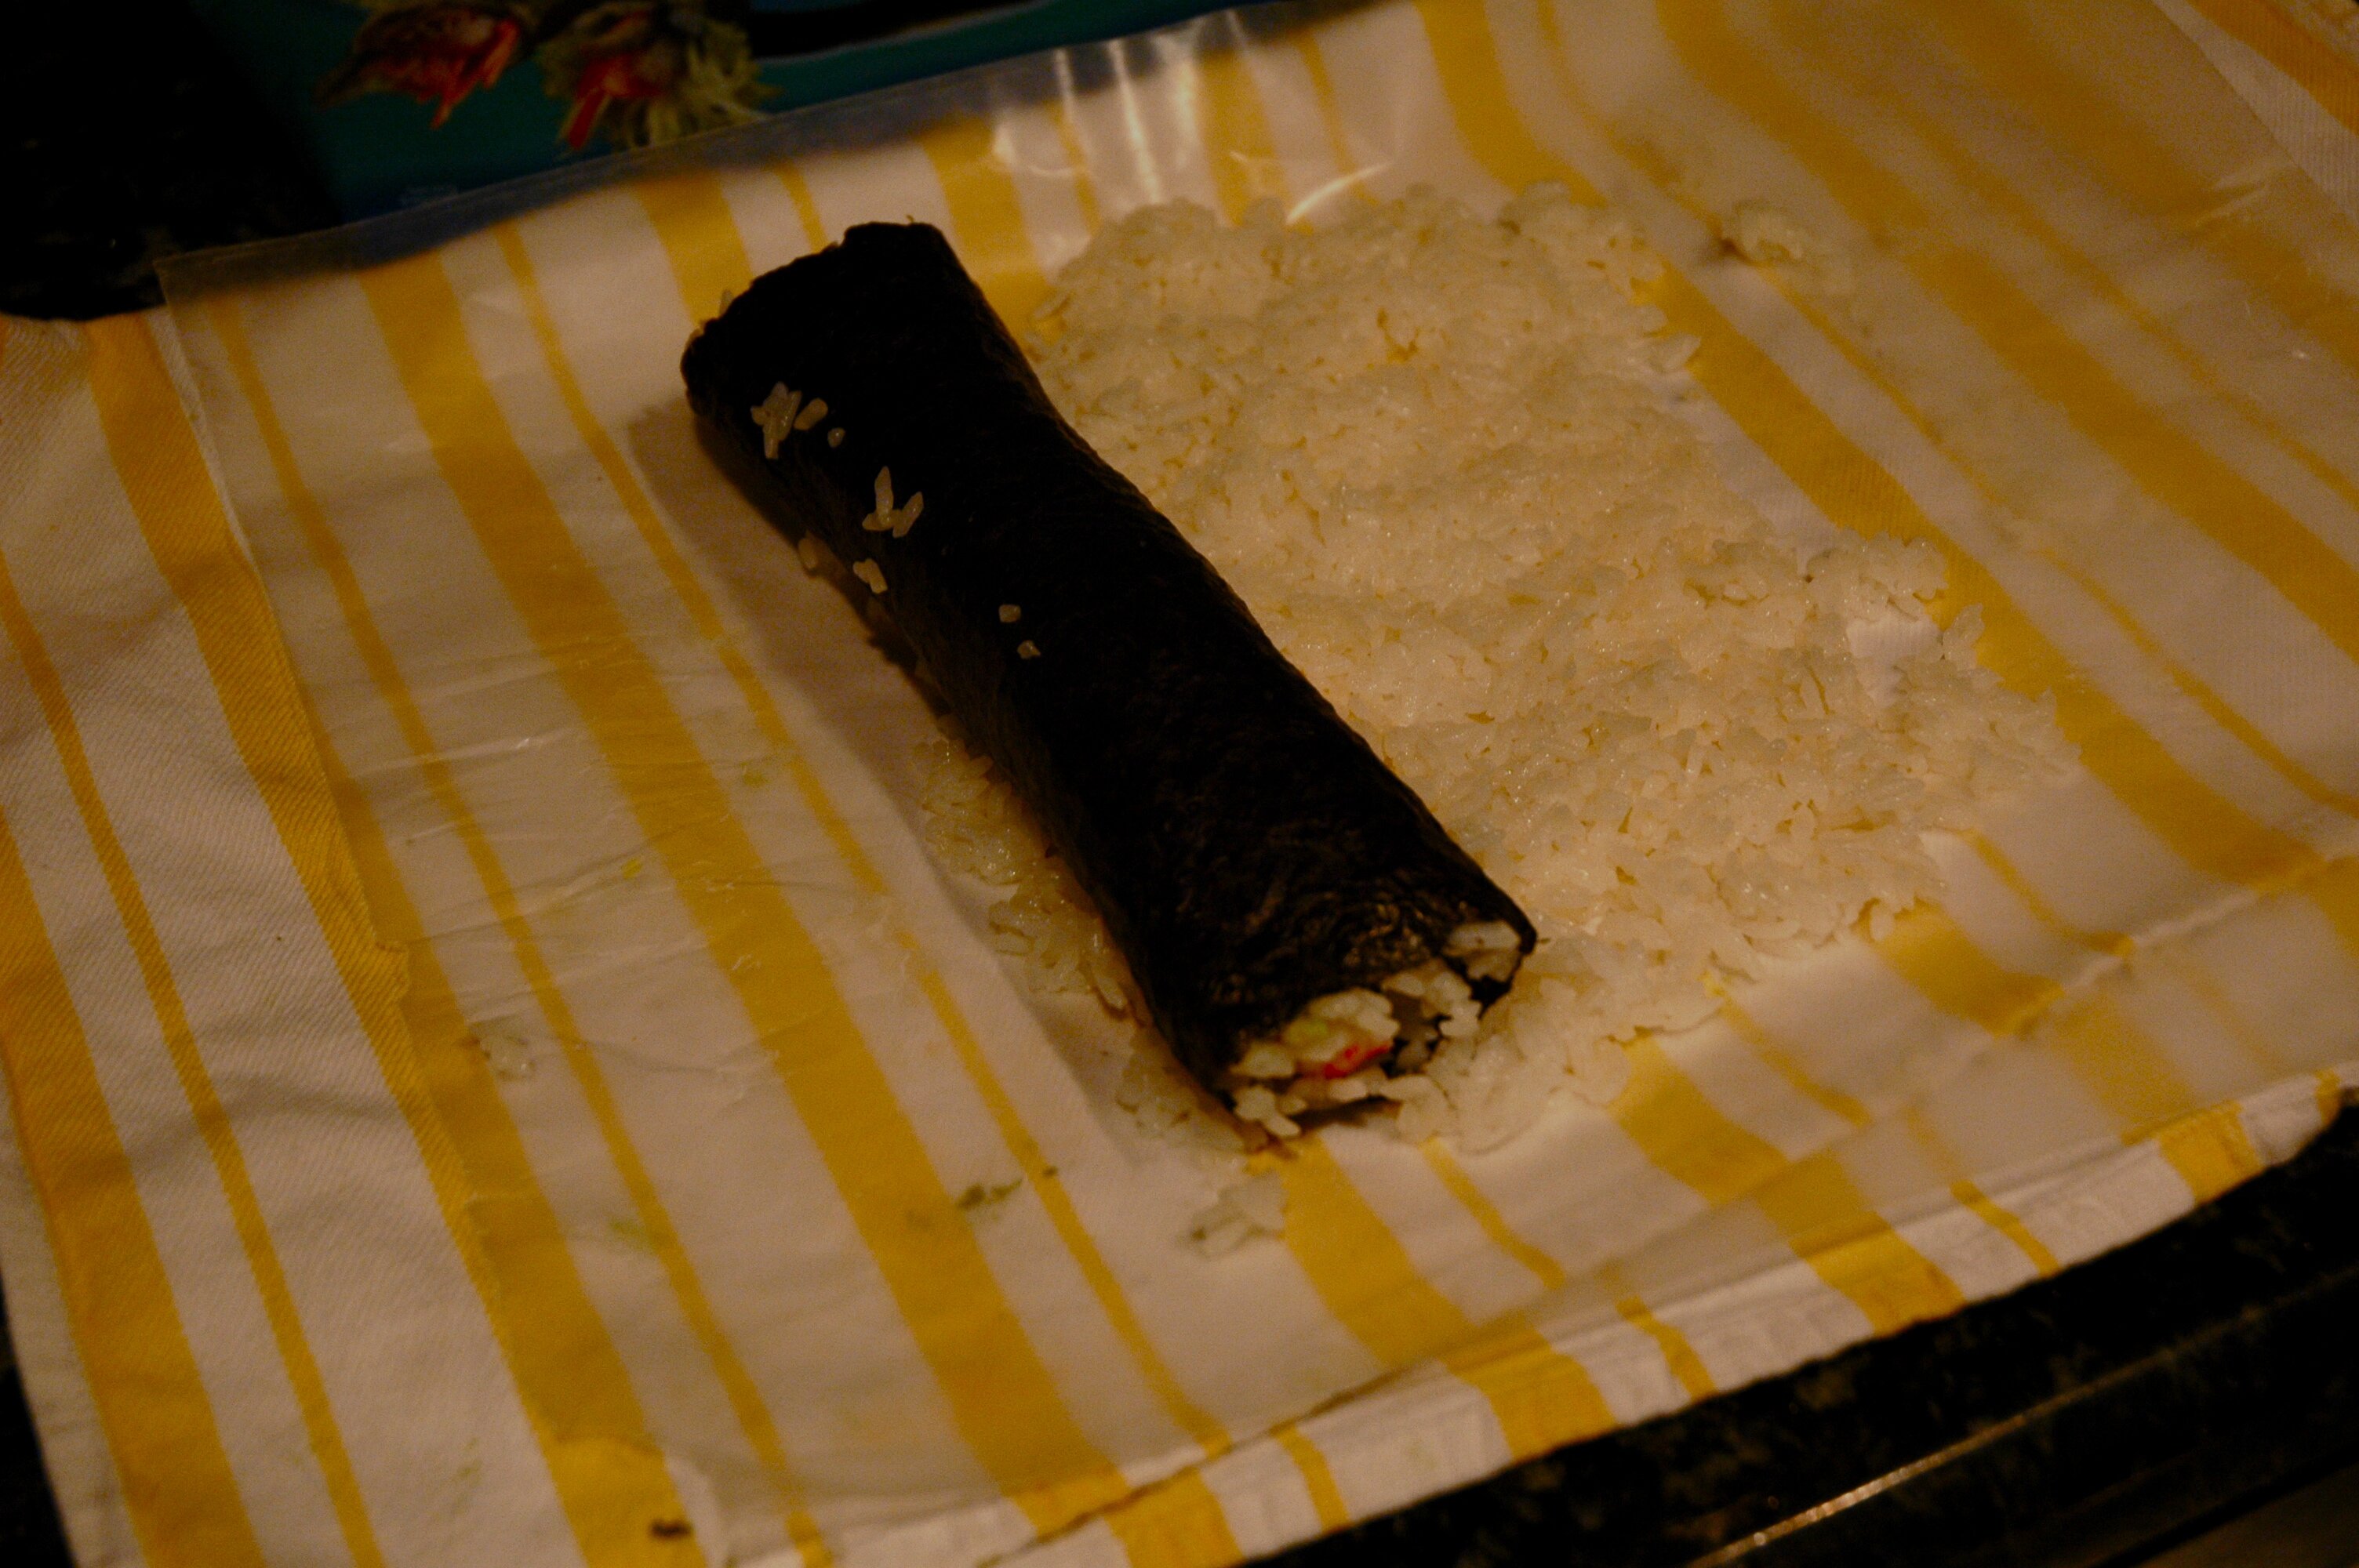

I use wax paper and spread out enough to roll around the entire sushi roll. I then place the roll at the edge of the rice.
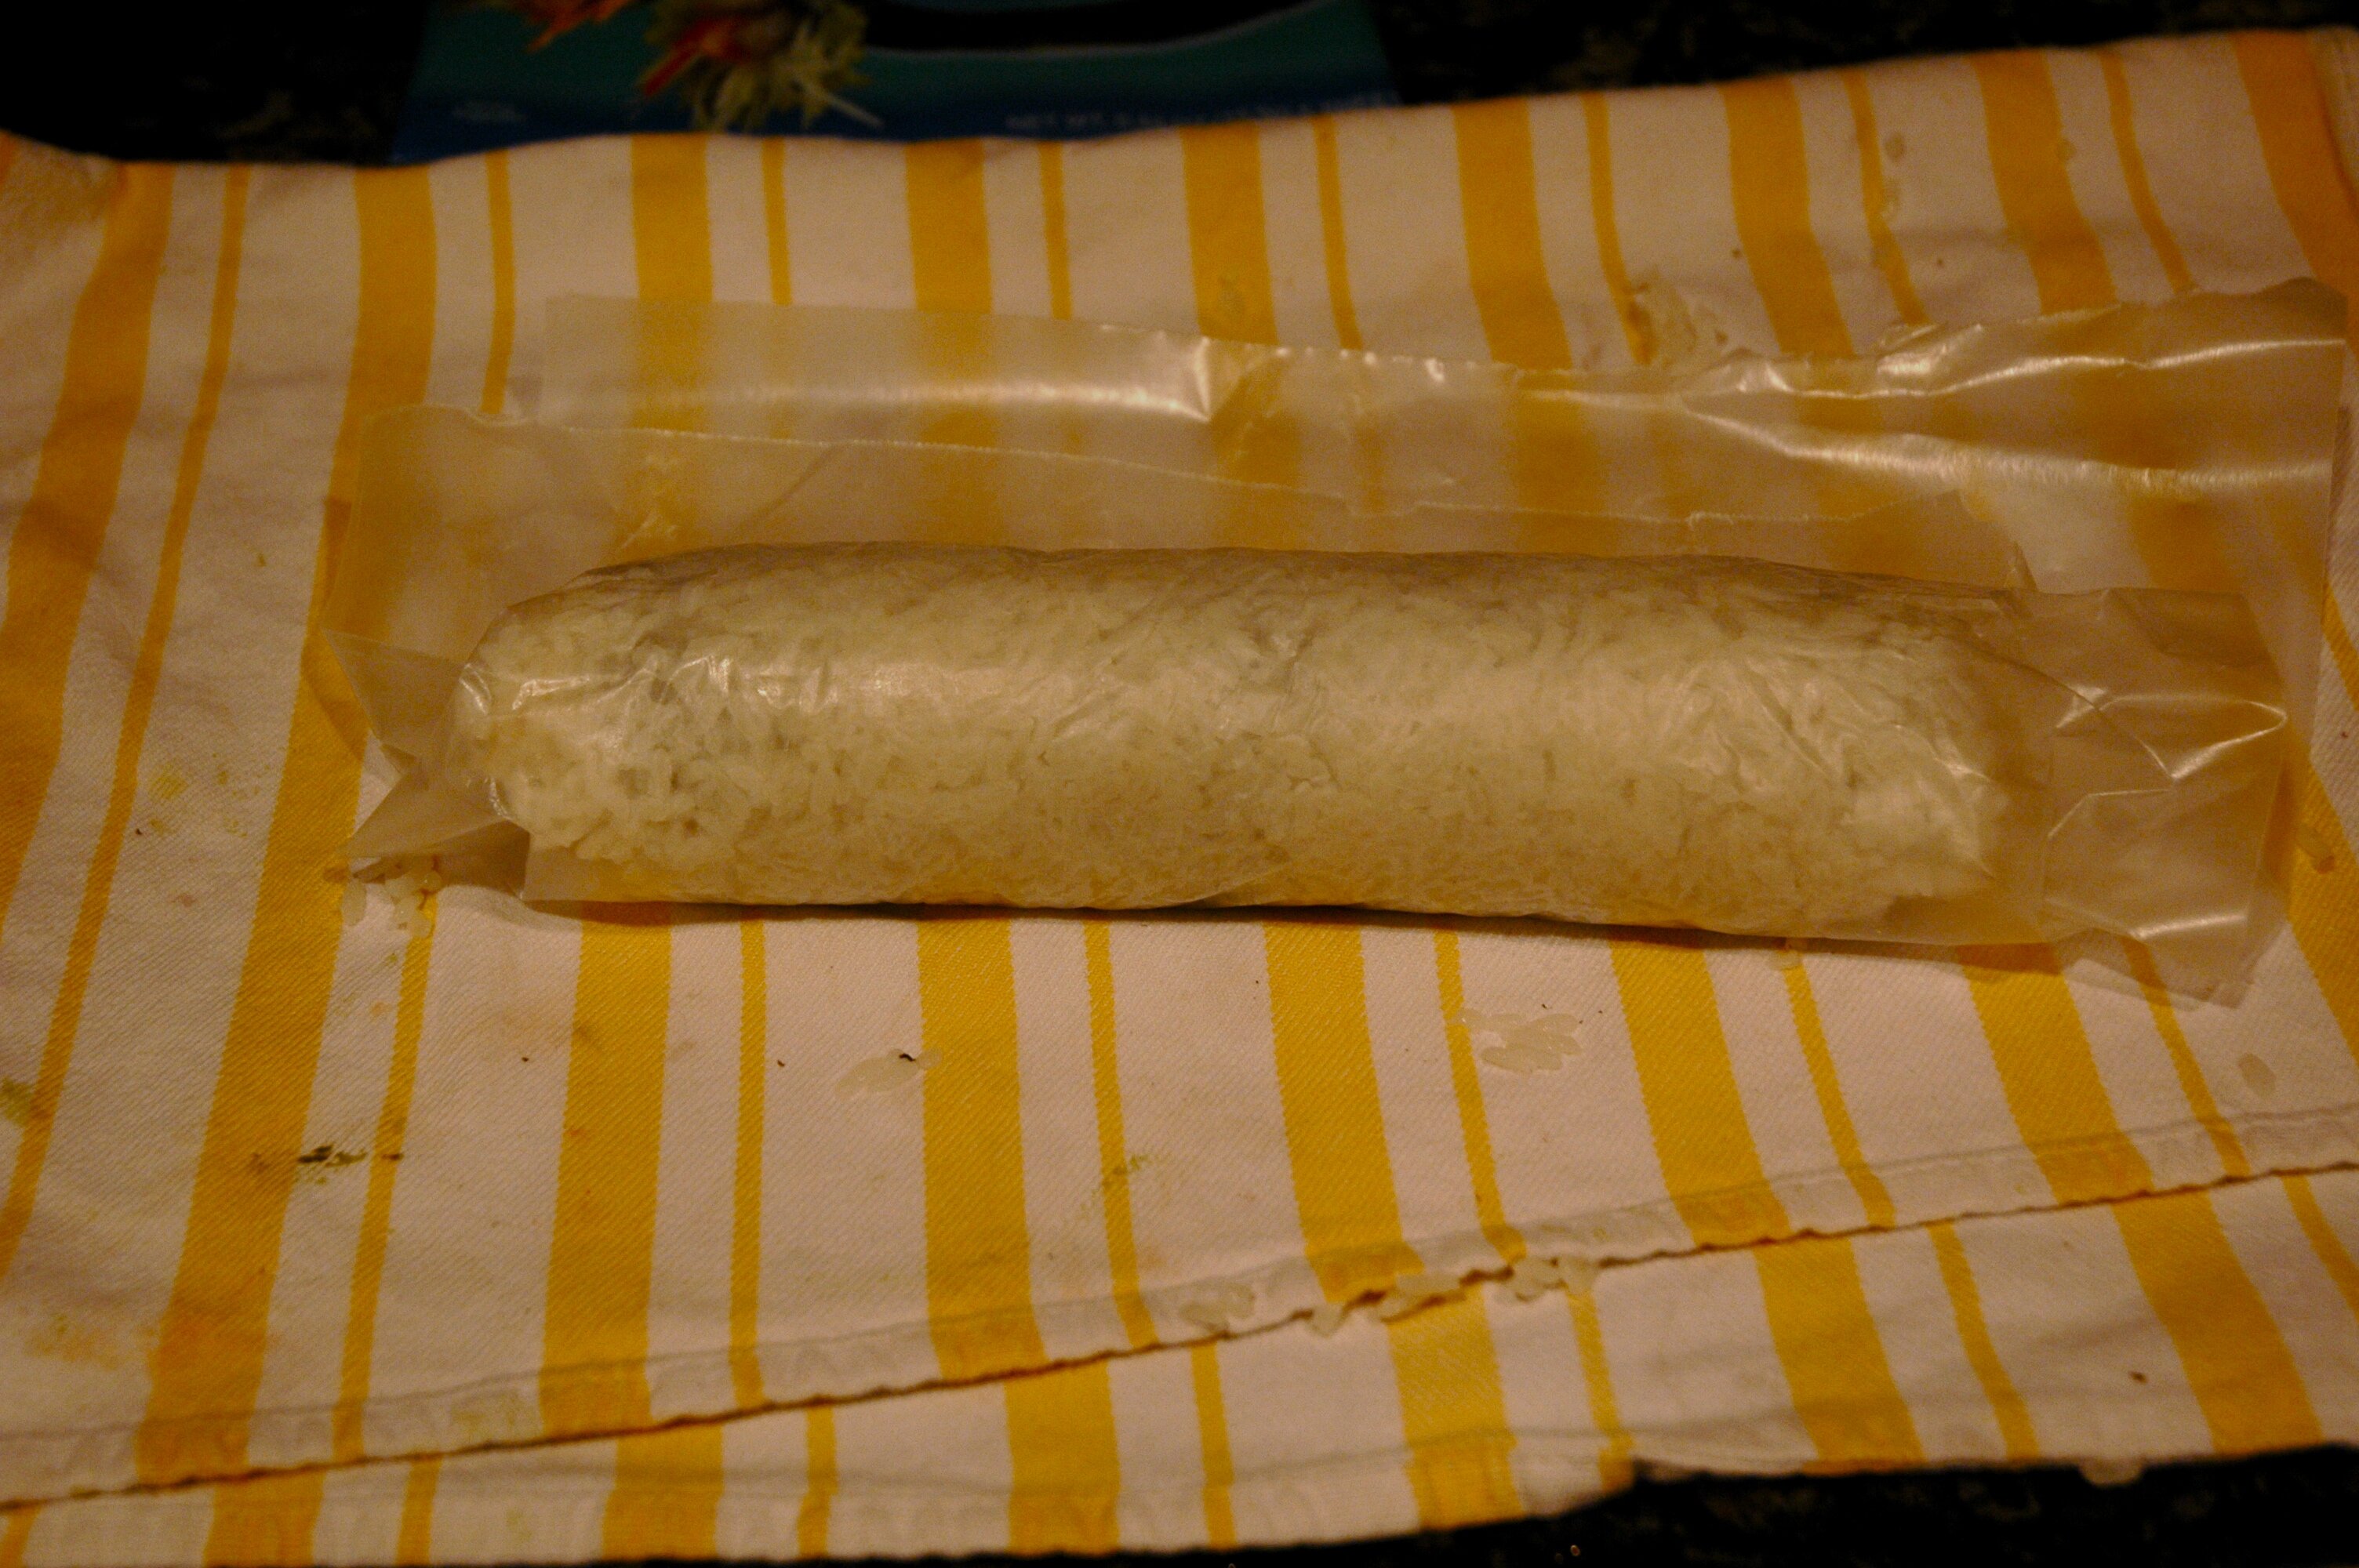

Try to get this as tight as possible too. This is what it will look like all wrapped up. Remove the wax paper.
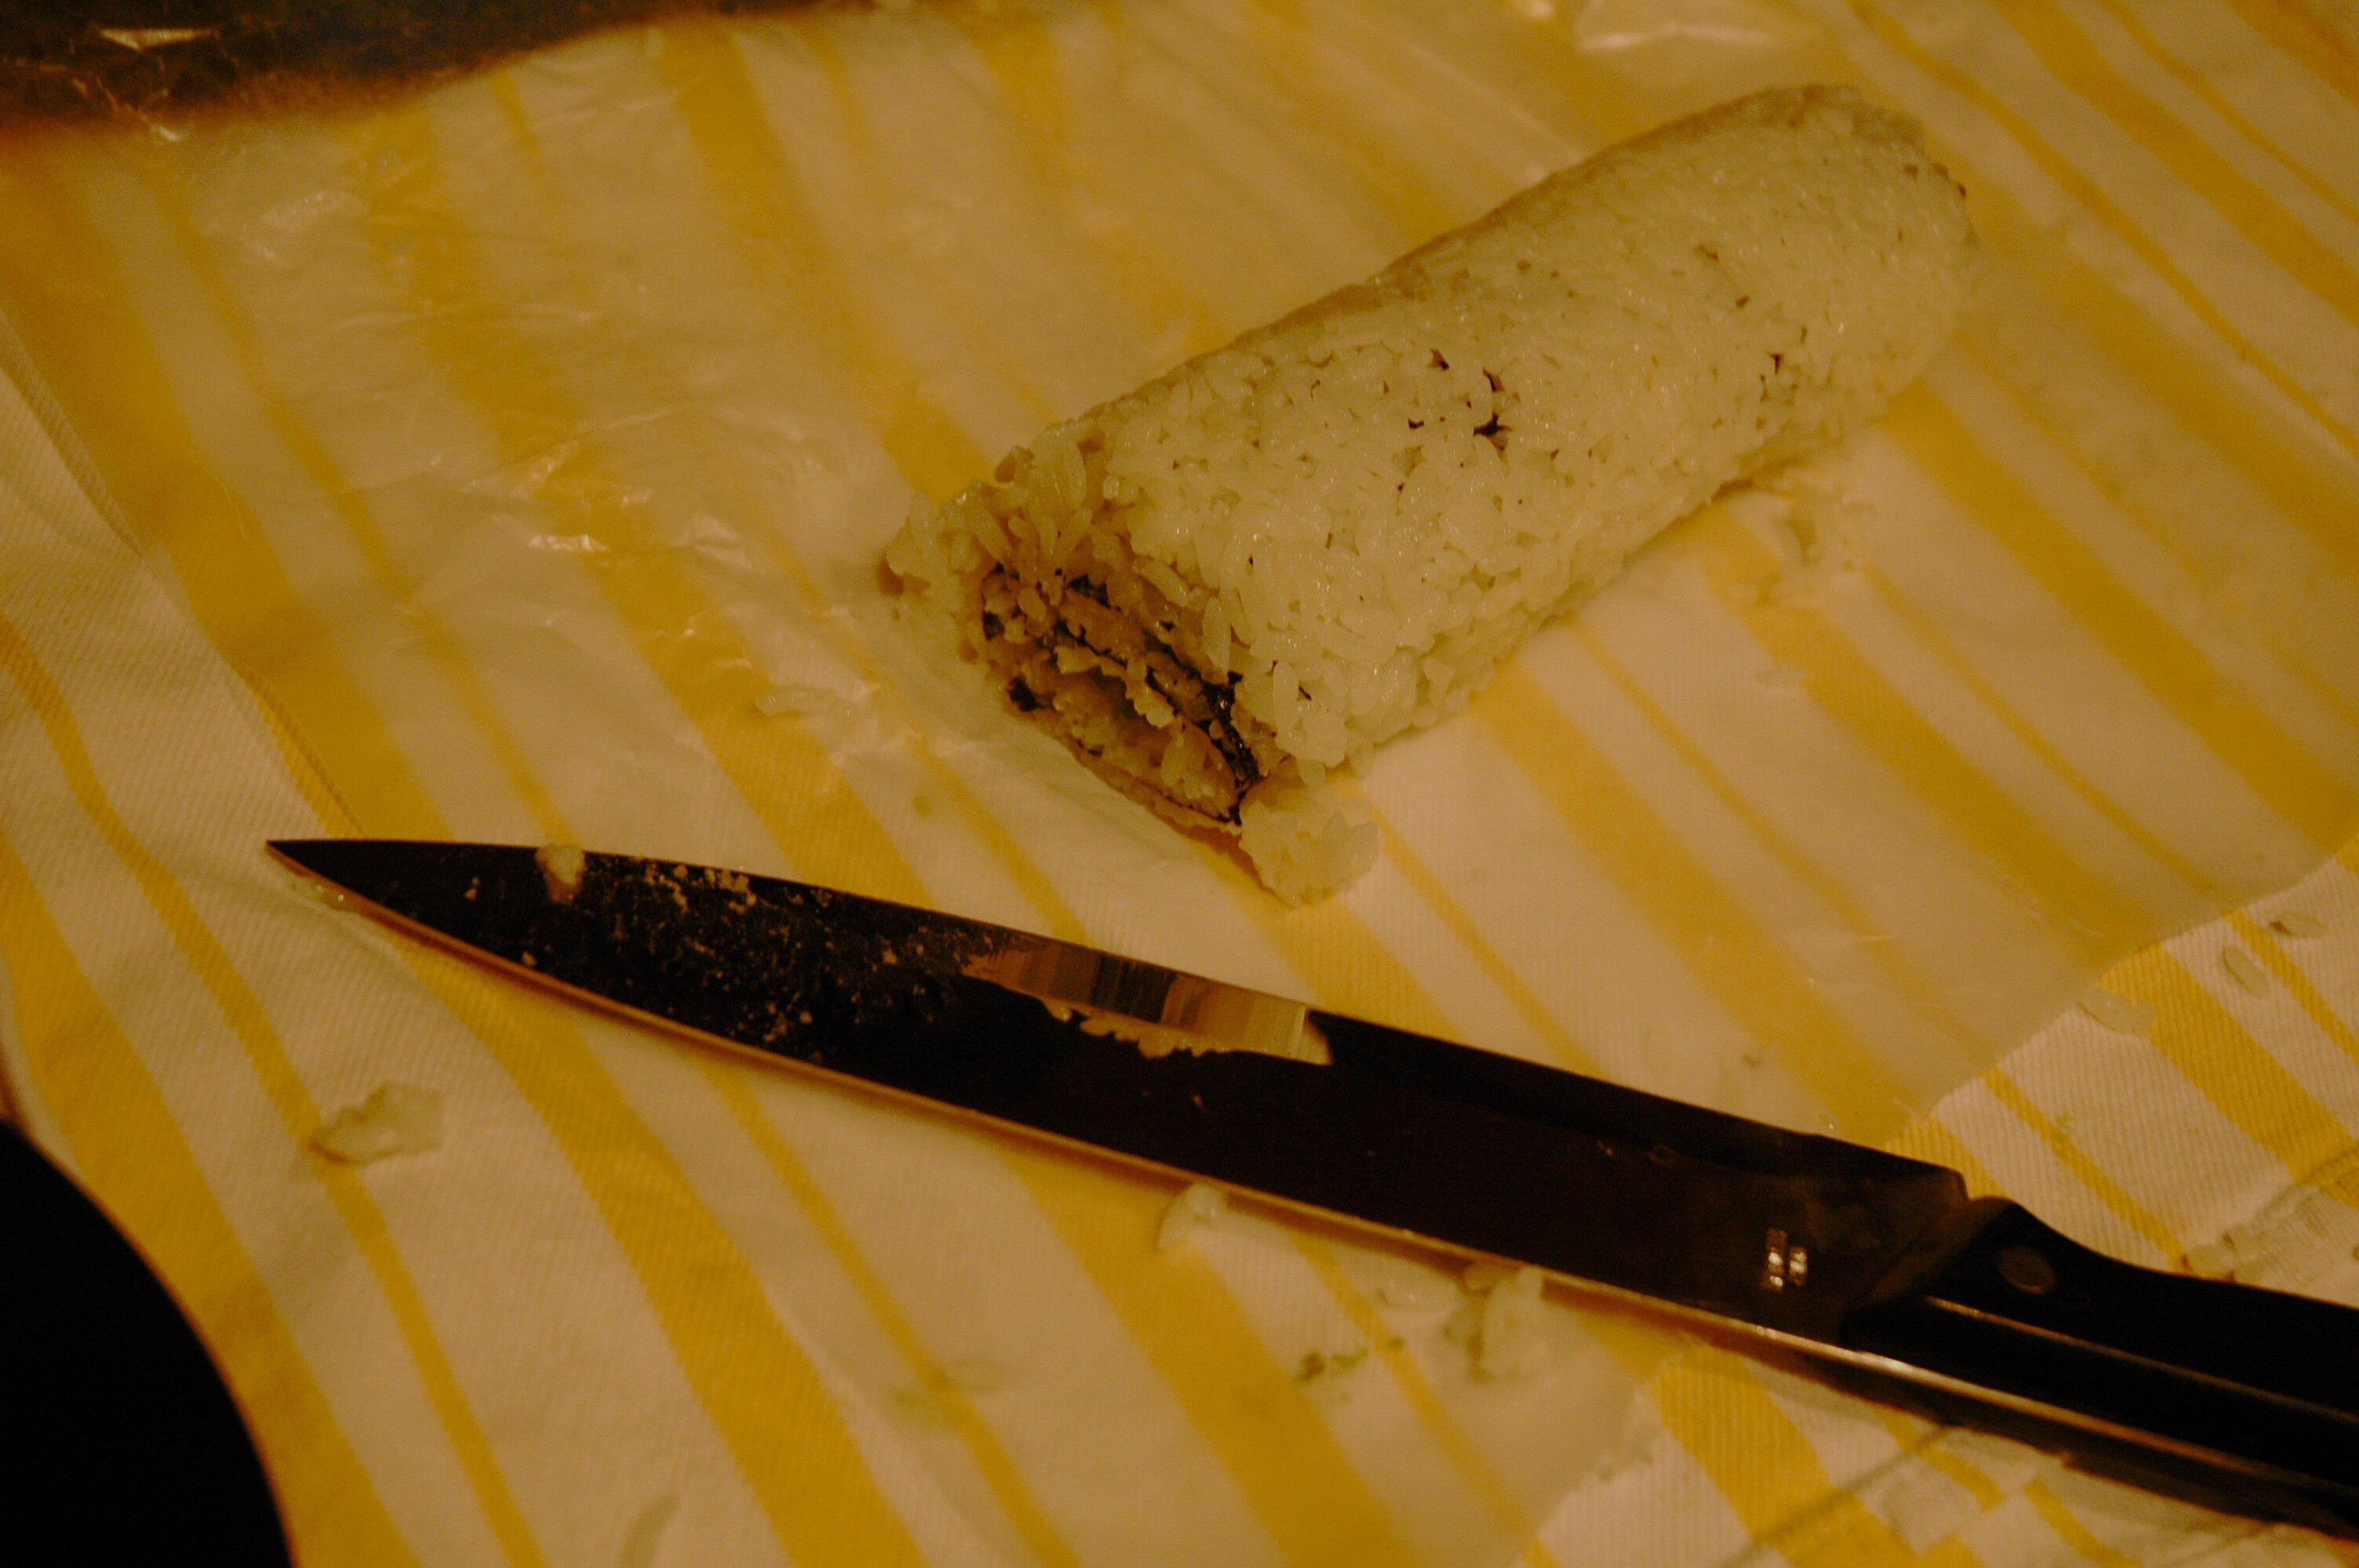

Now it is time to cut it. Make sure to use a very sharp knife. Cut into strips. The nori comes with pre-marked lines but when you place rice on the outside you obviously cannot see them :)


Enjoy! As I mentioned, I put lots of rice on mine so they are larger than the sushi you would buy in the store but it is all about preference. You can experiment with different fillings- different veggies and meat.
————–

I hope you enjoyed my sushi tutorial!! Let me see what you have been working on! And as always, if you would like to have a tutorial featured please leave a comment or email me.

Promote The Handmade Pact
Please grab a badge to let others know to come link up!


12-13-2010

Handmade Tuesdays [Handmade Pact]

Today’s Handmade Feature comes from Sarah @ Modern Country Style. Check out her beautiful pillow!!


It all started when I was putting away some too-small clothes of my son’s. The colour of his old school trousers caught my eye. A gentle charcoal cotton and still in great condition by some miracle. Why had I overlooked them all these years as a gorgeous grey & goldmine?!

I began to keep my eye out for something to make with them. The second ingredient was a pack of three tea towels that I bought from Dibor. Two were red and one was white. White? For a kitchen tea towel? What were they thinking? It’d get dirty faster than you can say, “Wipe your hands on that….”

But as a panel in a cushion: perfection. The panel suited the trouser idea too because, though long, the material needed wouldn’t be terribly wide. You want to see how I did it? Come with me, my friend……


Unpick the trousers.
You may need two pairs depending how tiddly your children are.
Cut out six pieces on the grain (i.e. in the direction that the threads lie – otherwise it’ll fray all over the shop). These pieces should measure:
 21″ x 4.5″, 21″ x 4.5″, 8 x 4.5″, 8 x 4.5″,  21″ x 12.5″ and 21″ x 10.5″.
These are your best friends for cutting material straight.
Now take your tea towel and cut a 14″ x 8″ section including the main pattern, if applicable. This will be your central panel.
Press all pieces.
Take the tea towel section and lay its shorter edge along the longer edge of one of the 8″ x 4.5″ strips of grey fabric, right sides facing.
Pin and sew together 1/2″ from the edge.
Repeat on other side of tea towel with second short grey strip.
Now lay the long edge of this pieced-together rectangle along the long edge of one of the 21″ x 4.5″ strips, right sides facing. Pin and sew 1/2″ from the edge.
Repeat on the other side with the second long strip.
Zig-zag stitch along the inner edges of the panel to prevent fraying.
That’s the front completed.
Nearly there.
And for the back?
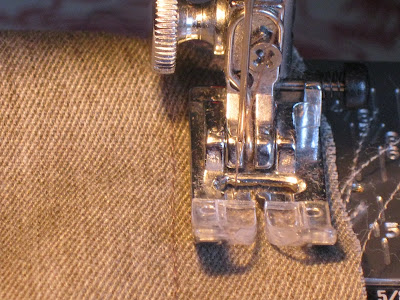
Take each back section and fold in the long edge by 1″ and then again by 1″ to enclose the raw edge. Pin and sew in place, close to the inner edge.
Press all pieces thoroughly.
Place the cushion right side up and lay the smaller back piece on top, right sides together, matching its long edge with the bottom edge of the cushion front. Pin and sew along three sides, not including your hemmed side.
Repeat with the top piece of the back. There will be an overlap of 3″ of the top and bottom pieces.
That’s so that the cushion doesn’t gape at the back.
Snip away corners.
Otherwise the cushion inner can’t squeeze in as well.
Zig-zag stitch round the seam, cutting away excess material.
Turn the cushion the right way round.
Gasp at your awesome sewing skills!
Press again.
I know the pressing is boring but it’ll give you a MUUUUUUCH better finish.
I decided to go for a button enclosure but left adding it until this point to ensure everything was correctly lined up.
I sewed button holes spaced 2″ apart on the double-folded section of the top back-piece.
Then I sewed corresponding buttons onto the bottom piece.
Add the cushion-inner, button up, and, Bob’s your uncle, your very own panelled cushion.

The fiddly part for this cushion was working out the measurements but, once that was done, the actually sewing was easy.  I’ve done the working out for you so now all you have to do is keep your eyes peeled for a tea-towel!

Sarah, thank you so much for your amazing tutorial!! Now it is your turn. Let me see what you have been up to! Remember it can be anything you have been making, cooking, working on. I know I have been doing a LOT of sewing for gifts, but I cannot wait to give them!

—————–

Promote The Handmade Pact

11-11-2010

Some of my favorites from Handmade Tuesdays

I am loving having Handmade Tuesdays! There have been so many fabulous ideas showing up on blogs!! While I love everything that everyone links up here were some of my favorites this week:


Muse Lodge made these adorable retro pillows.


Look at his family silhouette from Breathing Deep Where the Air is Thin! Love this!


And check out this tutorial for a digital advent from My Computer is My Canvas. If you don’t want to make it you can go ahead and buy it from her etsy shop!

—————–
If you were featured, please take a button.

10-12-2010

Handmade Tuesdays [Handmade Pact]

Welcome to Handmade Tuesdays! If you have no idea what this is about click here to read about the Handmade Pact. AND please link up any tutorials you may have! They do not have to be tutorials done today but can be tutorials done in the past (the only thing I ask is do not link up the same tutorial every week. Use a different one

———

I’m Cheri from I Am Momma – Hear Me Roar. I have an easy handmade gift idea for you today.

This is my handsome nephew. He is COOL. So cool that the kids attack him when he walks into preschool. BUT, he just got even cooler. See the manly cuff on his wrist?


See it now? Yeah. That’s what we’re making today – cool cuffs for cool kids.


Here’s what you’ll need. I bought this belt at D.I. for a buck. I think I can get a few bracelets out of it. The hardware I found in the leather section at Hobby Lobby. Of course, you need floss, too. Wouldn’t be a Cheri project without it. Lastly, you need snaps.


1) Cut a strip from the belt about an inch longer than the circumference of his wrist.
 
2) Sew a straight line down at the edge.  You want it to fray a little, but not to come apart.
 
3) Insert heavy duty snaps. The directions are on the package.
 
4) Hand sew floss on the edges. I made it two strands thick, so it would be more visible.
 
5) Insert brads where you want them. This is what they look like.
 

 Shove them into the fabric and then fold the ends over. I used a hammer to get them folded in tightly. I didn’t want them to stick up at all and irritate his wrist. This is what the backside will look like.
 

That’s it!
 

I love how it looks on his little wrist.


Want your little guy to look this cool, but don’t want to make one? No worries. My sis and I are selling little boy leather ones in my Etsy shop – Roar.


Thanks for letting me join the Handmade Pact, Kristen!

p.s. the thumbs look blurry because I changed the size. I apologize! :) I will have it right next week!

——————

Promote The Handmade Pact