02-25-2015

Nursing Cover [baby boy]

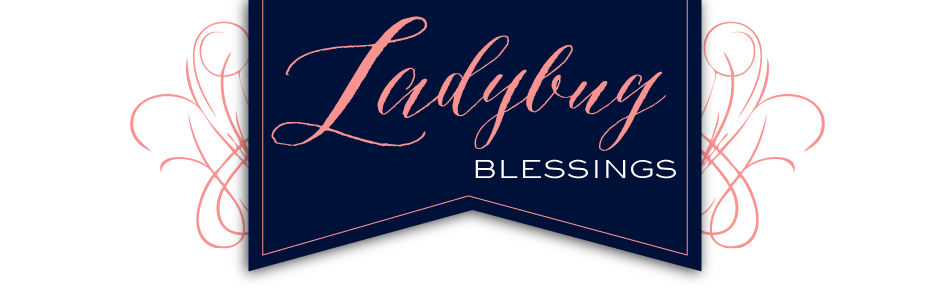
This is the second nursing cover that I have made and thankfully it went easier than the first one! Sadly, I do not have photos of that one. Anyway, these are pretty easy to make and are great new mother’s gifts if you know they are going to be nursing. I used this tutorial from Craftaholics Anonymous.  The fabric is from Hobby Lobby.

Nursing Cover


Nursing Cover 3


Nursing Cover 2


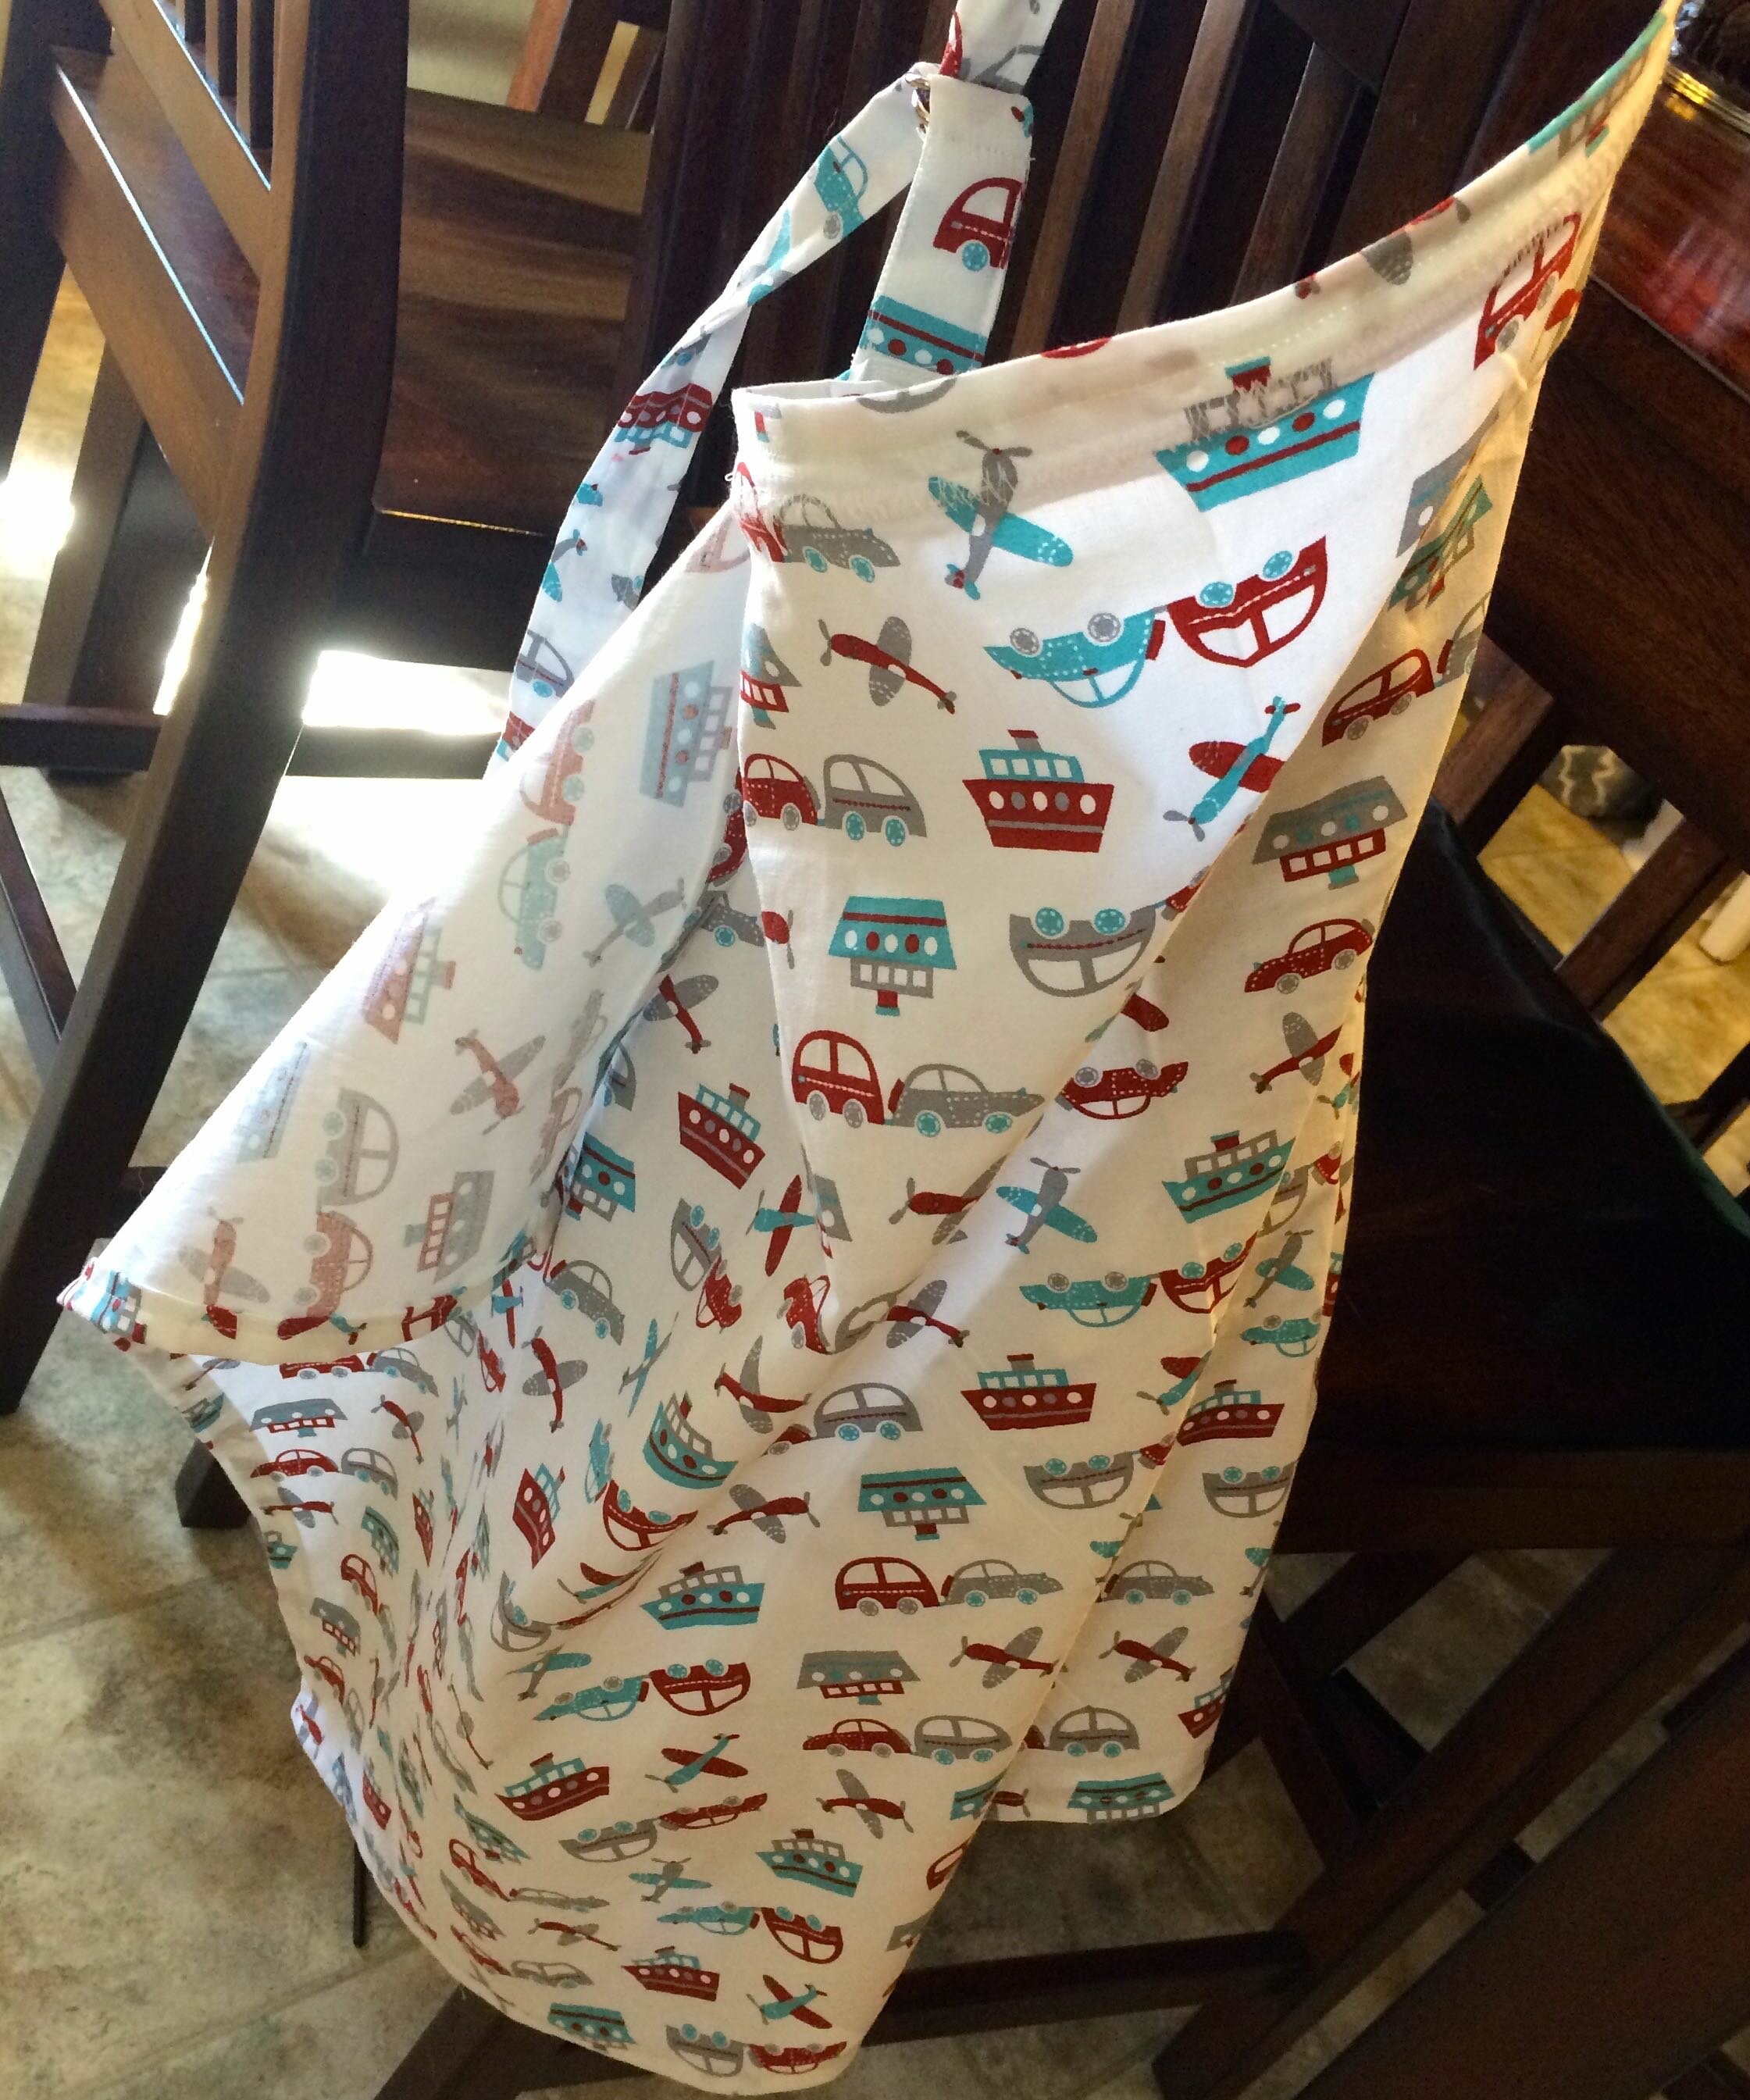
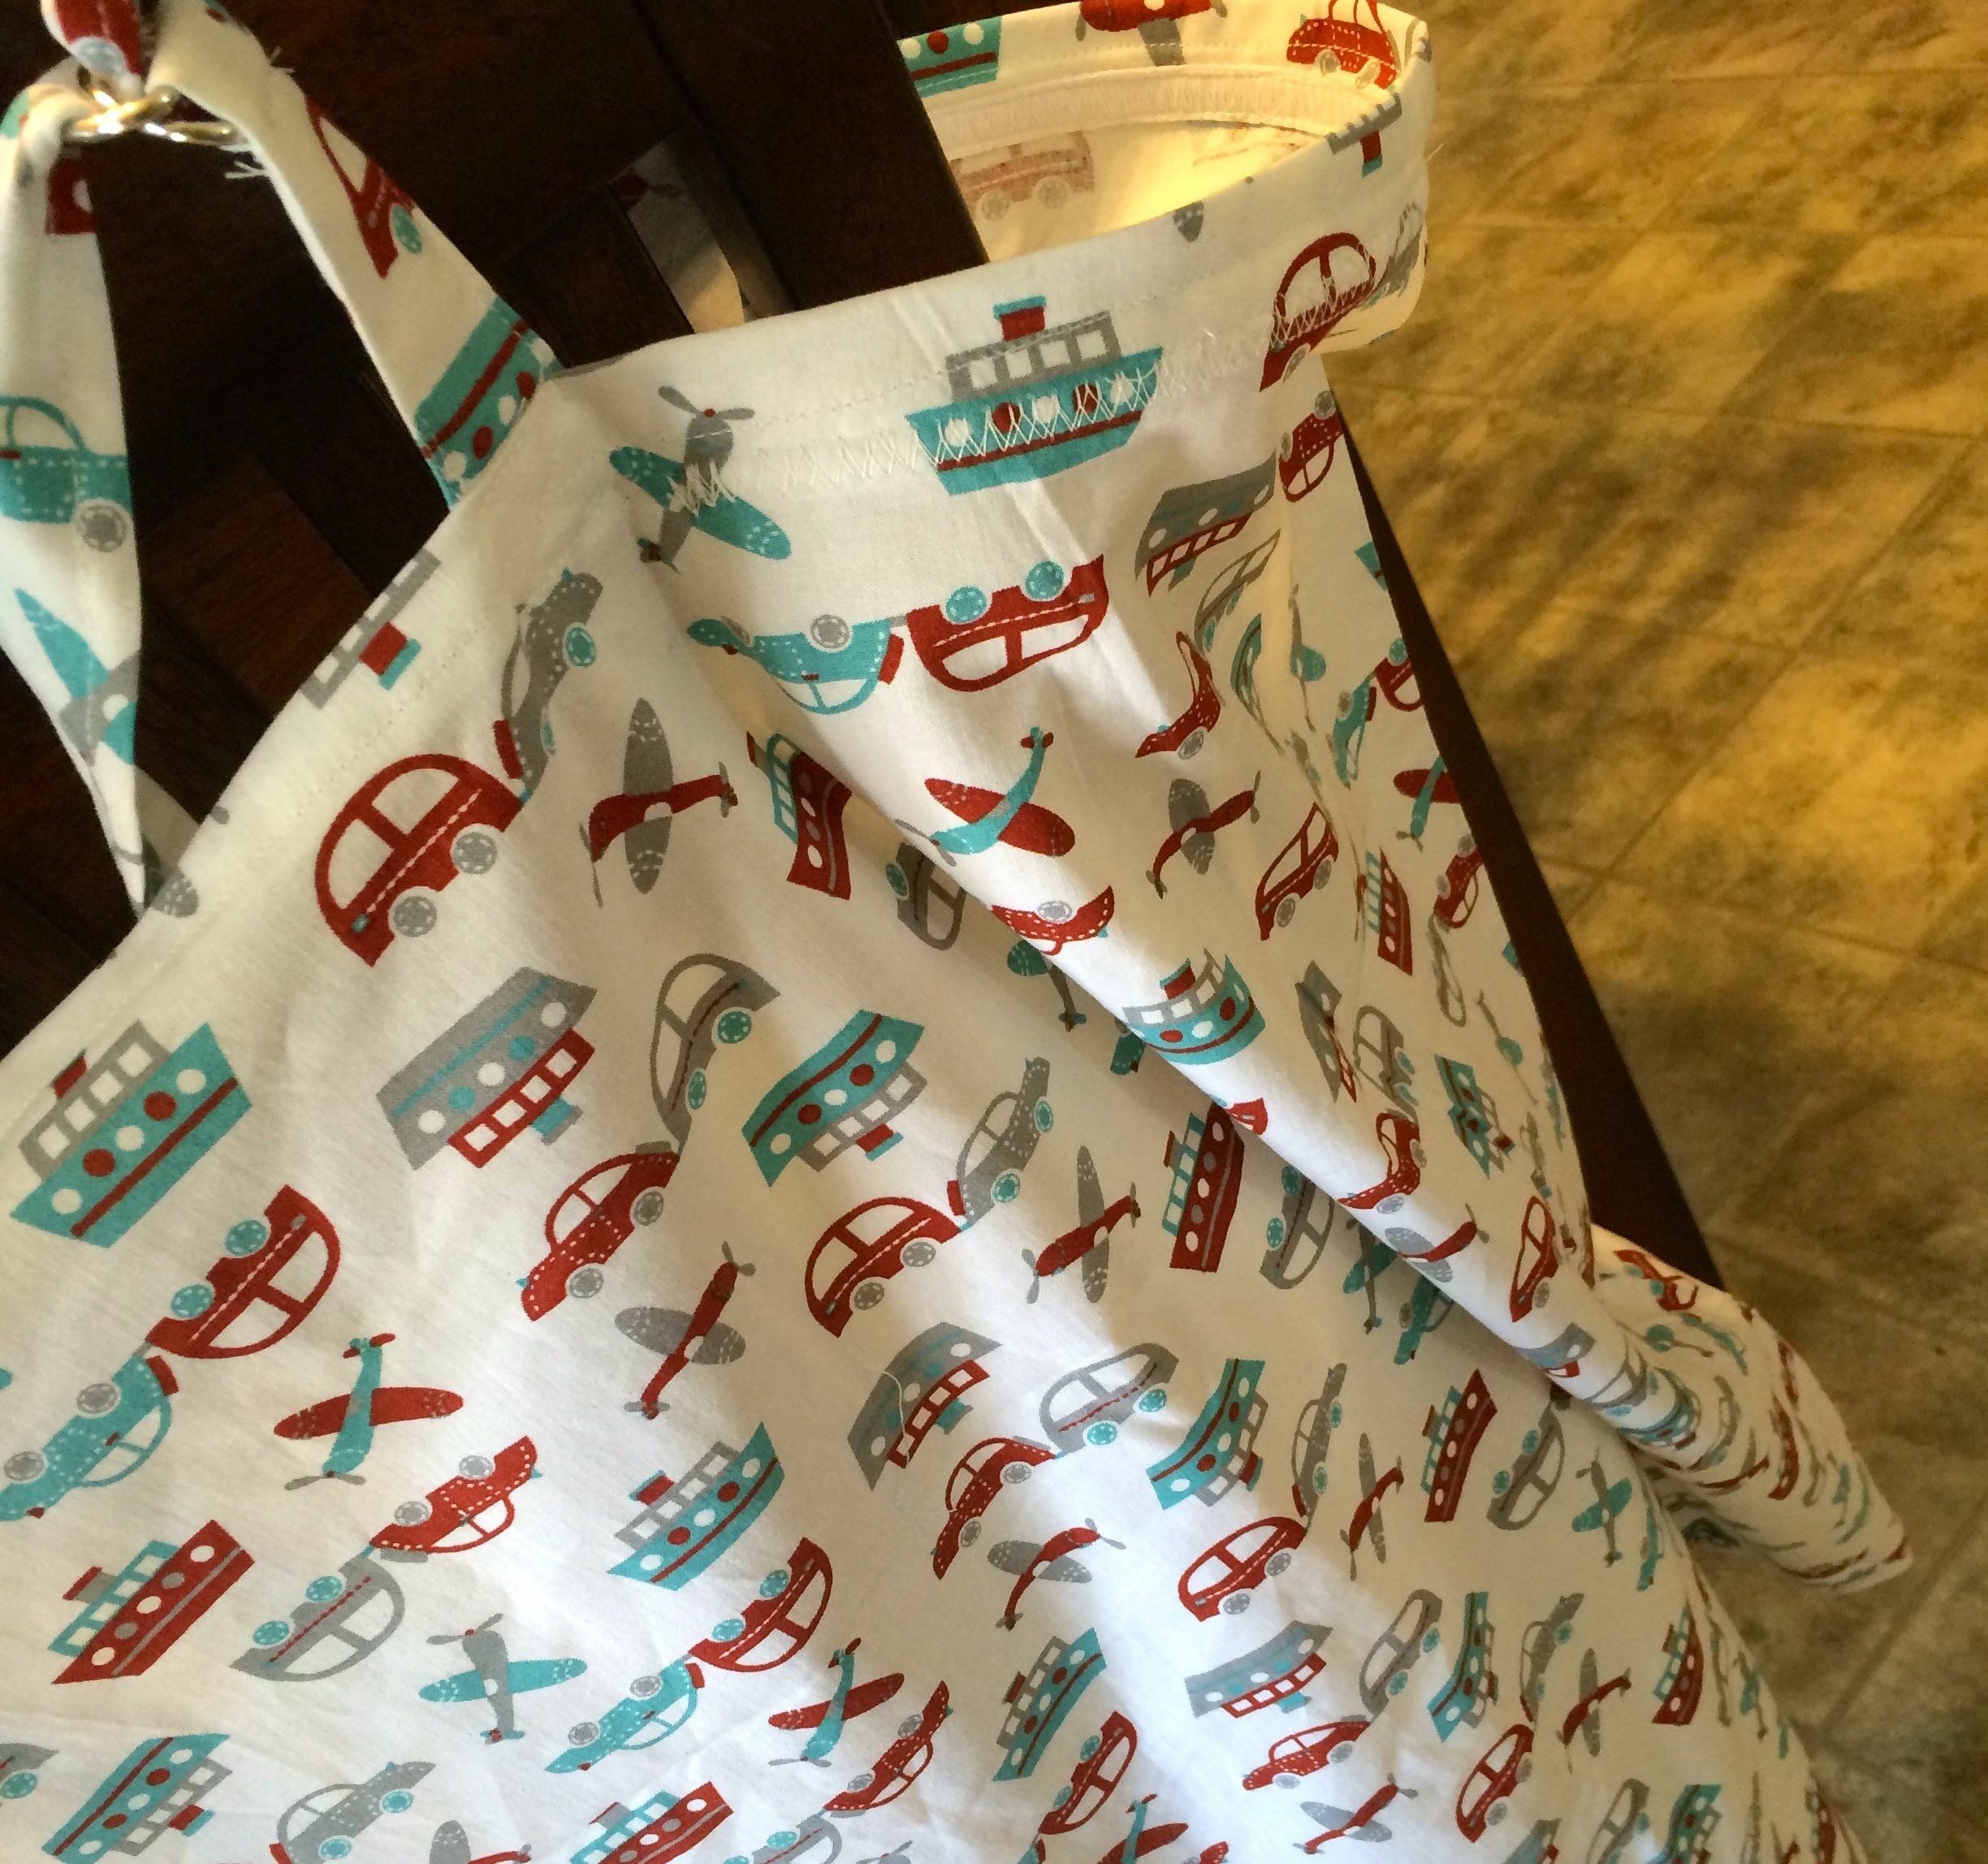
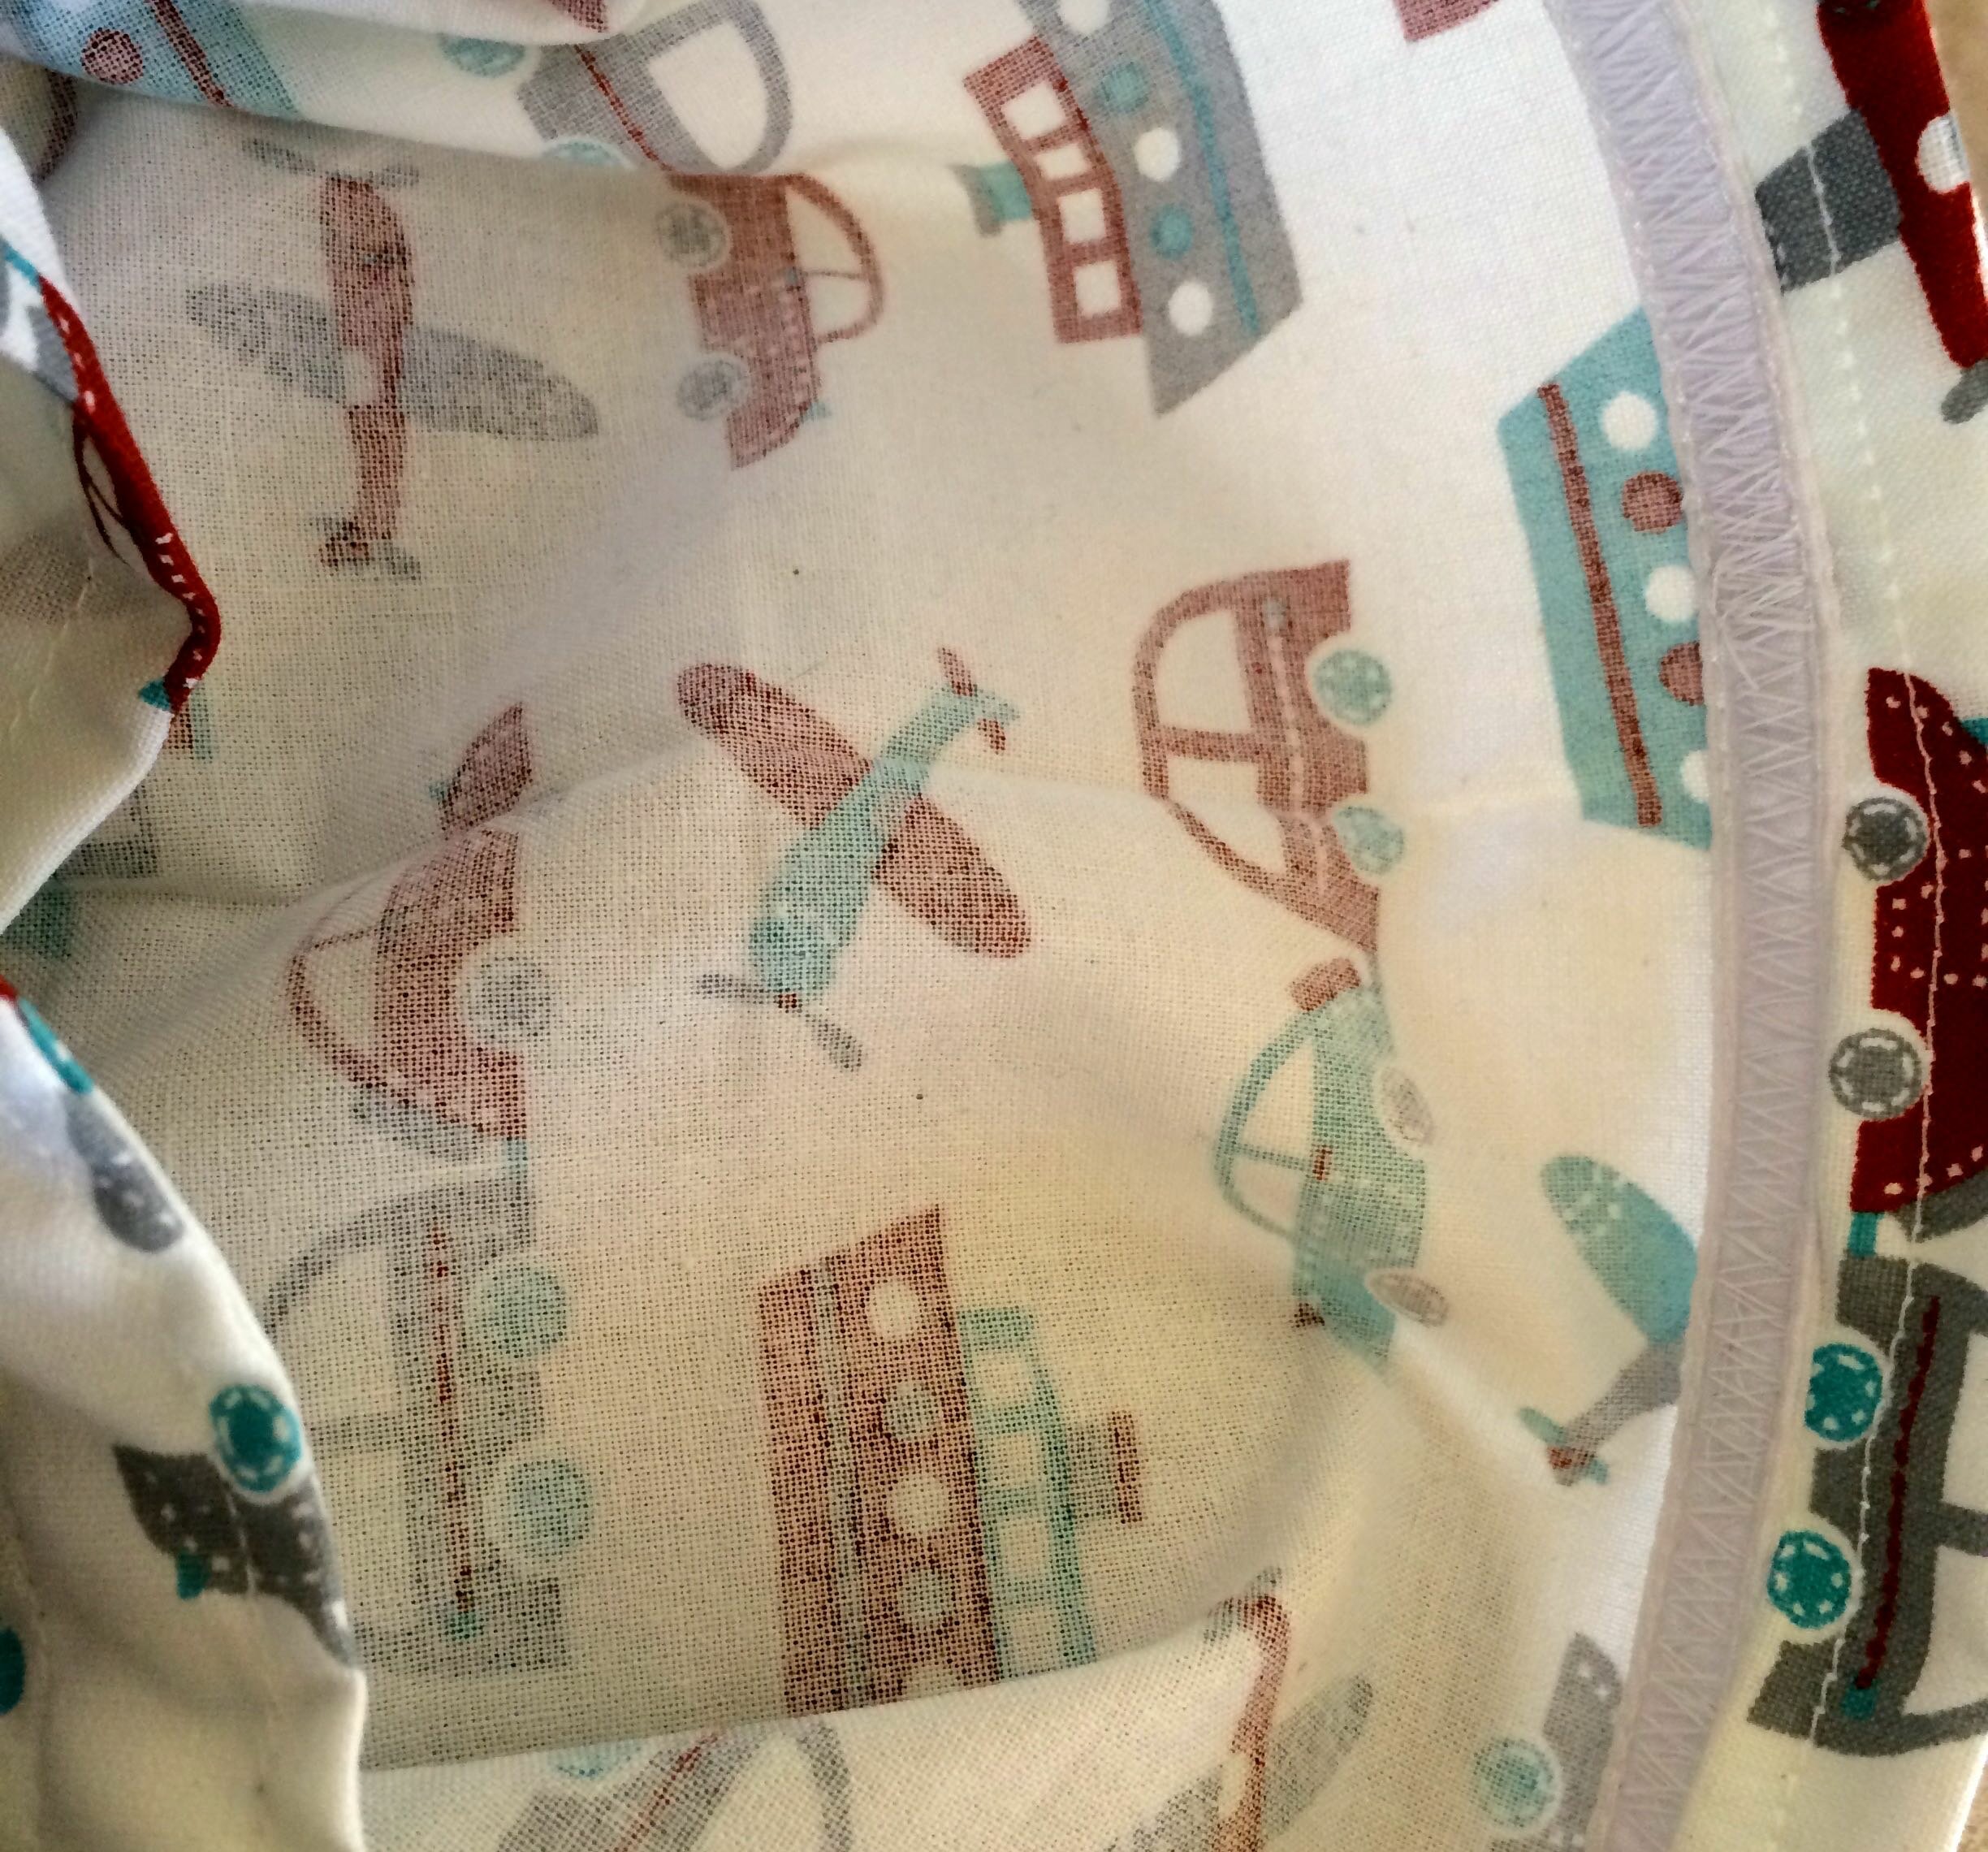
The part that I have always had the most issues with is the boning.  But, if you make your stitch wide enough to go just at the top and just at the bottom of the boning, it will actually work.  Once I finally made that discovery- the project was so much easier!

05-01-2014

Kid Bible Stories: Episode 1

So for Easter our church made a Kid Bible Stories video of the kids telling the story of Matthew 18:21-34 of the Unmerciful Servant.  It was hilarious and has actually gone viral.  I figured I would share it here as it is too funny.

Basically the kids were told the story and asked to retell it to them. They record the kids talking and then the dads acted the story out.  Bored Shorts TV and College Humor have done things like this in the past, which is where the idea came from but never has it been done with Bible stories.  It is really interesting to see how the kids see the stories!

12-05-2010

Blanket for a little boy

So I asked the kids I babysit what they wanted for Christmas (and remember, I wanted to make as many things as possible!). W told me he wanted a blanket. He has lots of blankets and he sleeps with all of them. So I went and found UK fleece and then bought flannel for the backing. I then purchased blanket binding because I really wanted it to look nice :)

Now, let it be known I cannot do any sewing without Pancake taking over whatever I am making. I think she thinks it is for her or something. So as I am trying to pin my binding this is what happens:

Obviously, I am going to need to sew this so this is not going to work. So I get another nice, soft, fluffy pink blanket and put it down (off to the right). I place her and her bone on it. Nope, doesn’t work she gets up and comes right back on my work. Nice Pancake, thank you! But she’s too cute, right??

I’m thinking about making her her own little blanket. Would that be spoiling?

11-16-2010

Handmade Tuesdays [Handmade Pact]

I’m so excited to be a guest on Ladybug Blessings today. Kristen has so many fun things going on and I love being along for the ride! Thanks for inviting me to share a project today!

I am Tammy and my blog is She Wears Flowers. I like to say that I blog to avoid housework, but, really, I do anything I can to avoid housework! I am a mom to twin big girls (9) and a little girl (3) so my life is pretty much girls and their girl things. My three- year-old has a “strong” personality and is often the subject of stuff I come up with. Today is no exception!

My daughter is generally dressed up in multiple outfits throughout the day–with shoes and accessories& to match or not match as is more common. Sometimes she changes clothes and sometimes she just keeps adding on to the previous set. Either way, her motto seems to be something along the lines of “The more, the better!”

Wands 24
You can easily buy wands or even the parts to make your own in just about every store you go into. But I wanted a particular one: No sharp edges, no glitter or sequins and it has to be durable.

I had forgotten how easy it is to make a fairy wand. You will love this!

Wands 33 copyMaterials:
Both:
1/2 – 3/4 inch thick wooden star (wood) or 2 felt stars cut from pattern
3/8 inch wooden dowel – 12 inch length
silver spray paint
narrow ribbon in various colors
beads
hot glue

Wood Star Wand:
drill
glitter paint
base coat paint color
long, skinny nail
sand paper

Felt Wand:
needle and thread
small amount of fiberfill

Instructions
Wood Star Wand: Wands 18Using the pattern, cut out star with a scroll saw or jig saw and sand the edges smooth. You can buy a variety of precut stars in the craft stores, but none of them were what I wanted. Feel free to use a different type if that fits your needs better. Make sure it is thick enough to have a 3/8 inch hole for the dowel.
Wands 4
Use the drill to cut a 3/8 inch hole for the dowel. You will want to “wiggle” it around a bit to make the hole just slightly larger than this. You could probably use a slightly larger drill bit, but I went for the easiest method and I didn’t want the hole to end up too big.Wands 5
Paint the star with the base coat color. I skipped this step and regretted it because the glitter paint is a little thin. I think I have about  27 coats of paint on this star, but it worked beautifully. The directions actually suggest using a base coat, but I ignored -and then regretted – that!

Paint the star with the glitter paint. There are lots of different types of glitter paint, but this is inexpensive and was exactly what I wanted.
Wands 8
To let it dry in between coats, I  propped it on a straw in a glass with another cup inside of that to hold the straw so the whole thing didn’t tip over. This way I could also paint both sides and the sides at the same time.
Wands 6
The paint turns out glittery and sparkly, but there are no little glitter pieces to scatter all over your house.  It turns out exactly the way it looks on the wrapper of the bottle. Wands 7
If you get any paint in the hole for the dowel, scrape it out so the hole will not be too small for the dowel.

Hammer your nail into one end of the dowel. Push the nail into styrofoam (even floral foam works since it is light) or one side of a cardboard box (not flattened) so your dowel will stand up. Spray paint with silver paint. Let dry completely.Wands 10
Put a small amount of hot glue all around the top of the dowel and push it into the hole in the star as far as it will go. Wands 15
Felt Star Wand:
Wands 22

Cut out two stars from felt. I used the rounded edges from the pattern when I was cutting, but trimmed it more pointy after sewing the felt together.

Using a needle and thread, sew the felt stars together leaving a small opening at the bottom for the dowel. I tied a knot in the thread and put the needle in the inside before I started the sewing so that the knot would be hidden inside. I ended the same way. I used a large running stitch (more like a basting stitch) to sew around the felt being sure to keep the points of the star together.
Wands 19
Gently fill the star, points first, with very small amounts of fiberfill stuffing. You just need a little to make the star puffy and soft. Do not overstuff as it will stretch out the stitches. Squeeze the star gently to make the opening gape open.
Wands 20
Put glue around end of dowel and quickly stuff into the opening. While the glue is still soft, carefully pat the felt together to seal the ends and to glue the felt to the dowels.
Wands 21
Adding the Ribbons (both wands):Cut varying lengths of narrow ribbon in a variety of colors.
Wands 11
Tie beads on to the ends of some of the ribbons. I chose to keep the beads to a minimum since I didn’t want the wand to be heavy–or used as a “weapon” since I know it can quickly turn into that sometimes!
Wands 12
Tie all of the ribbons around the dowel at one time. Do not pull really tight.
Wands 14
Put hot glue around the top of the dowel at the base of the star and quickly slide the ribbons over the glue as close to the star as they will go. Immediately pull the ribbons as tight as you can and put tiny dots of hot glue around the knot to hold them.
Wands 16

There you go! All finished and waiting for some magic!

Wands 18Wands 23

These wands would make excellent handmade gifts for an older child to make for a younger child. With just a little help from you to get the parts ready, an older child could do most of the work of painting, sewing and putting it together on his or her own.
And, to easily wrap up something so awkwardly-shaped, you could make one of THESE and just slide it in (and tie a tight knot!) until Christmas morning.

Now, the hardest decision you have is which wand will work its magic?
Wands 25

She thought the turquoise one would do the trick…

Wands 26

Bibbidee…

Wands 27

Bobbidee…

Wands 29

Boo!

Wands 28

The pumpkin stayed a pumpkin, but the fun doesn’t stop there.

So many fun things to try when you have a magic wand to wave around!I hope you will stop by She Wears Flowers and look around. You can find my current projects HERE and lots of tutorials for past projects HERE.
Tammy

—————->

Promote The Handmade Pact