03-06-2013

Want a font in your own handwriting? There is an app for that!

The graphic above is actually written in my own handwriting font!  One of my favorite apps (and one that I actually spent money on!) is iFontMaker that lets you make an app using your (or someone else’s) handwriting.  It is $6.99 on the iPad.  (I am not getting paid for reviewing this, I really like this app!  Promise!).  Anyway, it is super easy to get started.  They do have a tutorial on their website but I thought I would give some screen shots on how to use the app.

First, I would get a stylus.  You could do it with your finger but not sure how well it would turn out.


To start a new font you are going to click the + in the left lower corner.

You can either duplicate the current one you have on the screen (if you have one on there) or create a new document.  If you want to create a new font, make sure to click create a new document.

Make sure to change the title to whatever you want to call it.  I forgot to do this the first time and ended up with an ‘untitled’ font.  I tried to rename it but it is still called ‘untitled.’  oops!

If you click the T on the bottom menu you can change the font that you have in the background.  This is good to have in the background because it gives you guidelines when you are writing your letters but you don’t want to copy them exactly because then it wouldn’t be your handwriting.  :)

It is also possible to not have any letters to guide you in the background.  Just make sure to select (none) at the top.

Now it is time for the fun part!  You can change the size of your brush stroke by clicking the brush head on the menu bar.  This allows you to also change the type.

Now it is time to get writing.  I use the letters in the background as a guide for what lines I am supposed to use.  Write one letter and then just click on the next one and write that one.  Go through all of them.

Make sure to click the arrow at the side to move onto the next screen.  There are the rest of the numbers and characters.

All of the letters/numbers/characters are written under the Glyphs tab.  Click the compose tab to use your font.  You can write different phrases and such.

Now to save your font click the button at the top right.  Make sure to choose Build Font via 2TTF.com.  This will turn your font into a font file.

It doesn’t take very long at all.

Now go ahead and email your font to yourself.  Then you can open it up and install it on your computer.  I had a blast doing this and made some cursive ones, skinny ones, fat ones etc.  It would even be cute to capture your child’s handwriting.

Additional Notes:

The File Folder image on the bottom menu bar shows you fonts you have already created.  It loads them again and you can edit them or re-send them to yourself.

The Square/Grid graphic on the bottom menu changes the background that you are writing your letter on.

The Arrows on the menu bar allows you to edit individual strokes you have made. You can X it out or make it larger or smaller.

10-21-2012

Want to easily print your instagram photos?

I sure did! I had been uploading them all into Shutterfly but was worried about printing them since they are not 4″x6″ and I had no idea how I could crop them. Much easier than you thought! I made a youtube instructional video on how to do it. I apologize that I say “ummm” way too much and I probably should have reshot the video! haha. I also forgot to mention that when you are done cropping you just place them in your cart. Very, very simple!

02-23-2011

Easy Towel Apron

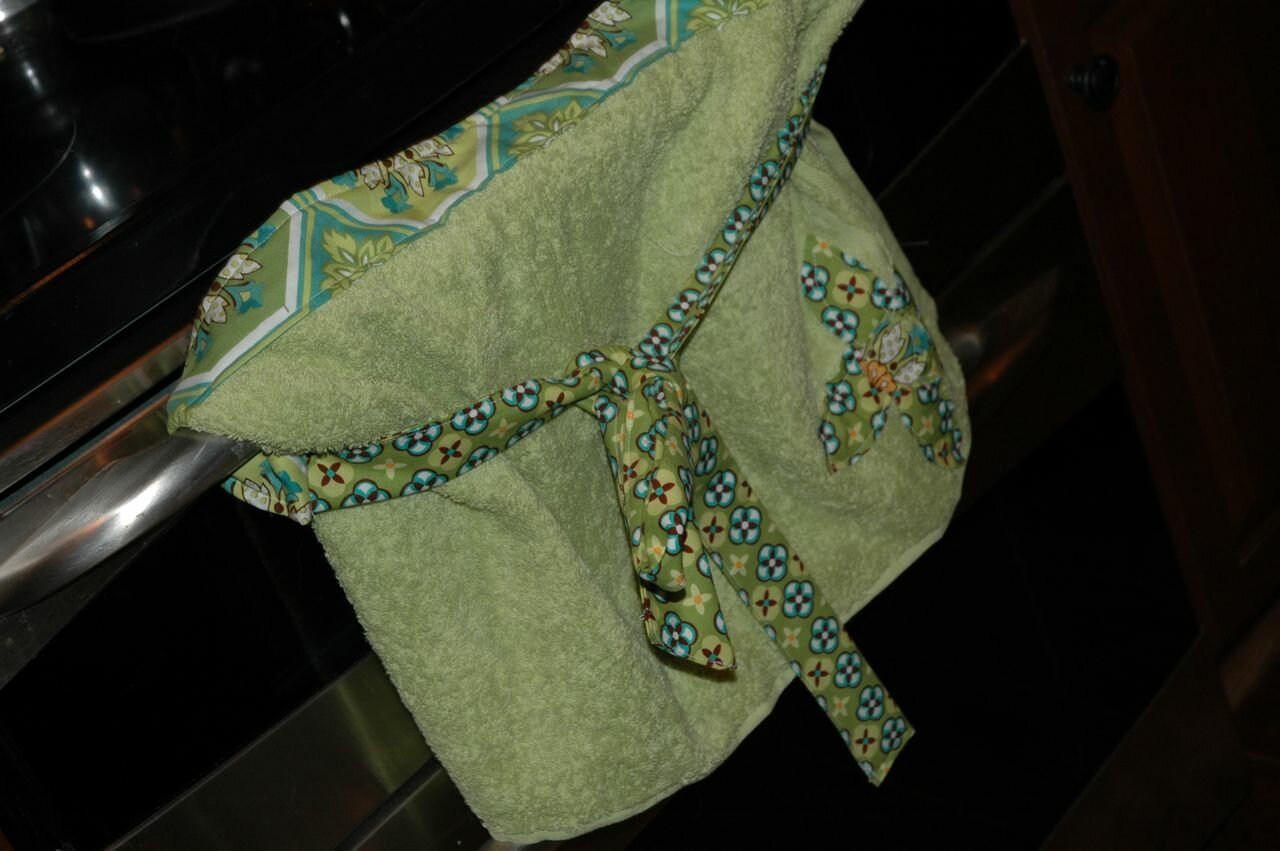
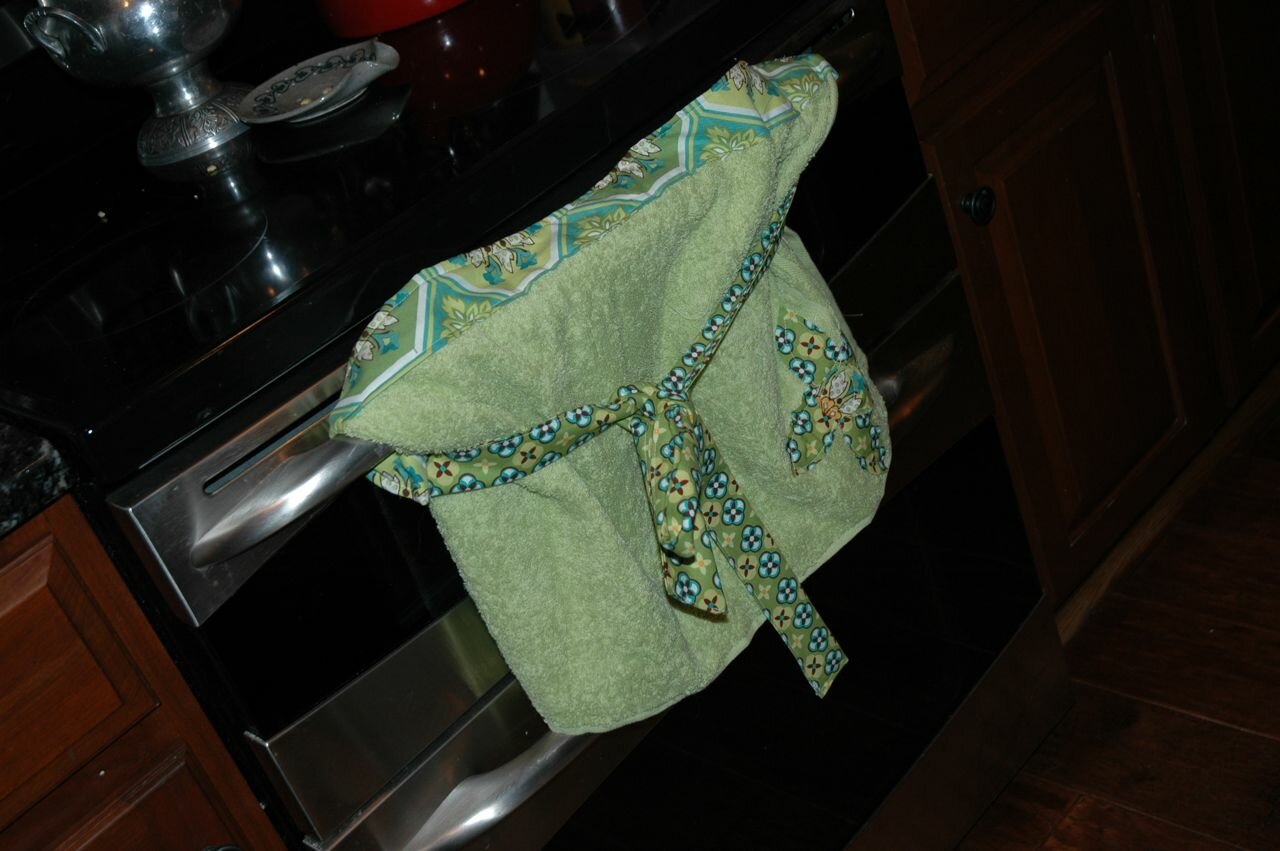
So yesterday I was a guest blogger over @ Sew Chatty and shared this adorable towel apron.

So this has been on my “to do list” since December and I have just now gotten around to it! I love aprons and think half aprons are adorable. Easy to wipe your hands on. But I feel guilty wiping my hands on my pretty fabric (A little OCD, I know!) Solution? A hand towel apron! This way I am really wiping my hands on the towel but it looks pretty :)

Supplies

  • Hand Towel
  • Two long fabric strips (for ties)
  • Fabric strip for the middle. A little bit longer than the length of the towel.
  • Fabric to embellish with

Cut your fabric into strips. You can do this in a few different ways. Because I didn’t have one long strip of fabric I cut two side pieces (7″ high and 33″ long) and one middle piece (length of towel and about 2″ high). But you could use one long piece if you wanted to.


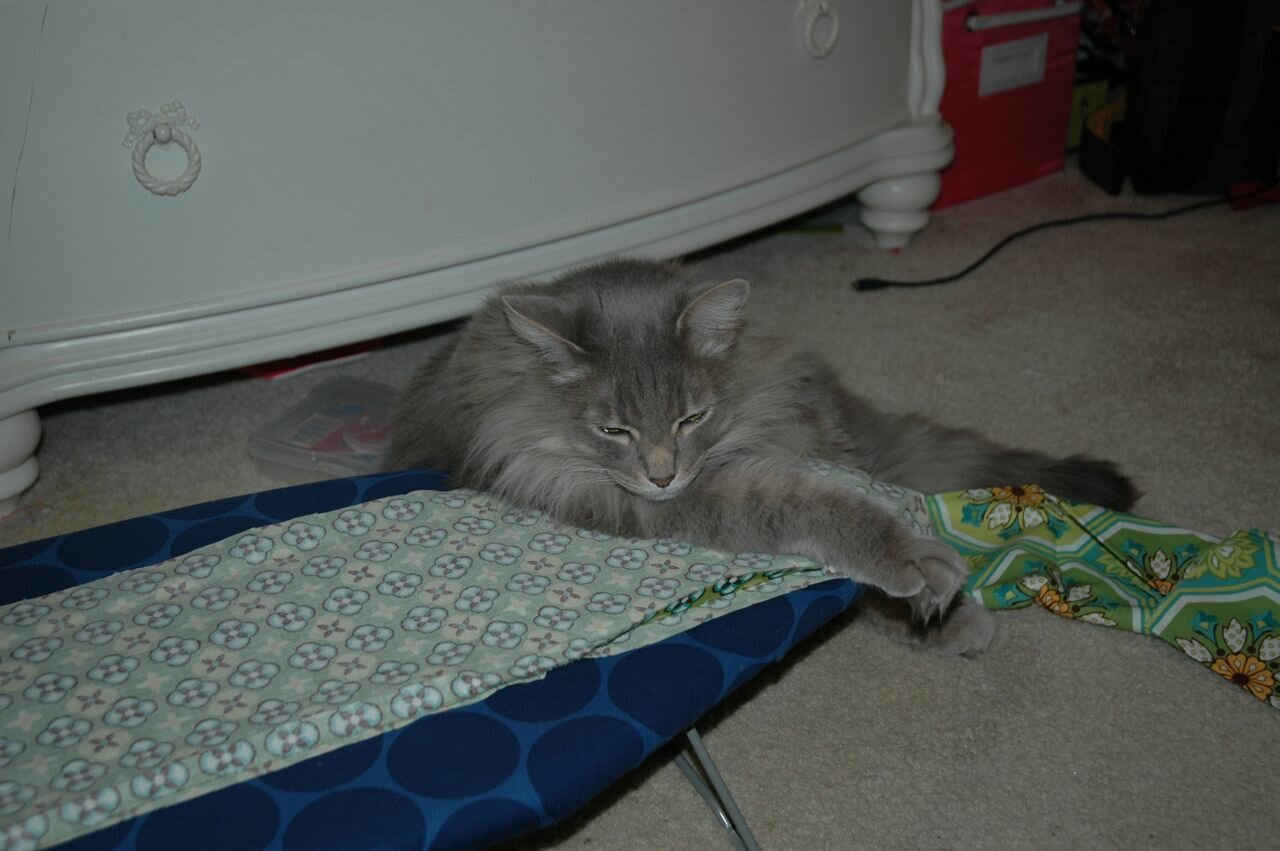
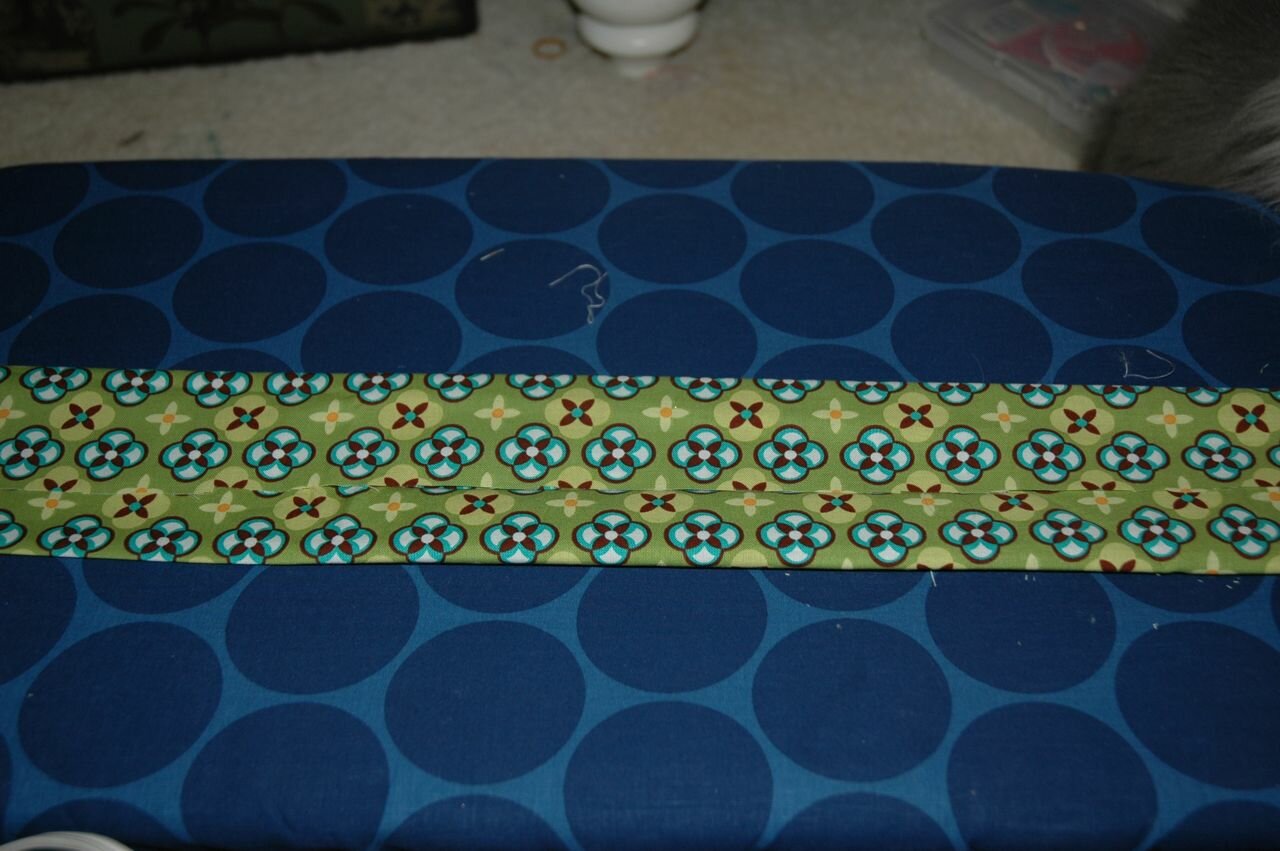
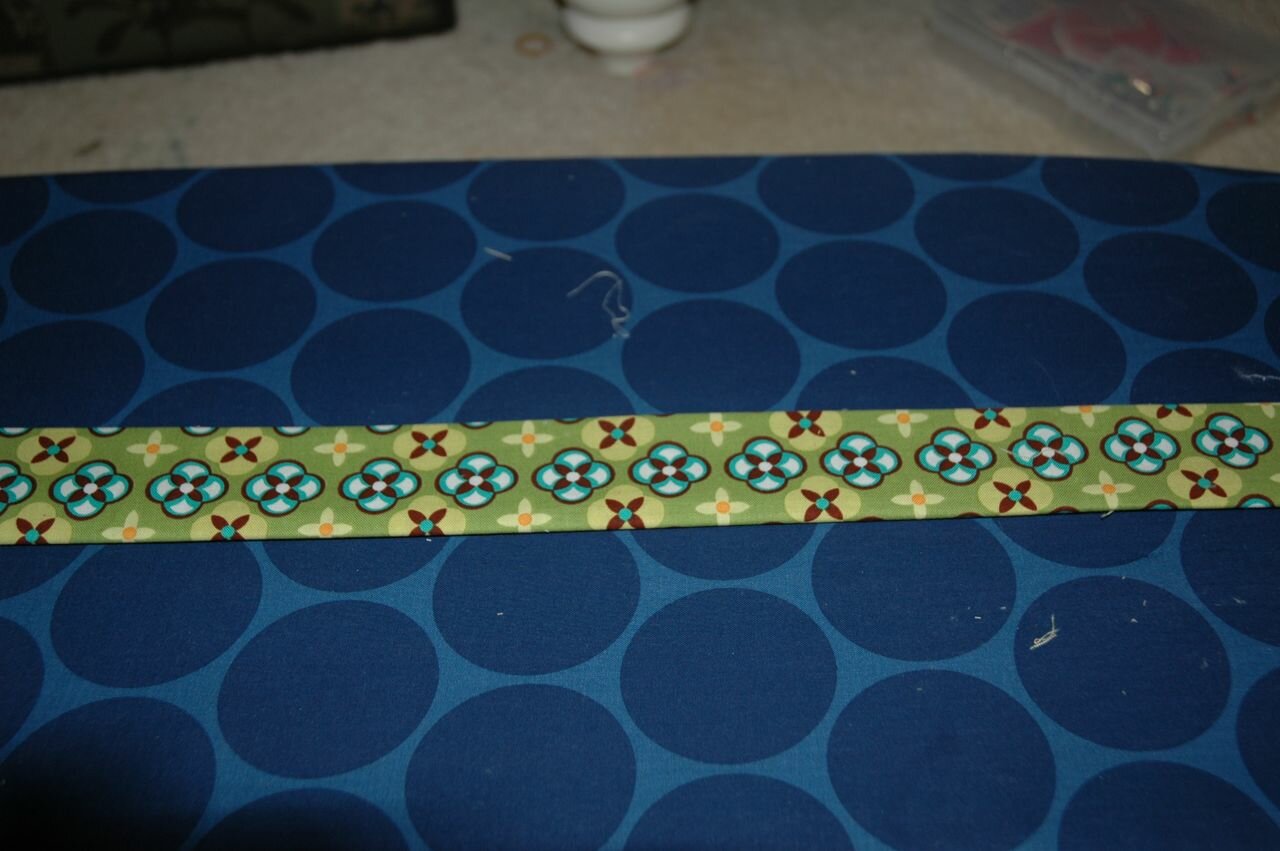
Izzy decided he had to lie right on the ironing board but here are my strips.


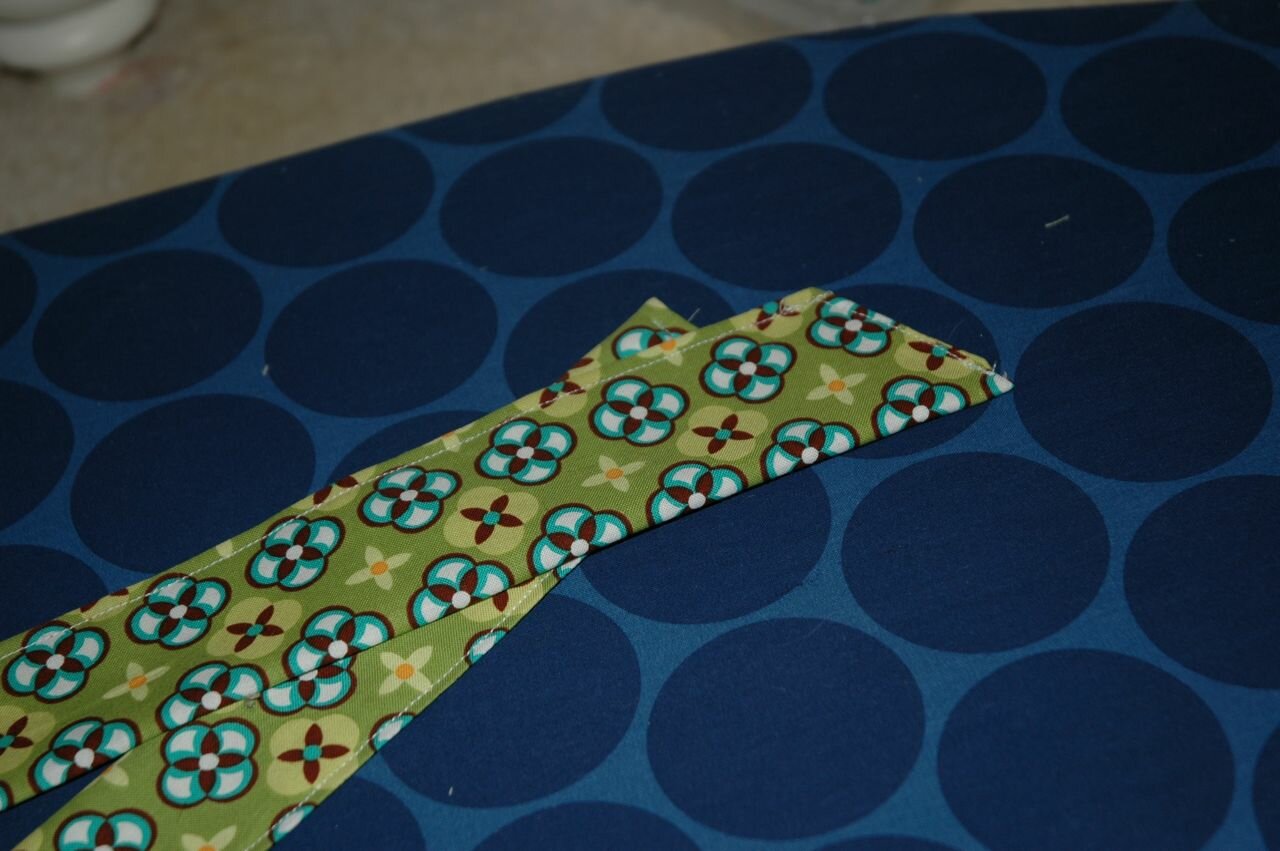
I cut my strips 7″ high so that I could fold them into each other making it about 3.5″ high and then I folded it again where the finished strips were a little more than 1.5″ high.


If you do not want to do this you could use interfacing to give it a little bit of weight.


Sew your strips closed. I also angled the edge of mine because I like how that looks but that is completely up to you.

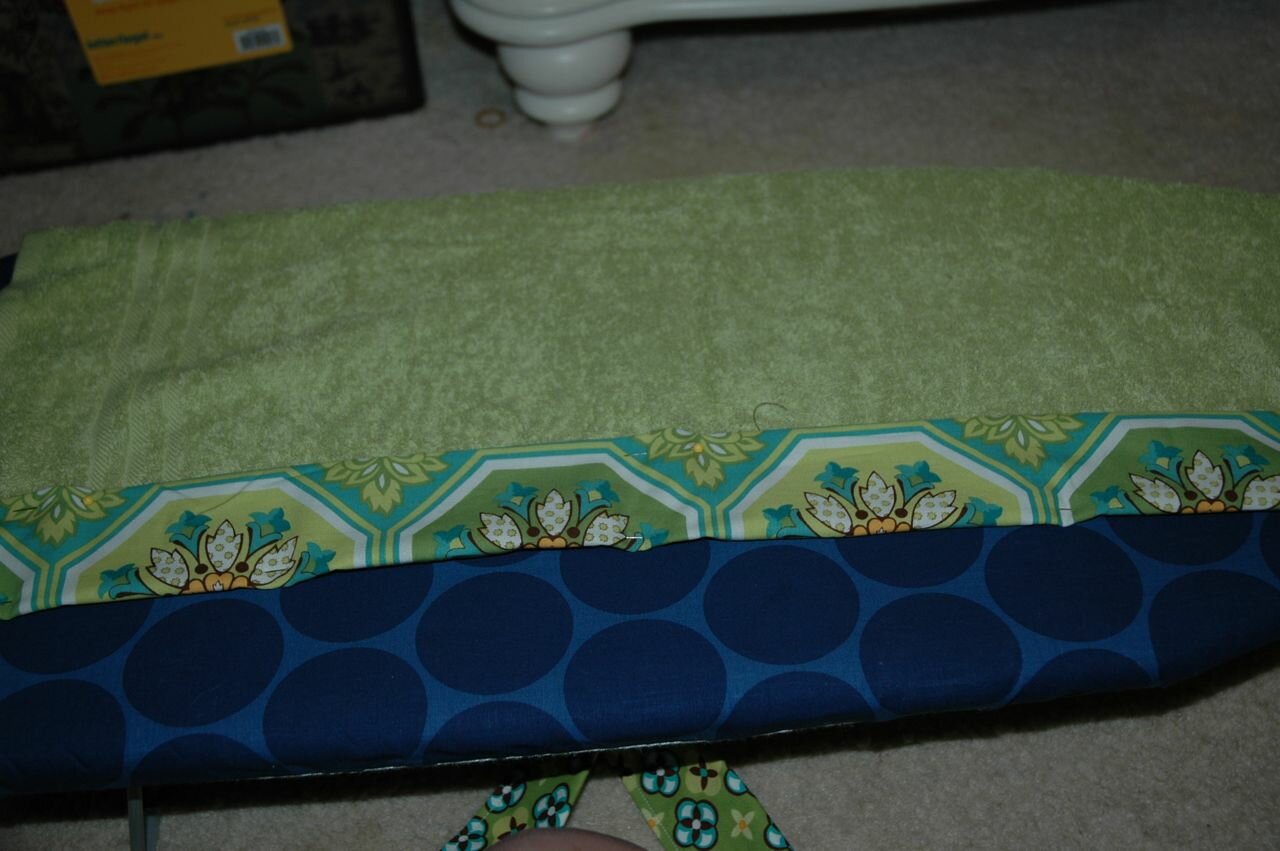
Now take your center piece and pin it over the top of the towel. I should have gotten a picture of this from the back but I didn’t. You can hem it over in the back but it won’t be visible in the front.


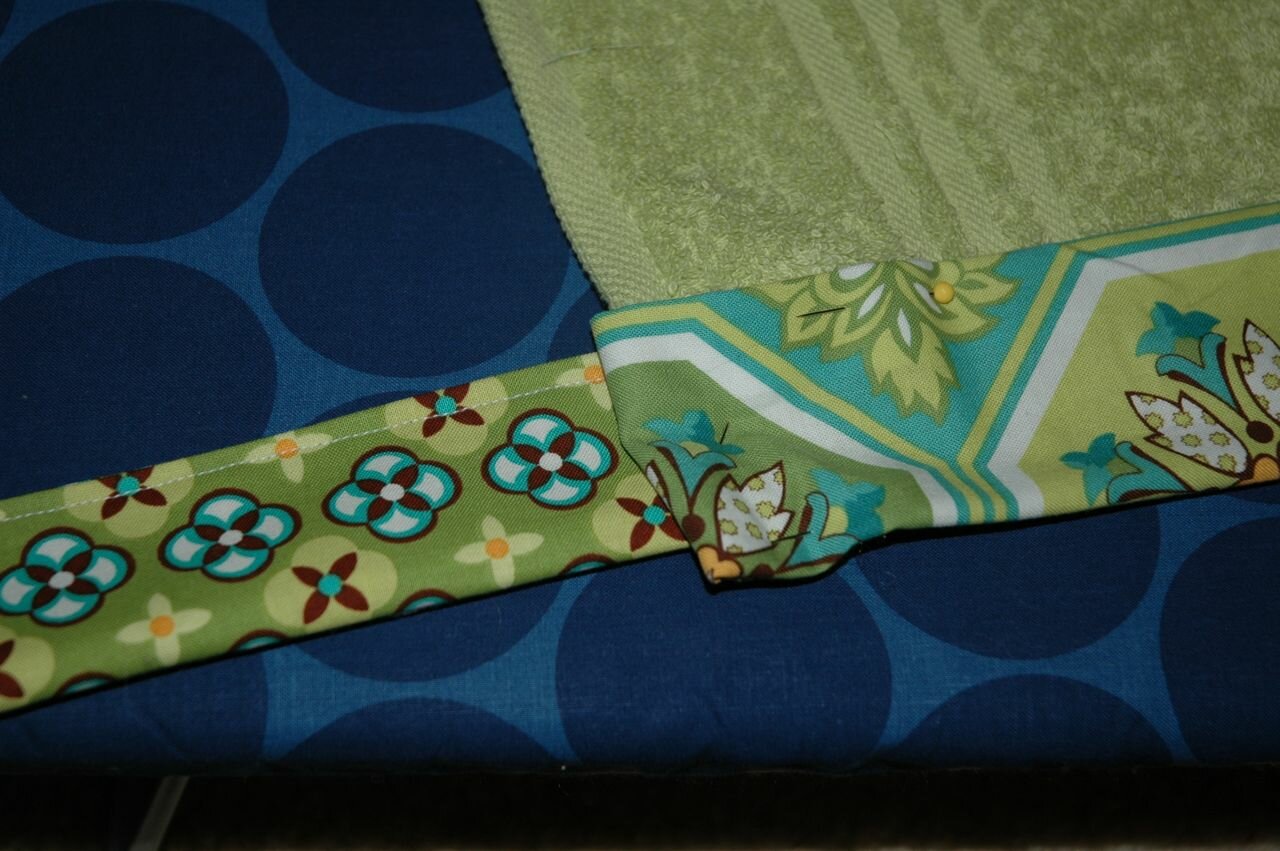
Pin it over and hem it on the bottom on the front. Pin the bottom. Like I said, I made mine about 2″ long but you could make it as large as you wanted to. You can sew this on now or wait until you pin on the strips to sew it all together.


You will then pin the strips on each side. Once you have it pinned go ahead and sew it all together. You will need to sew 4 times-
1. The bottom of the middle piece
2. The top of the middle piece (I sewed this one first)
3. The strip on the left side
4. The strip on the right side

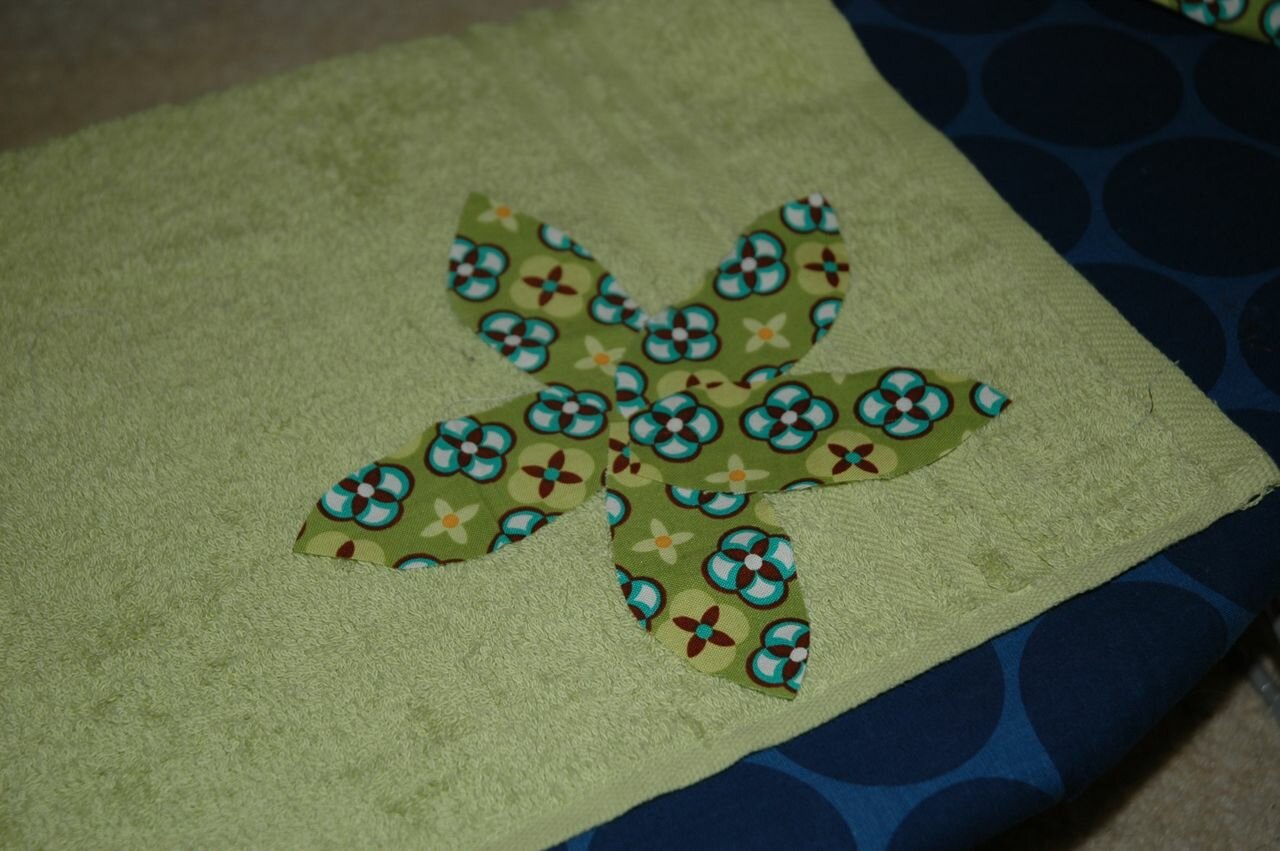
Then you can embellish. It would look adorable with ruffles at the bottom or a cute pocket. I decided to sew a flower on.


Sew your embellishment on (or leave it plain) and then you are done!!

Adorable right?

Depending on the day, week, month you may find me linking here.

01-17-2011

Handmade Tuesdays [Handmade Pact]

So I hope everyone had an excellent weekend. I had a friend in from Australia and got to play Nashville tourist and had a blast! (Hence my lack of posting!) This week’s Handmade Tuesdays tutorial is a little different in I have never had a food tutorial AND I have never done the tutorial myself. But I am currently obsessed with sushi and wanted to show you how to make your own at home! I do not have any fancy tools, or even the “required” mat. So it can be done with absolutely no supplies other than the food. Enjoy!


First you need to gather your supplies. They sell them at most grocery stores. You may either be able to find them in the International aisle or in the seafood section where they sell the sushi.
Supplies

  • sushi rice- it is a certain kind of rice. It is not as long as other types of rice.
  • Rice vinegar- Do not use regular vinegar. Not the same thing!
  • Seaweed aka nori- this comes in sheets
  • Fillings- I use crab, avocado and I would have used cucumbers if I would have had some.


Start by making and seasoning your rice. Cook the rice according to the instructions and then add the vinegar when it is still hot.


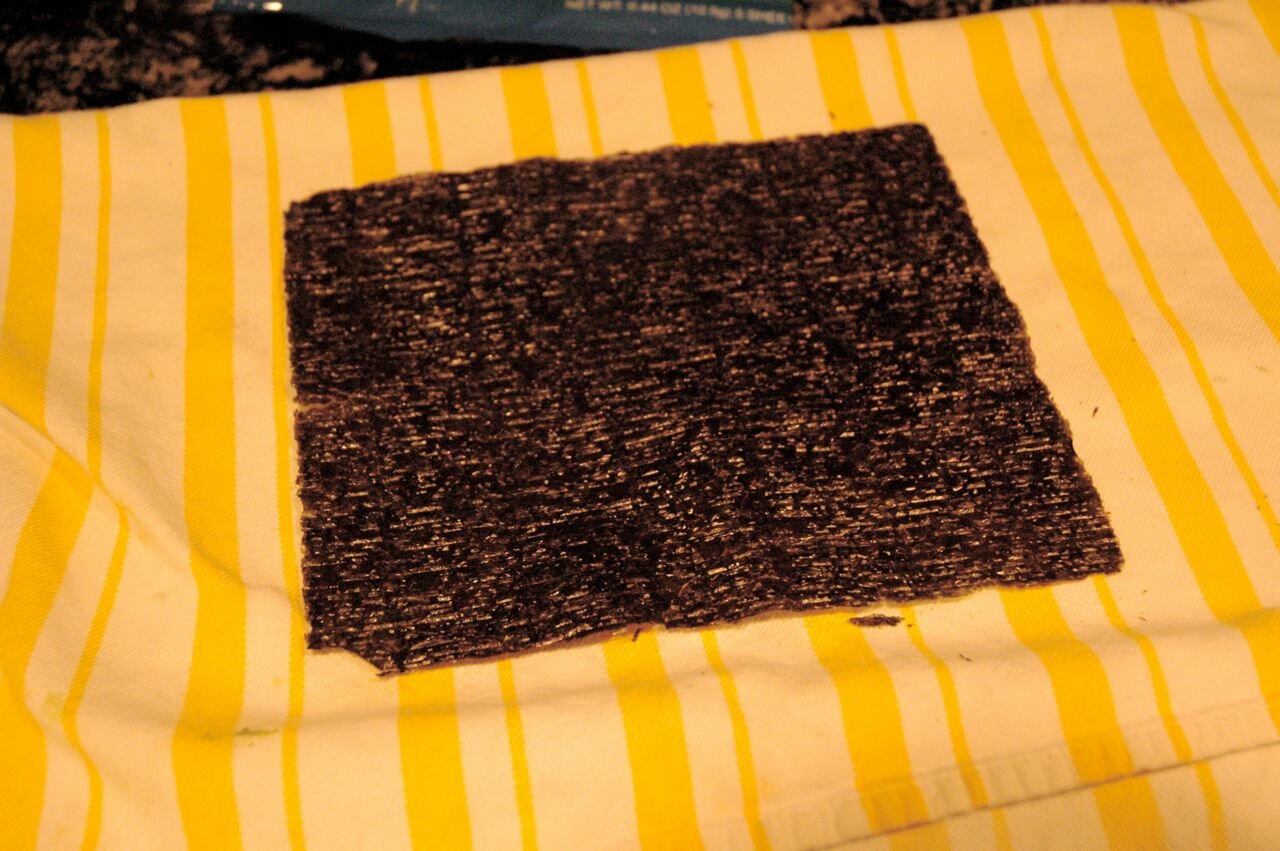
Take your nori and make sure you place it rough side up. You will definitely be able to tell which side is the rough side.


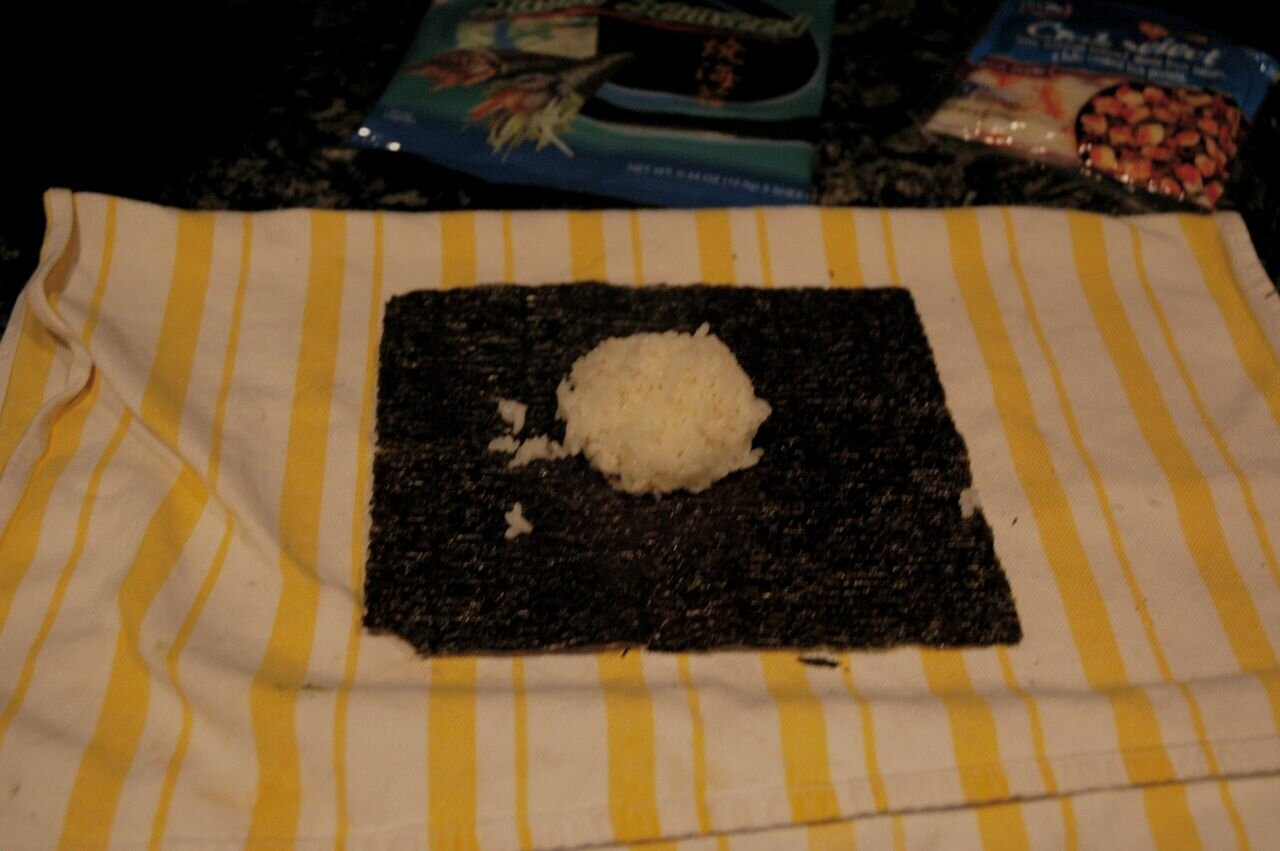
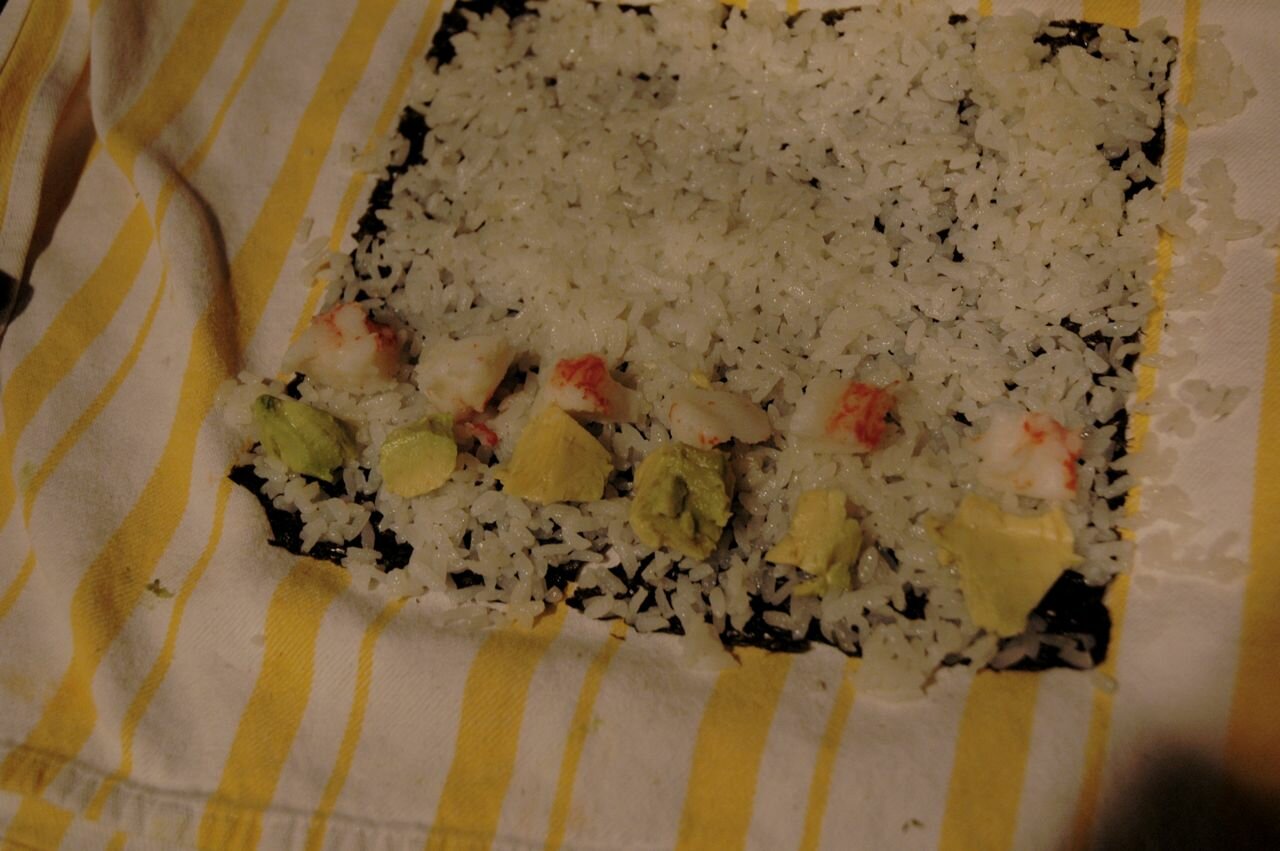
Now make sure to get your hands a little wet (the rice is very sticky) and place a rice ball in the middle of the seaweed. I will warn you that I really like the rice so I tend to use a lot more than necessary (you will see this at the end :)


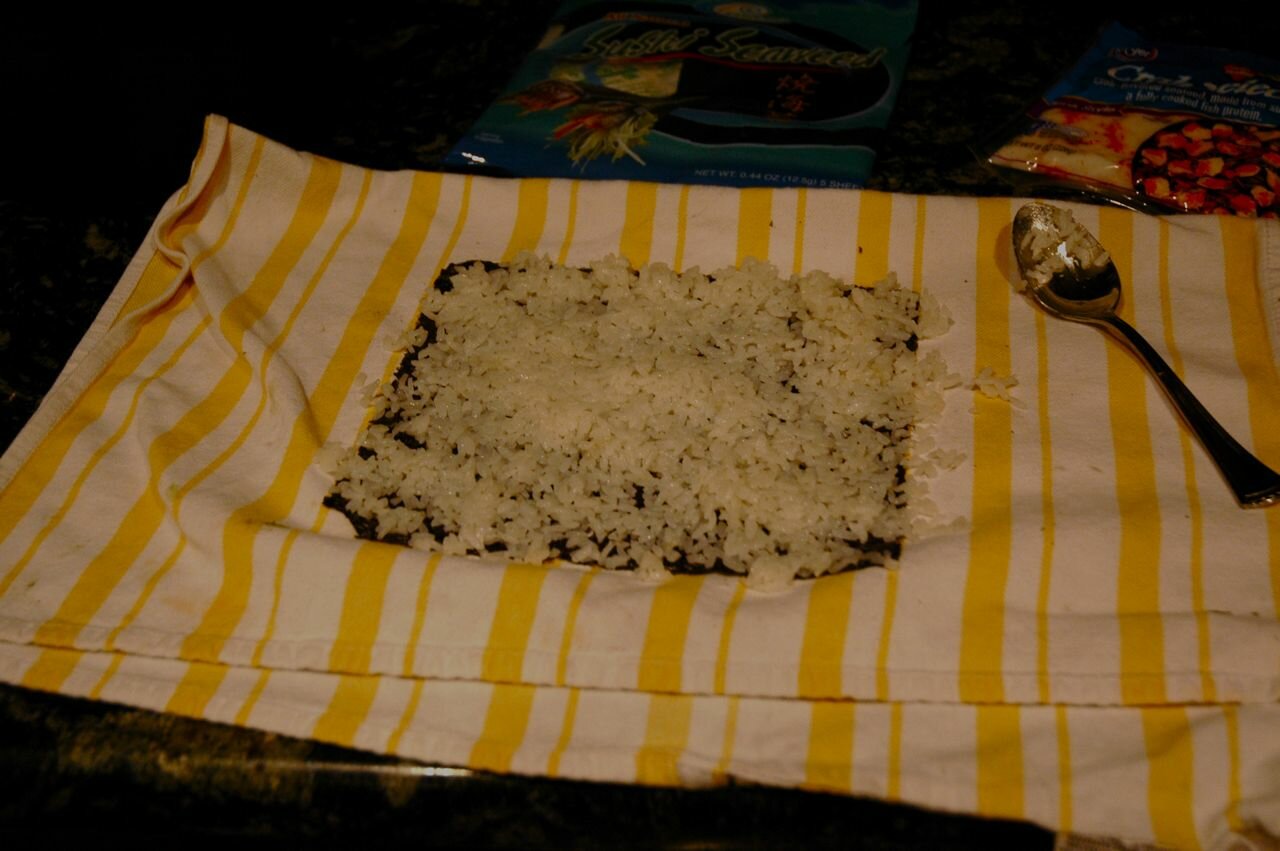
Spread the rice out on the nori. Like I said, I like LOTS of rice, so you do not need to use as much rice.


Now place your toppings on top of the rice. I like to space mine out within each piece but you can also spread it out across the whole roll and then just cut through it when you are cutting your pieces.


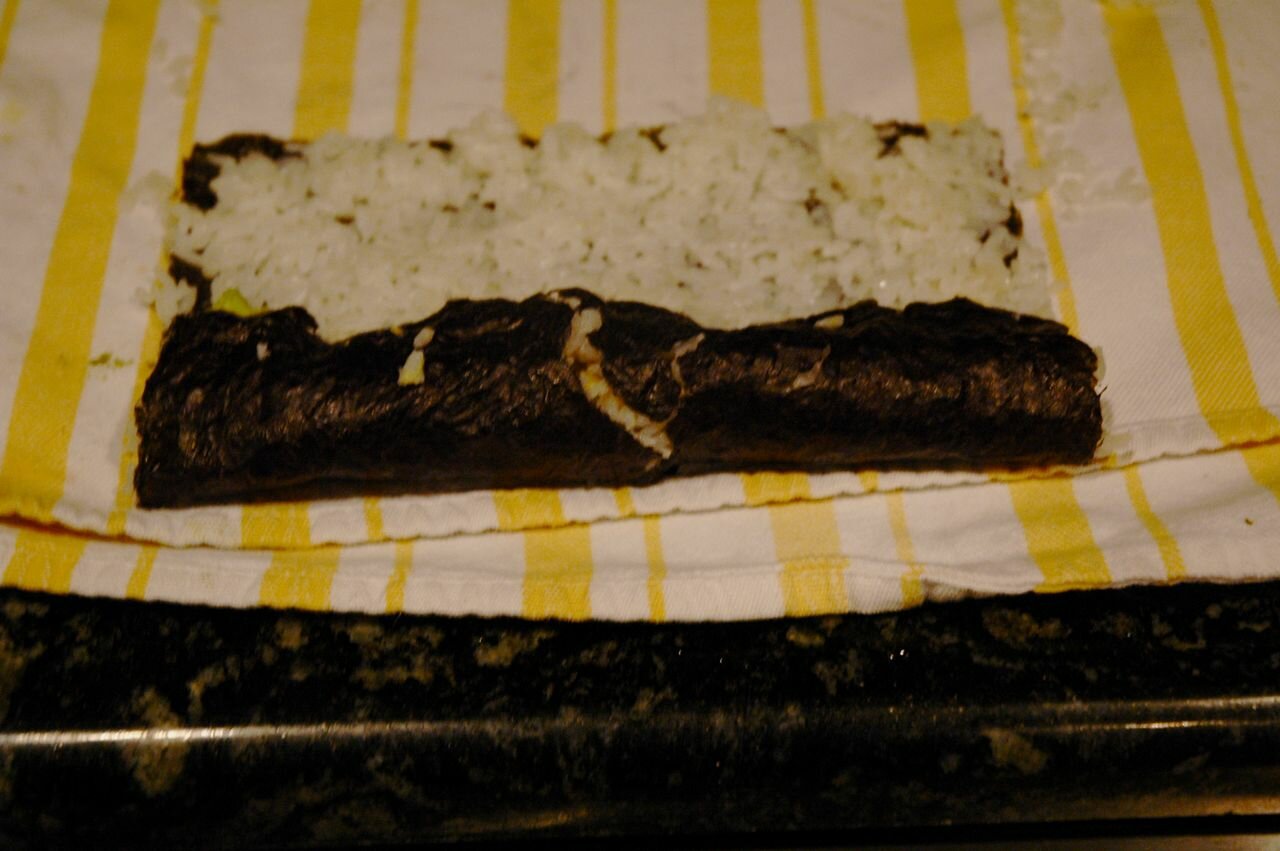
To begin your roll life up the end and bring it over to form a small roll. Make sure the sushi is at the end of the towel so you can roll it over.


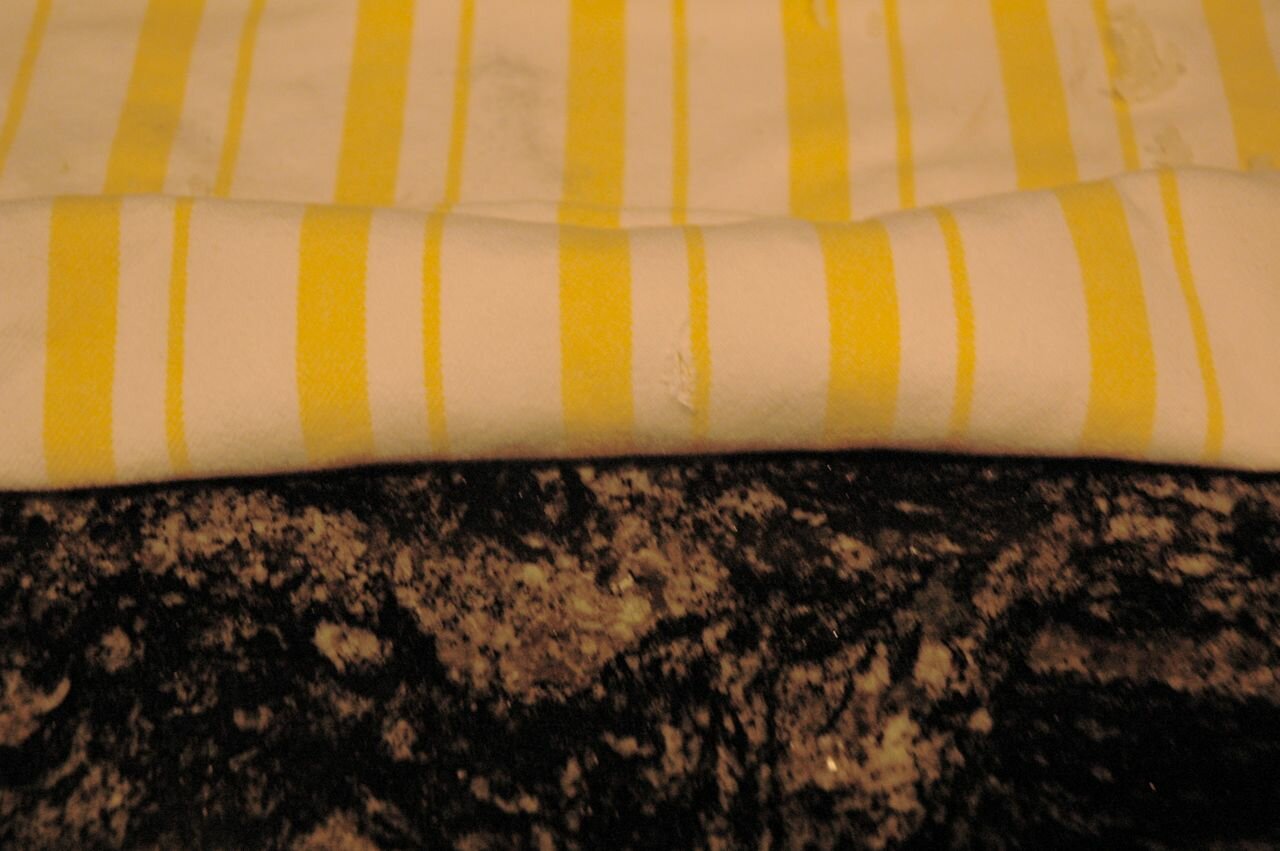
Hold the towel and roll it as tight as you can.


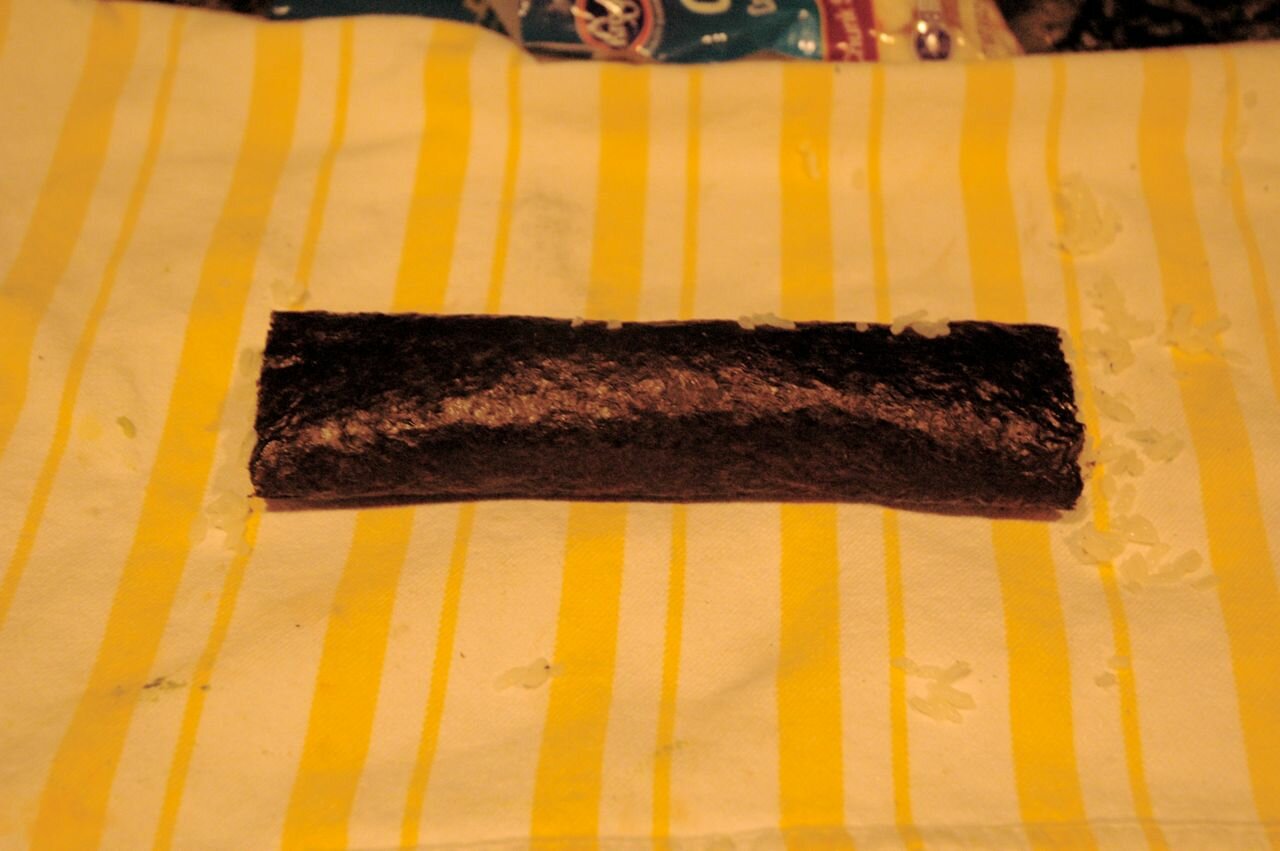
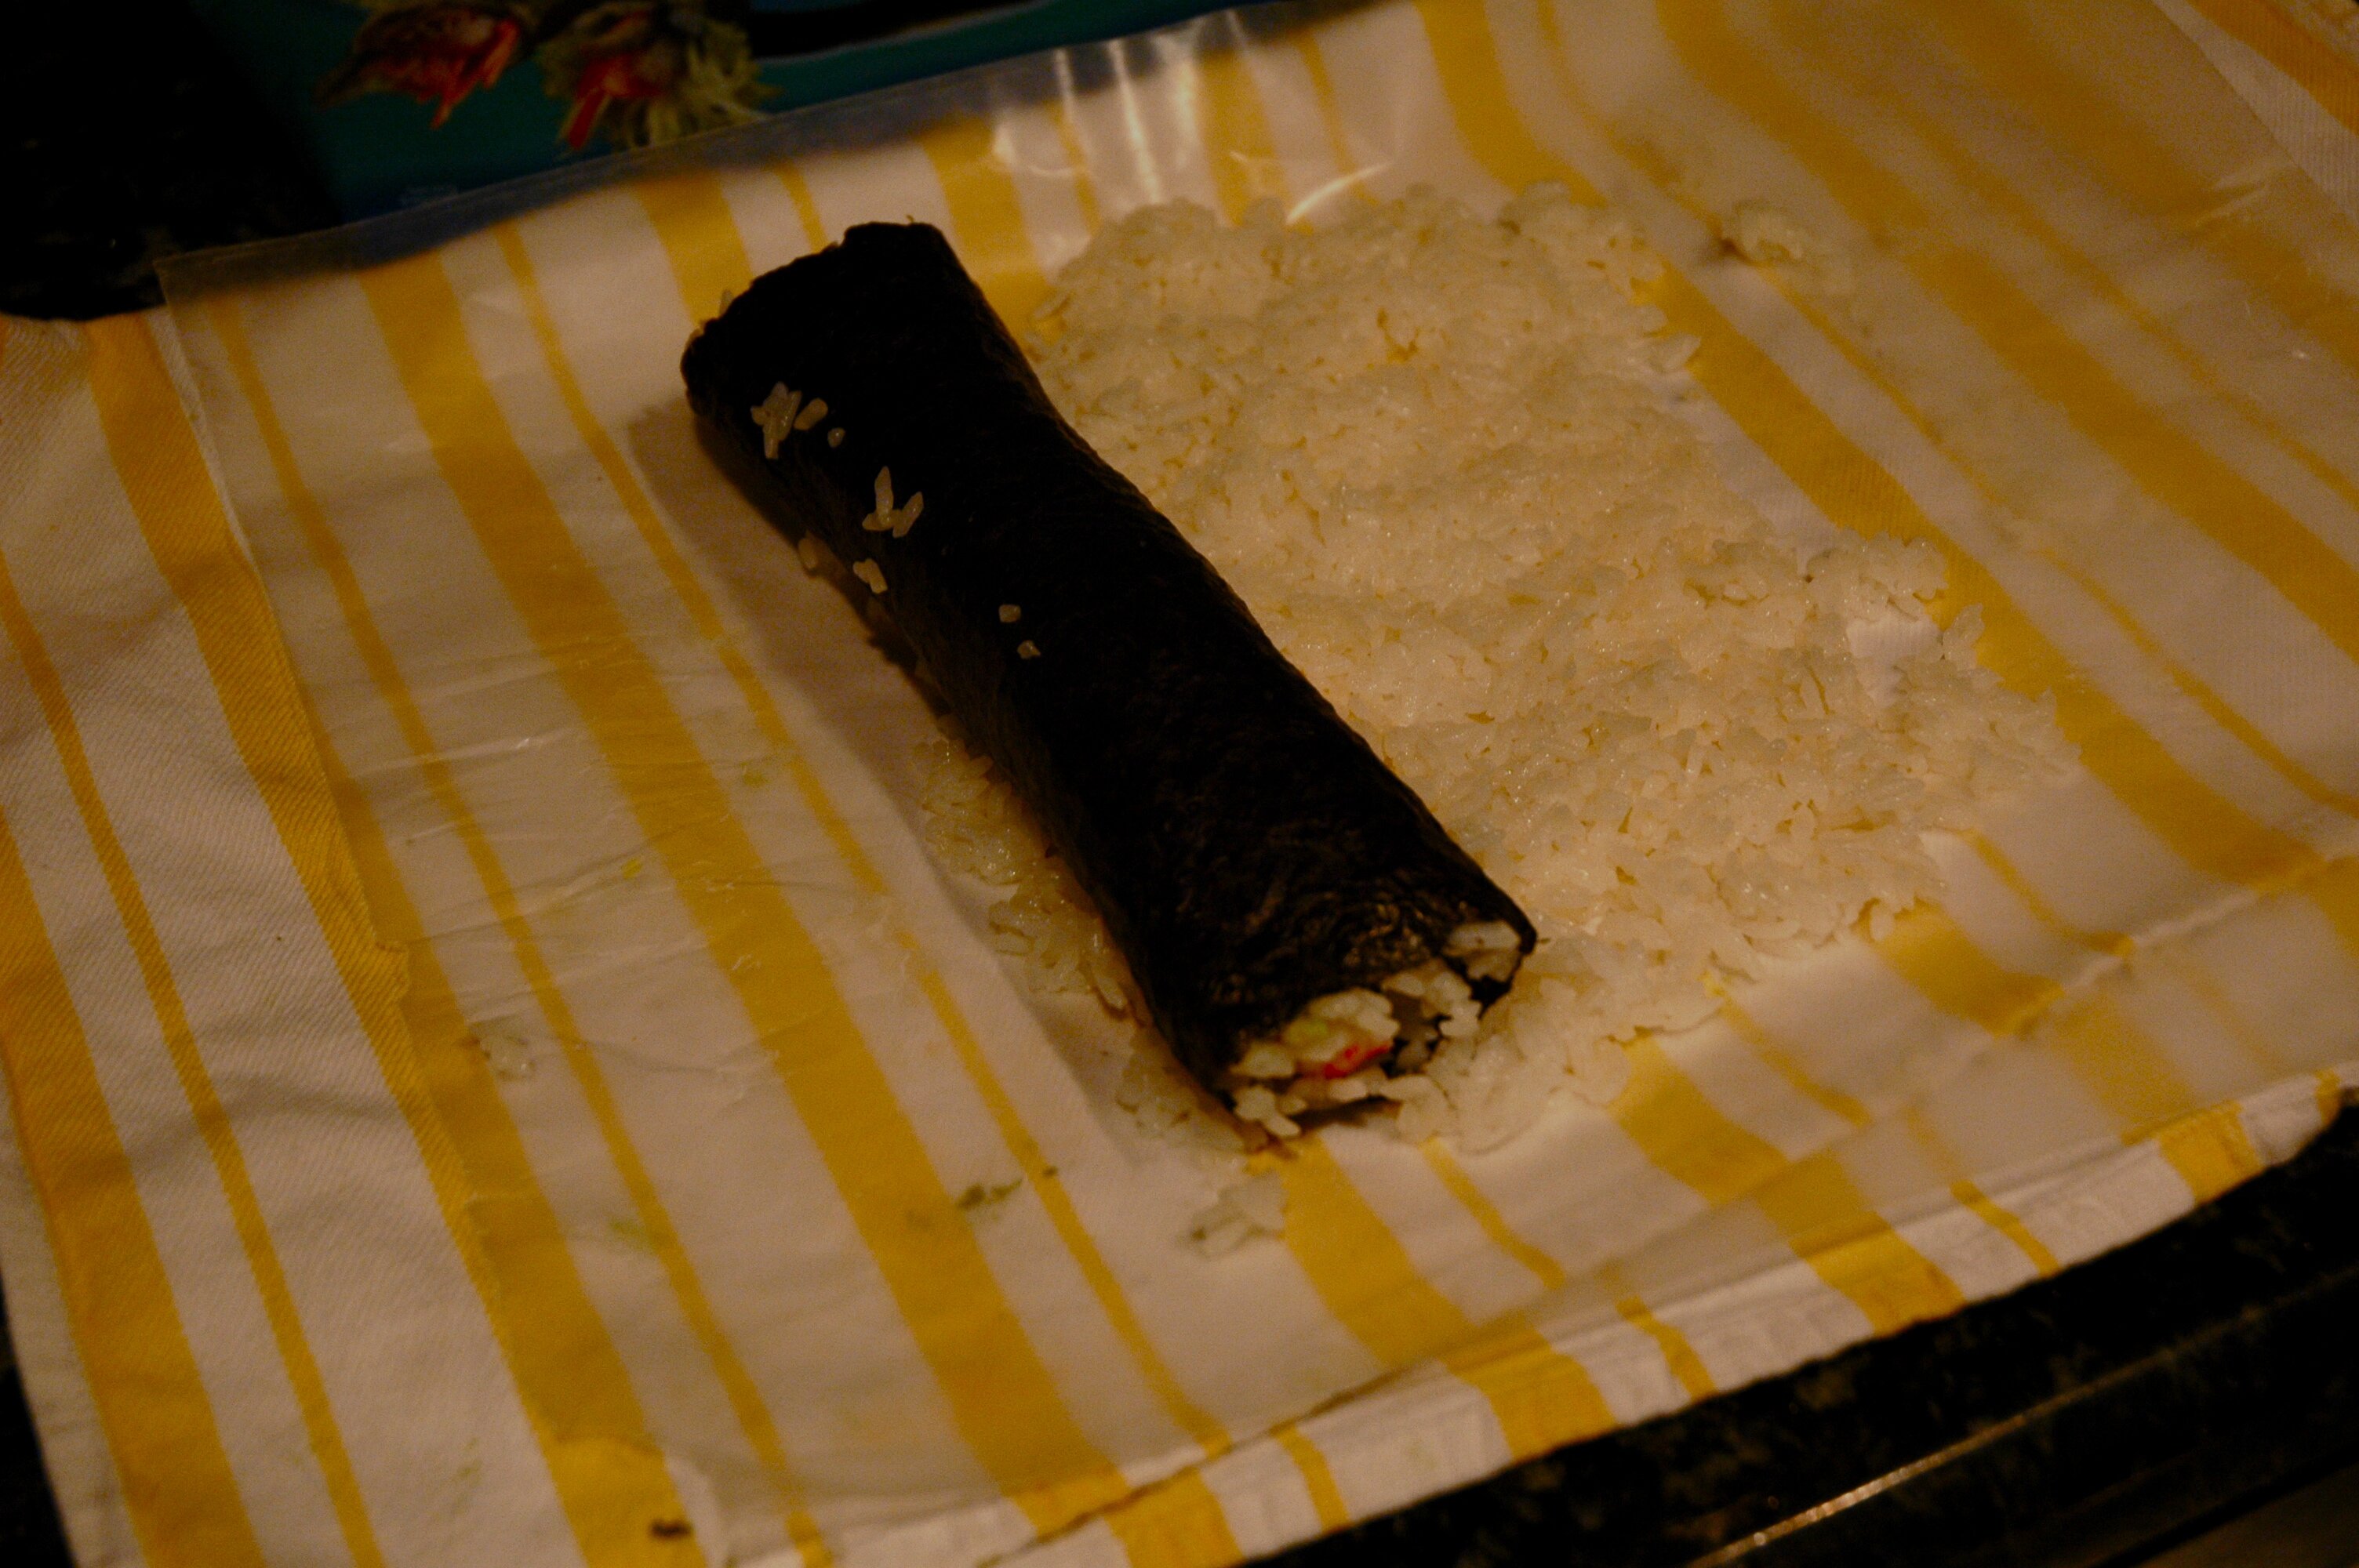
When you are done it will look like this. Nice and tight and rolled up. Now, you can stop here but I like inside out sushi where there is rice on the outside too.


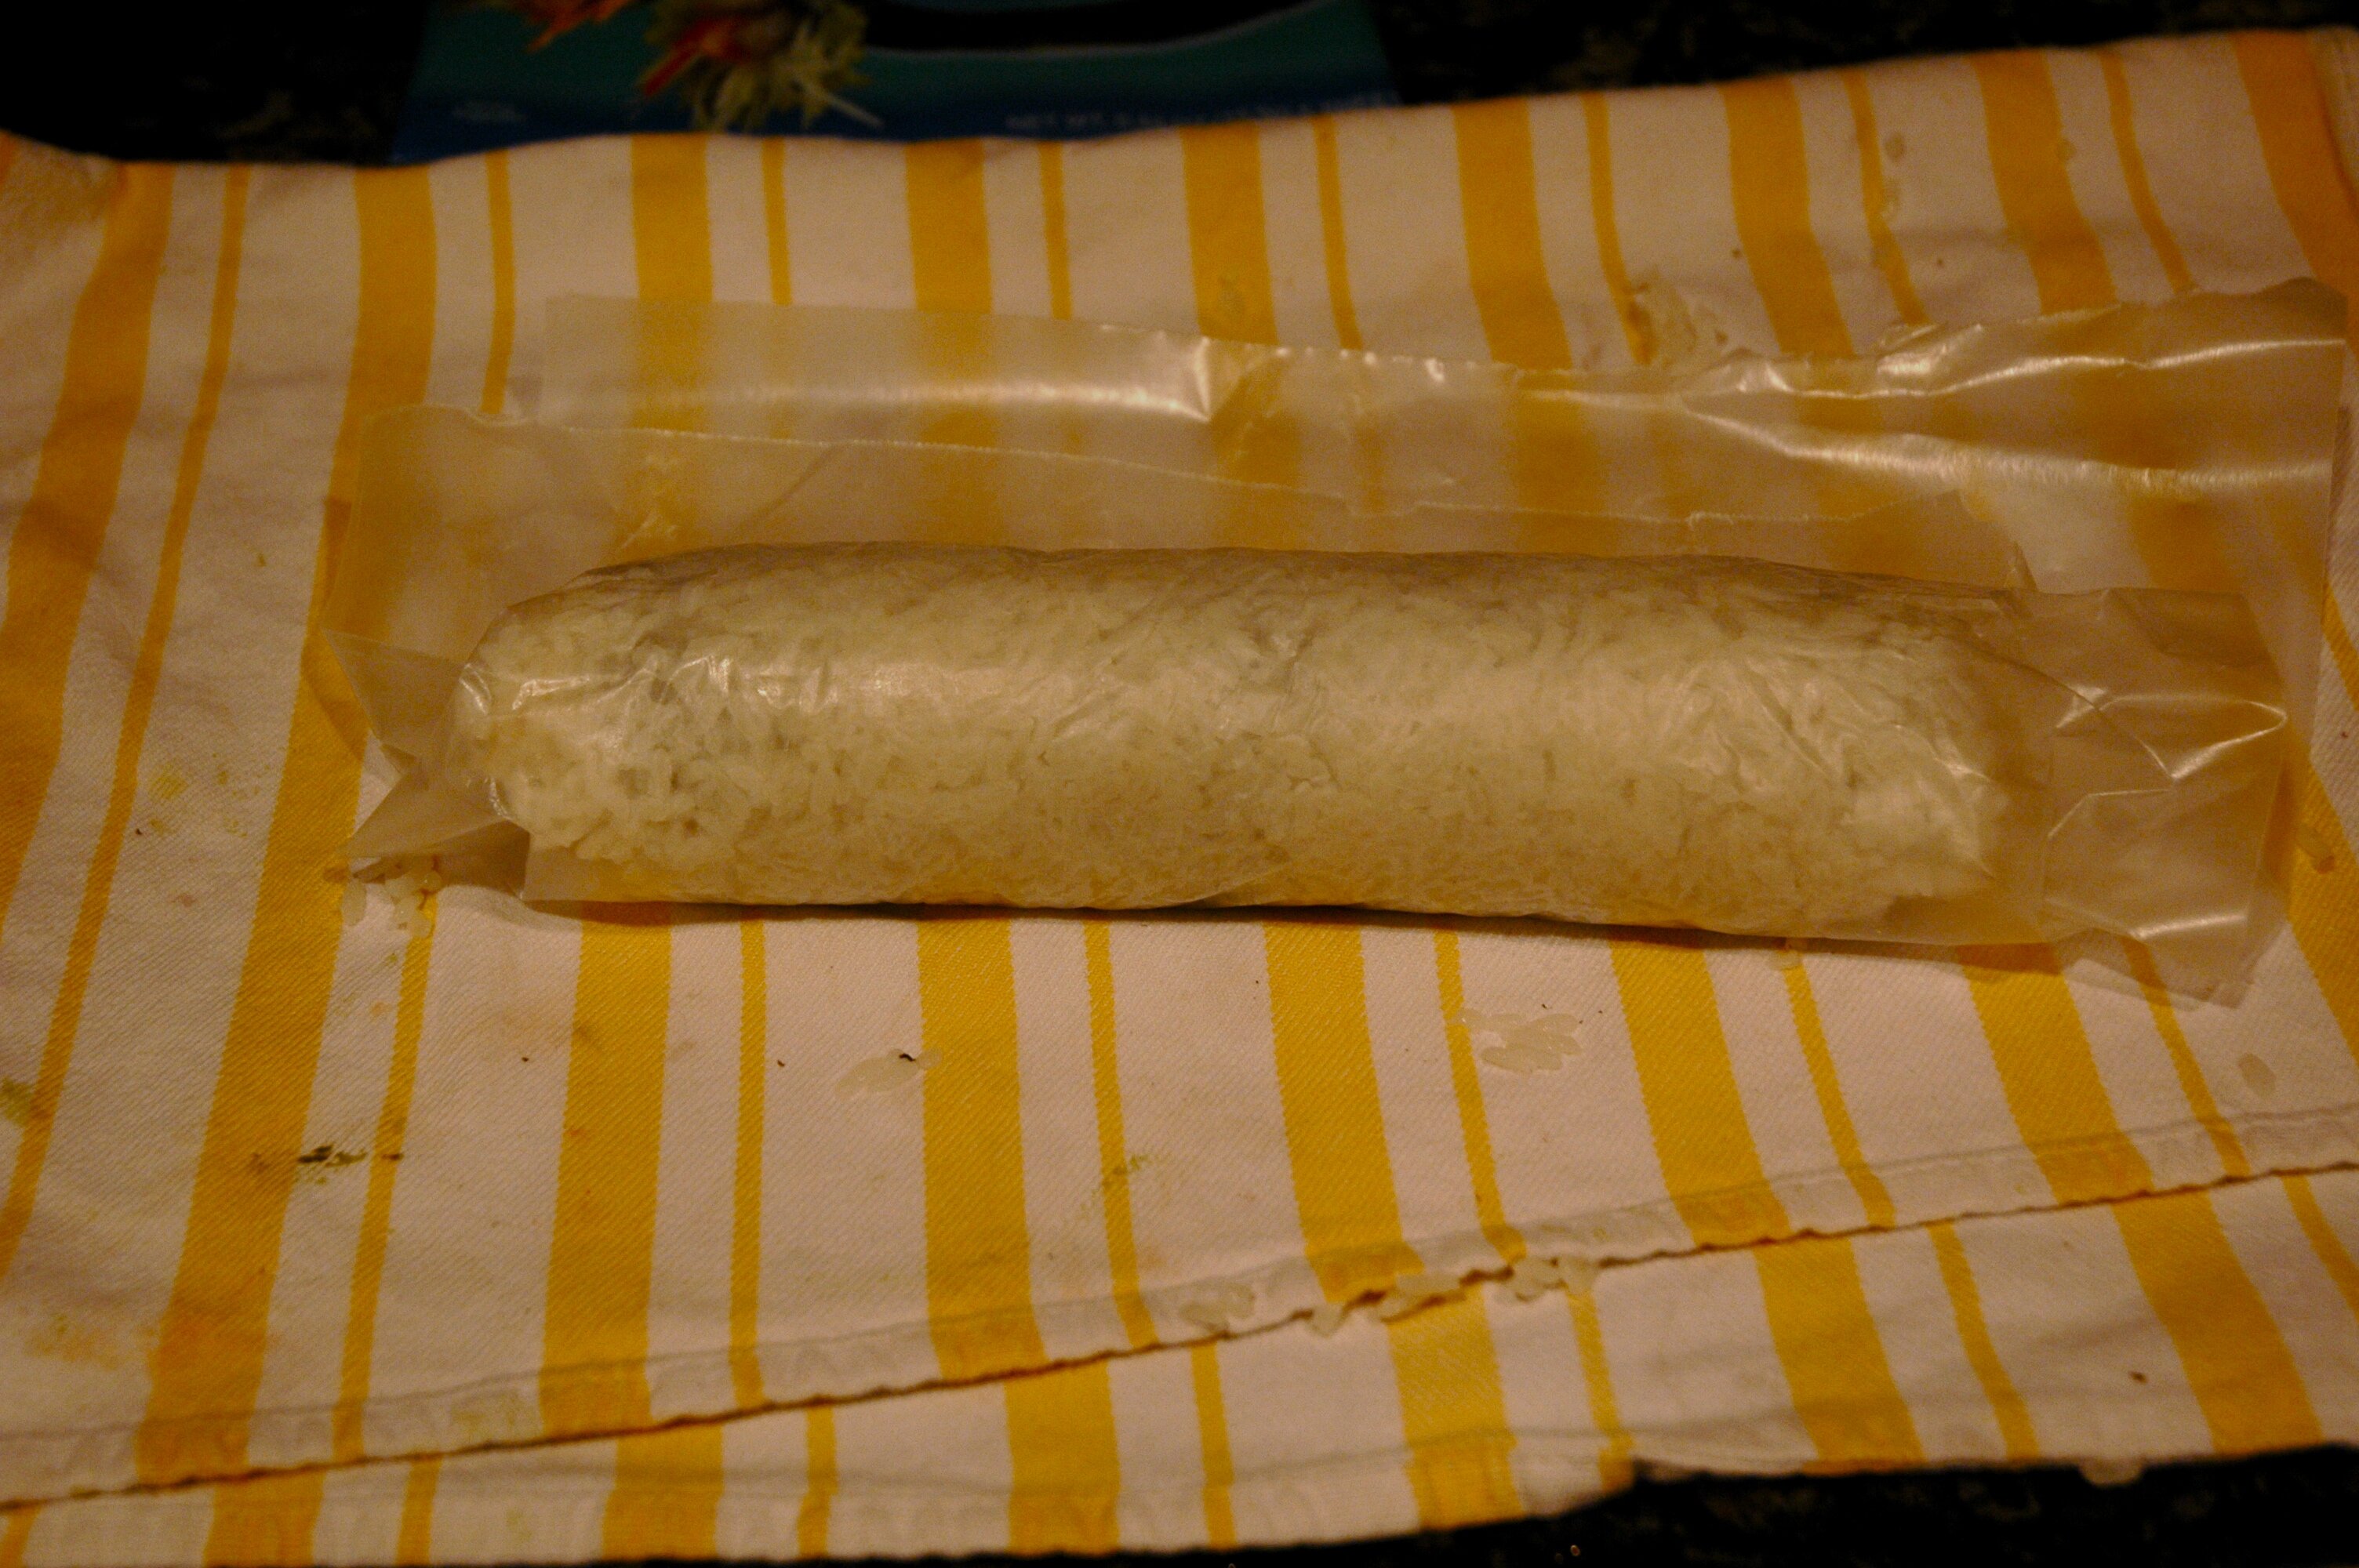
I use wax paper and spread out enough to roll around the entire sushi roll. I then place the roll at the edge of the rice.


Try to get this as tight as possible too. This is what it will look like all wrapped up. Remove the wax paper.


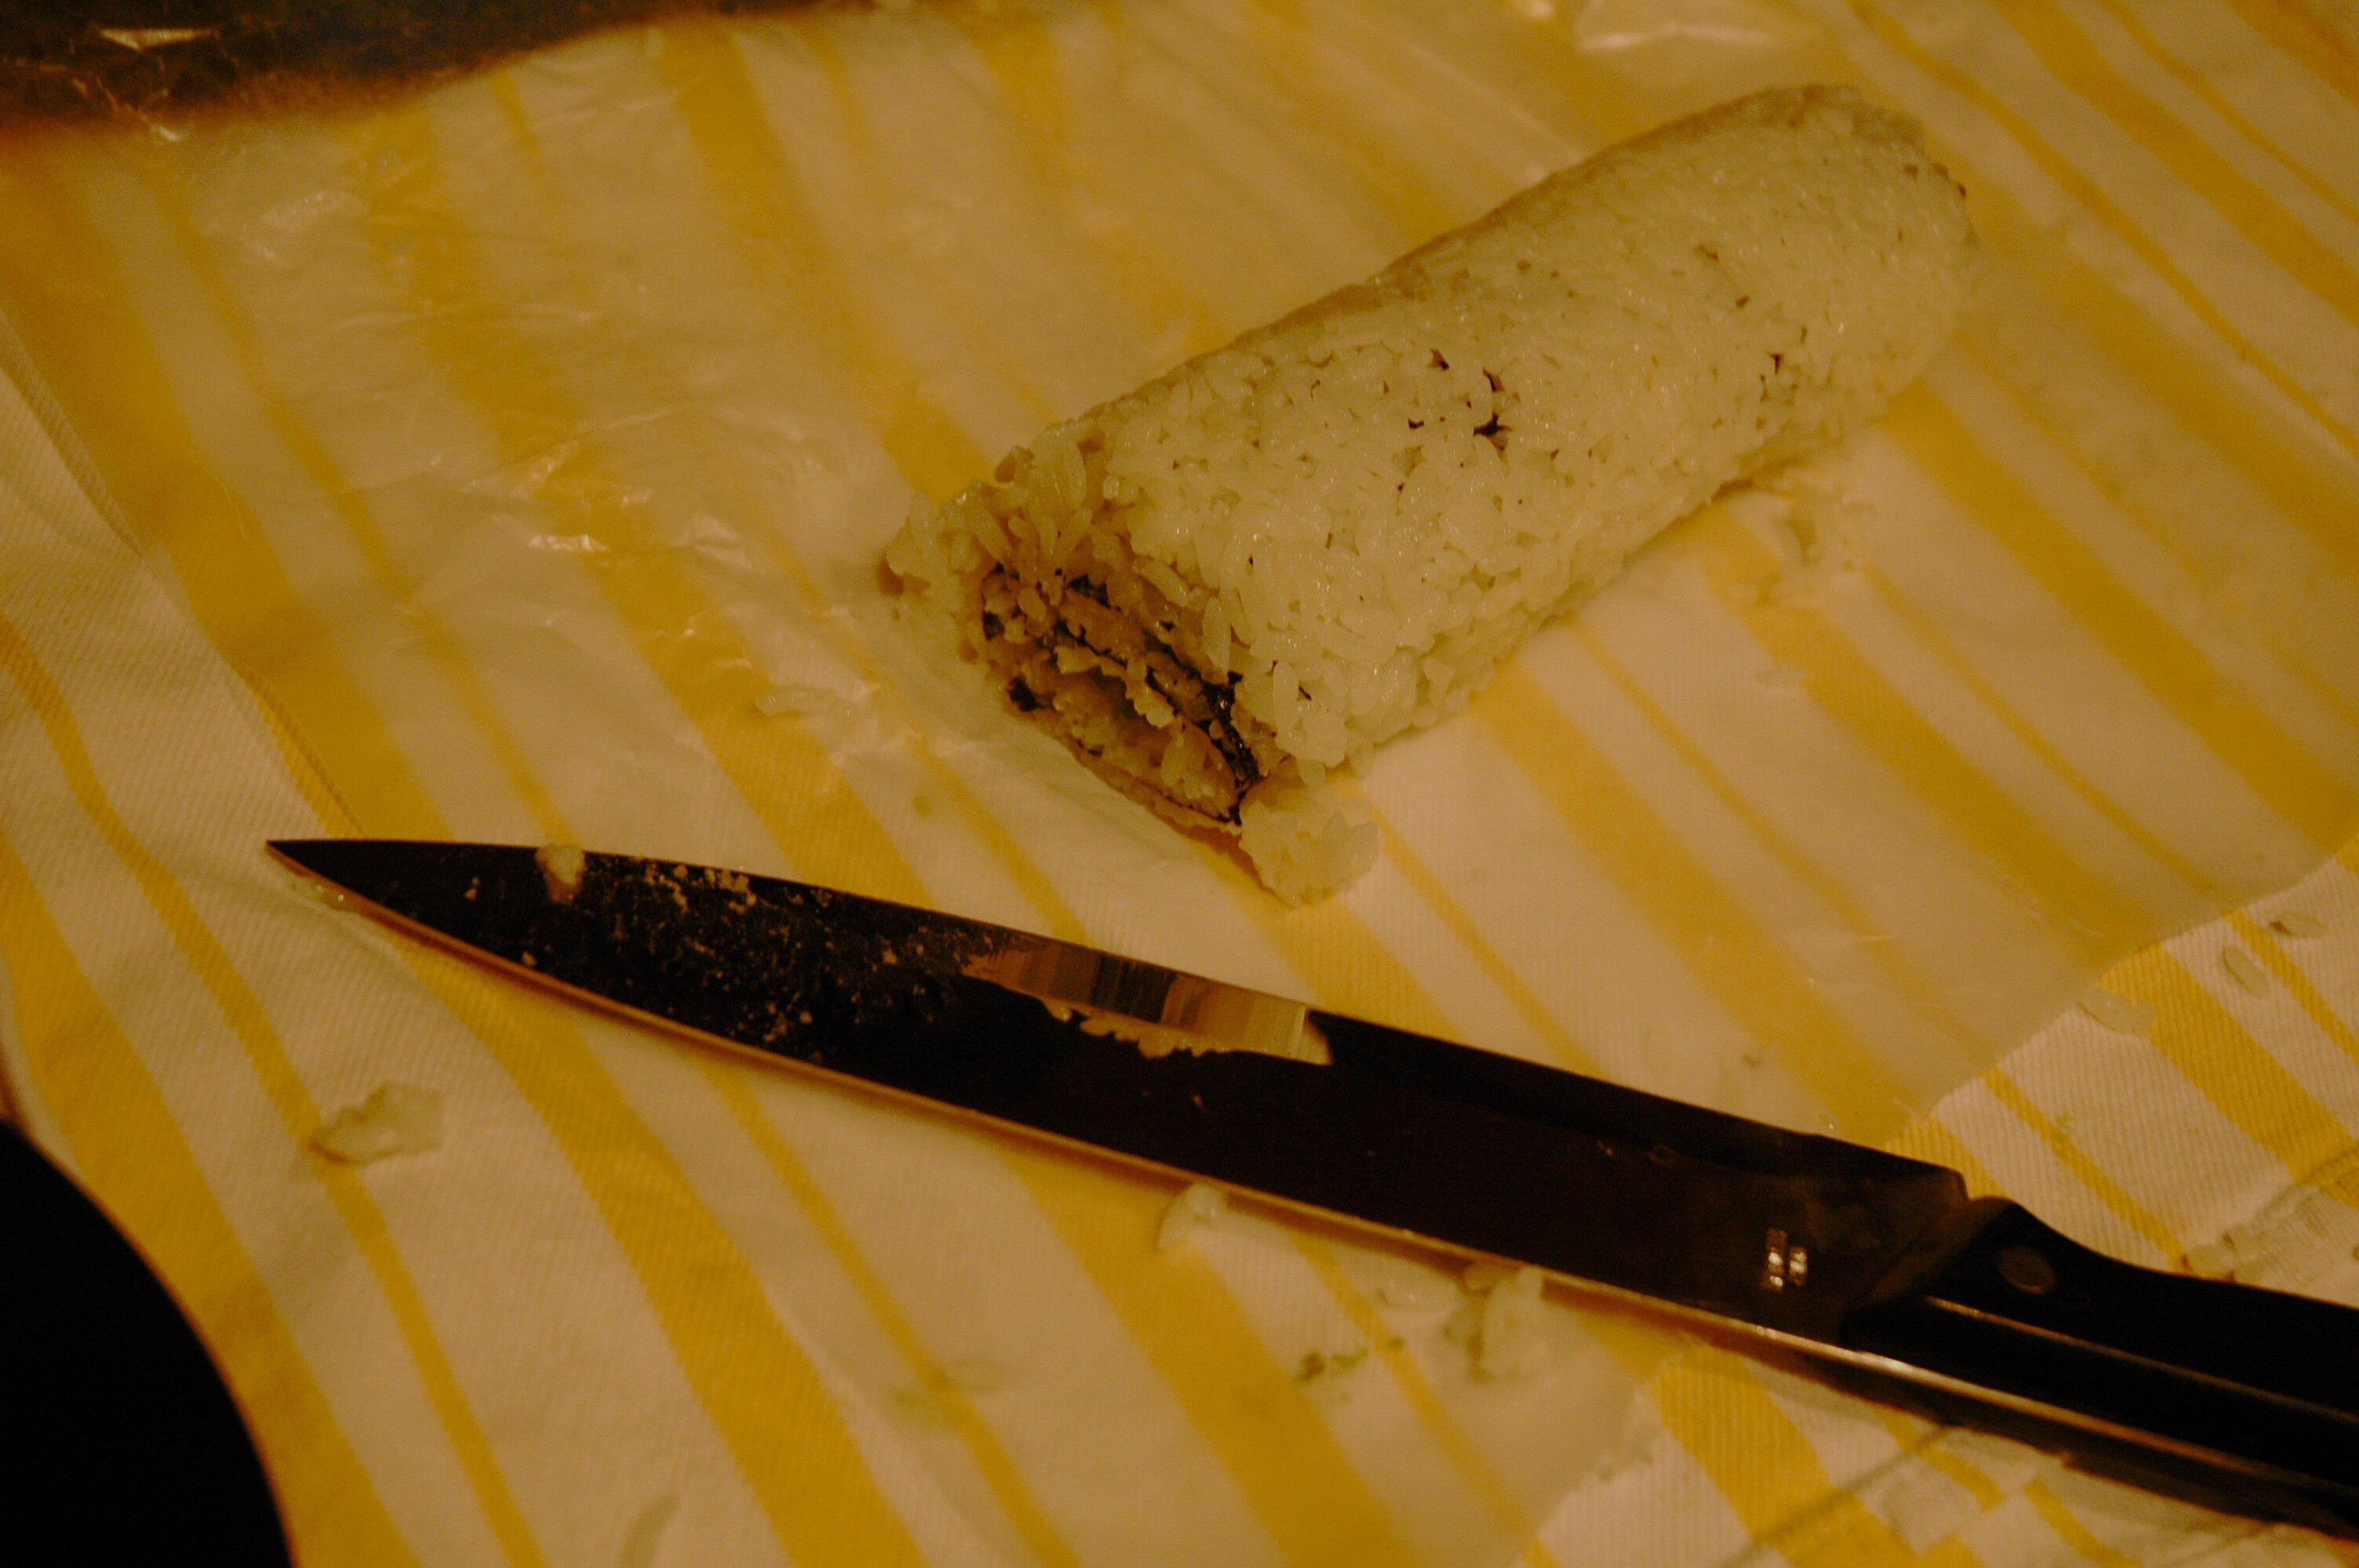
Now it is time to cut it. Make sure to use a very sharp knife. Cut into strips. The nori comes with pre-marked lines but when you place rice on the outside you obviously cannot see them :)


Enjoy! As I mentioned, I put lots of rice on mine so they are larger than the sushi you would buy in the store but it is all about preference. You can experiment with different fillings- different veggies and meat.
————–

I hope you enjoyed my sushi tutorial!! Let me see what you have been working on! And as always, if you would like to have a tutorial featured please leave a comment or email me.

Promote The Handmade Pact
Please grab a badge to let others know to come link up!