
Welcome to Handmade Tuesdays @ Ladybug Blessings. I fixed the code for the button. For some reason when I copied it from another post it messed up one time and I never noticed it ![]() So I continued to copy from the previous post. No idea how long that one has been messed up for! I apologize!
So I continued to copy from the previous post. No idea how long that one has been messed up for! I apologize!
Don’t forget to enter my giveaway for a Gift Certificate to my shop for a Custom Handstamped Necklace…. Now onto today’s feature post from Amy @ Flexible Dreams. Check out this adorable sweater dress she made!
My four year old daughter is in LOVE with the sweater dress. I think they’re super cute but always on the expensive side in the store. In my never ending quest to make the things I would usually buy I decided to try to construct a sweater dress.
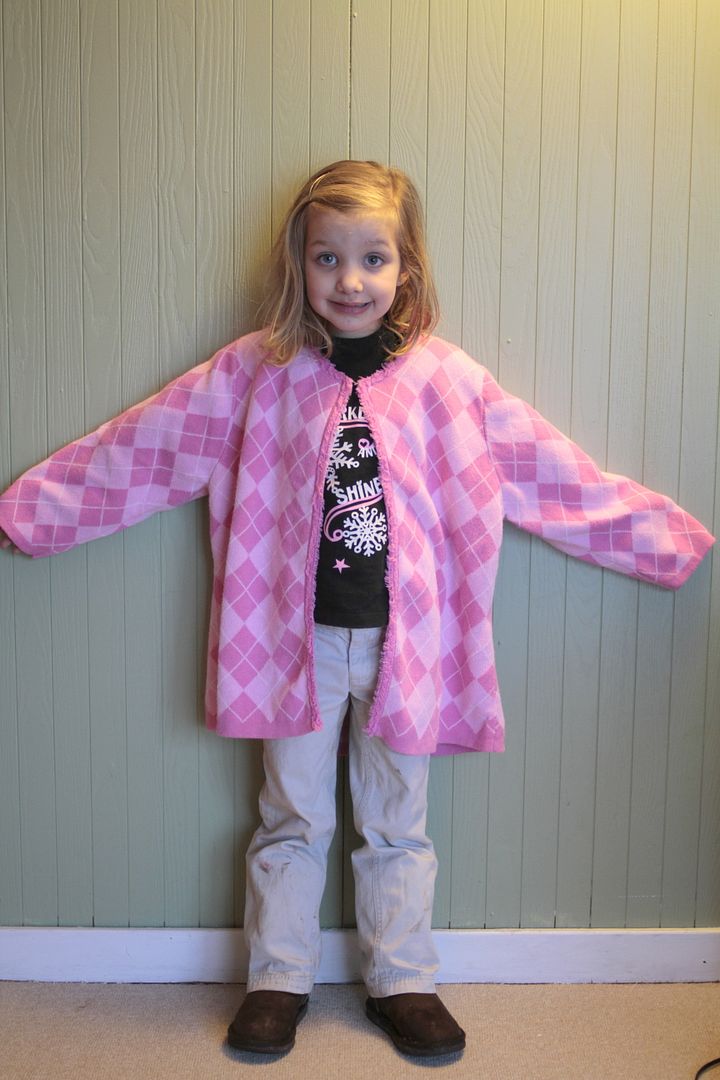
Now, don’t even for a minute think that I entertained the notion of knitting her a dress. Not even in my wildest dreams. We headed to the thrift store and I let Hannah pick out this adult-sized cardigan. The fabric is 40% cotton and 60% ramie. Ramie isn’t synthetic like I previously thought. I washed and dried the sweater and the fibers didn’t felt up like wool but they did shrink/bond together a bit which prevented the knit from unraveling when I cut it up. Bonus.
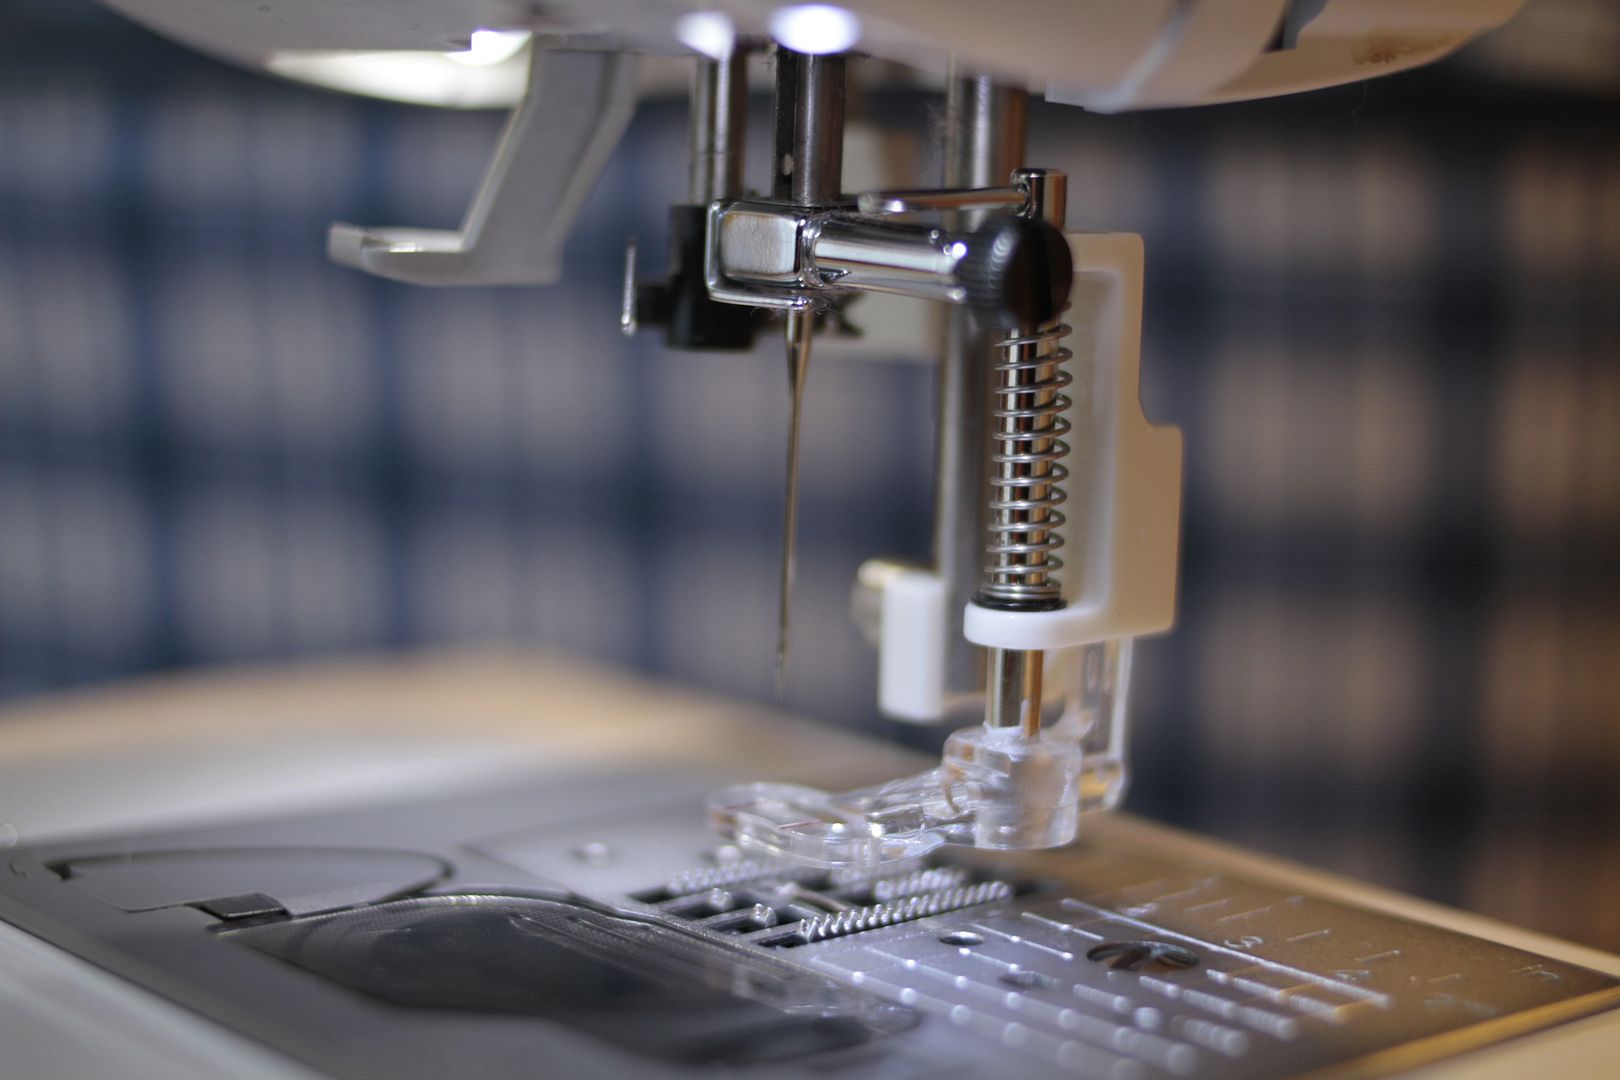
I used the quilting foot on my machine because I’ve had troubles with sewing yarn knits. The fabric tends to get smashed and stretch under a regular presser foot. That being said, I realized about half way into this project that there was a crack in the foot and it kept catching the fabric. I switched to my regular foot and had no problems.
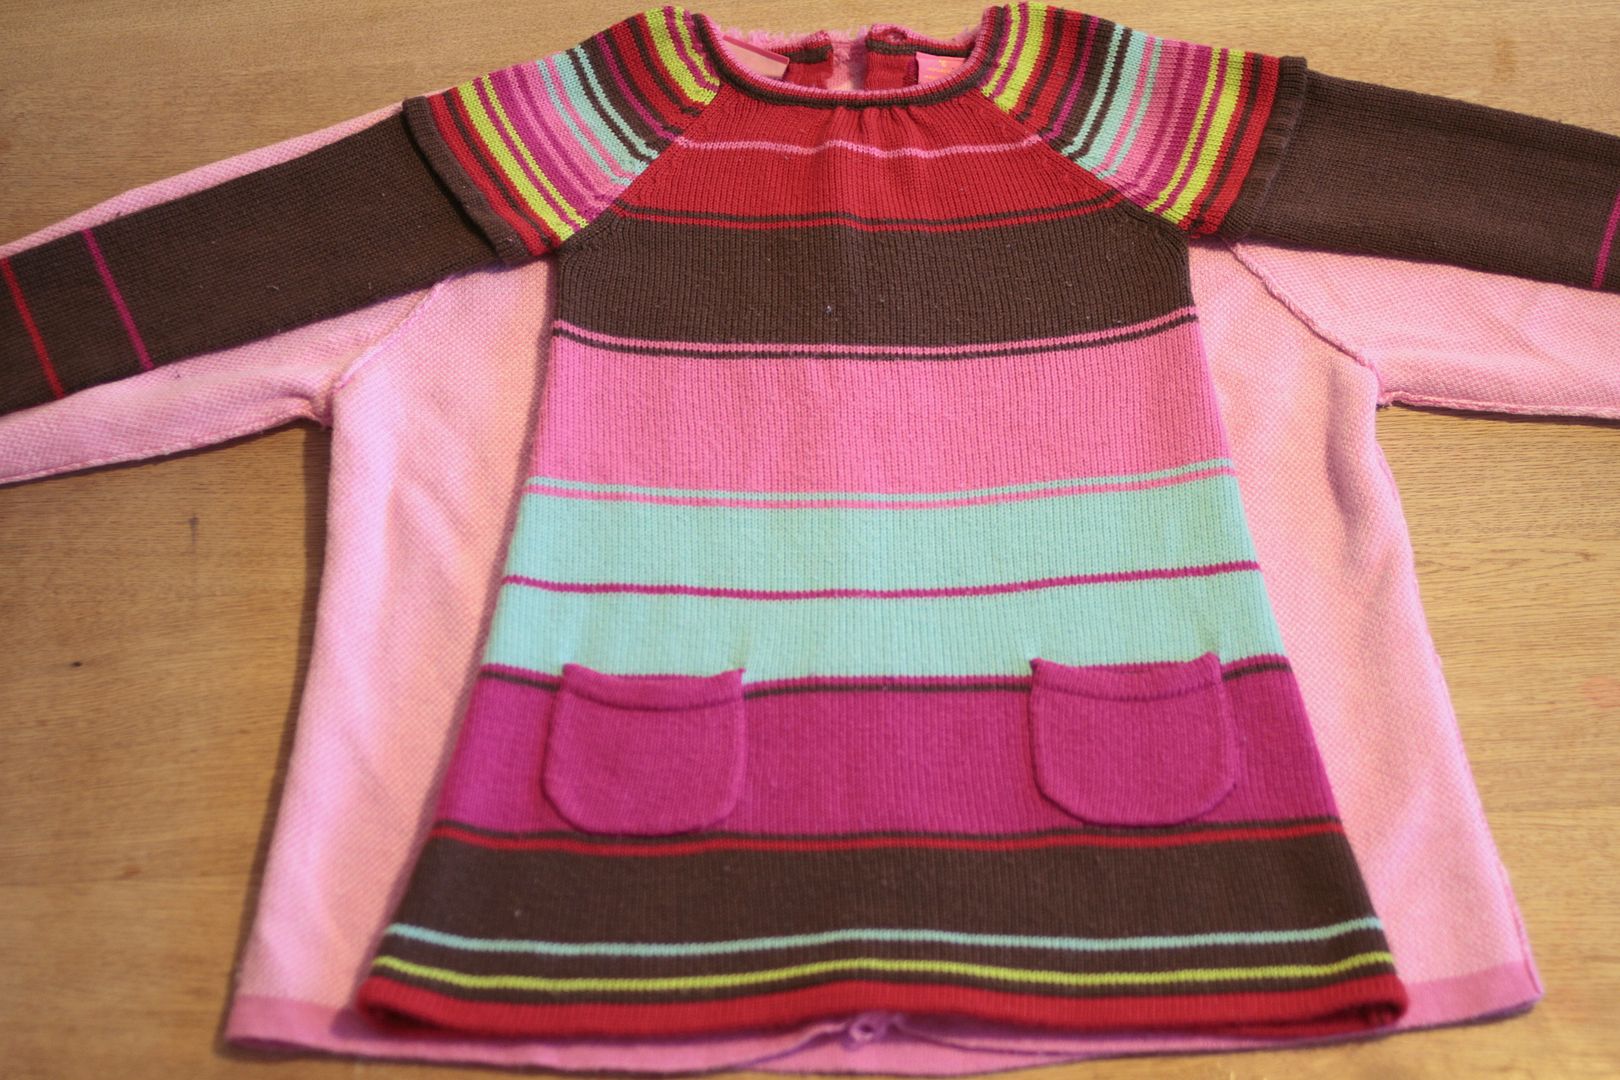
I used one of her dresses as a template to get an approximate size. My goal was to make it slightly bigger so she can wear it over jeans next year.
The original sweater had three-quarter sleeves that weren’t quite long enough for a long sleeved dress. However, the cuffs had a nice finish so I used the ends of each sleeve to make short sleeves for the dress.
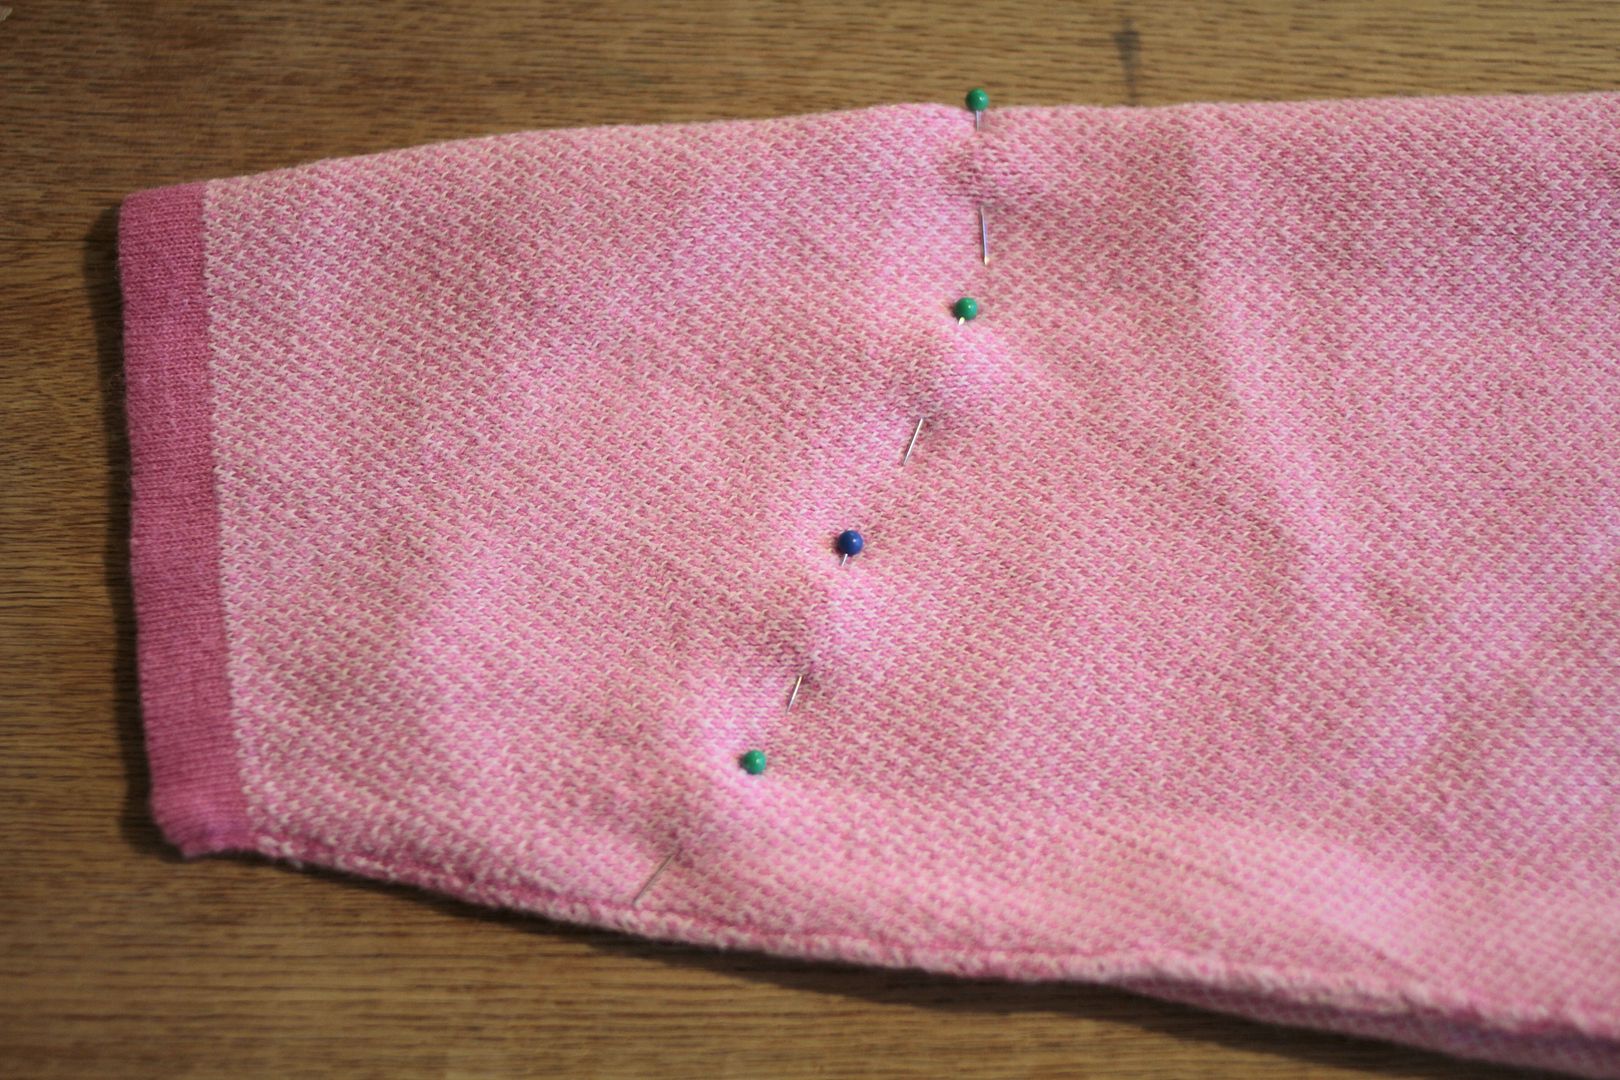
I used one of her t-shirts to determine that the sleeve should start two inches out from the collar. I also used the t-shirt to determine the approximate shape of the sleeve.
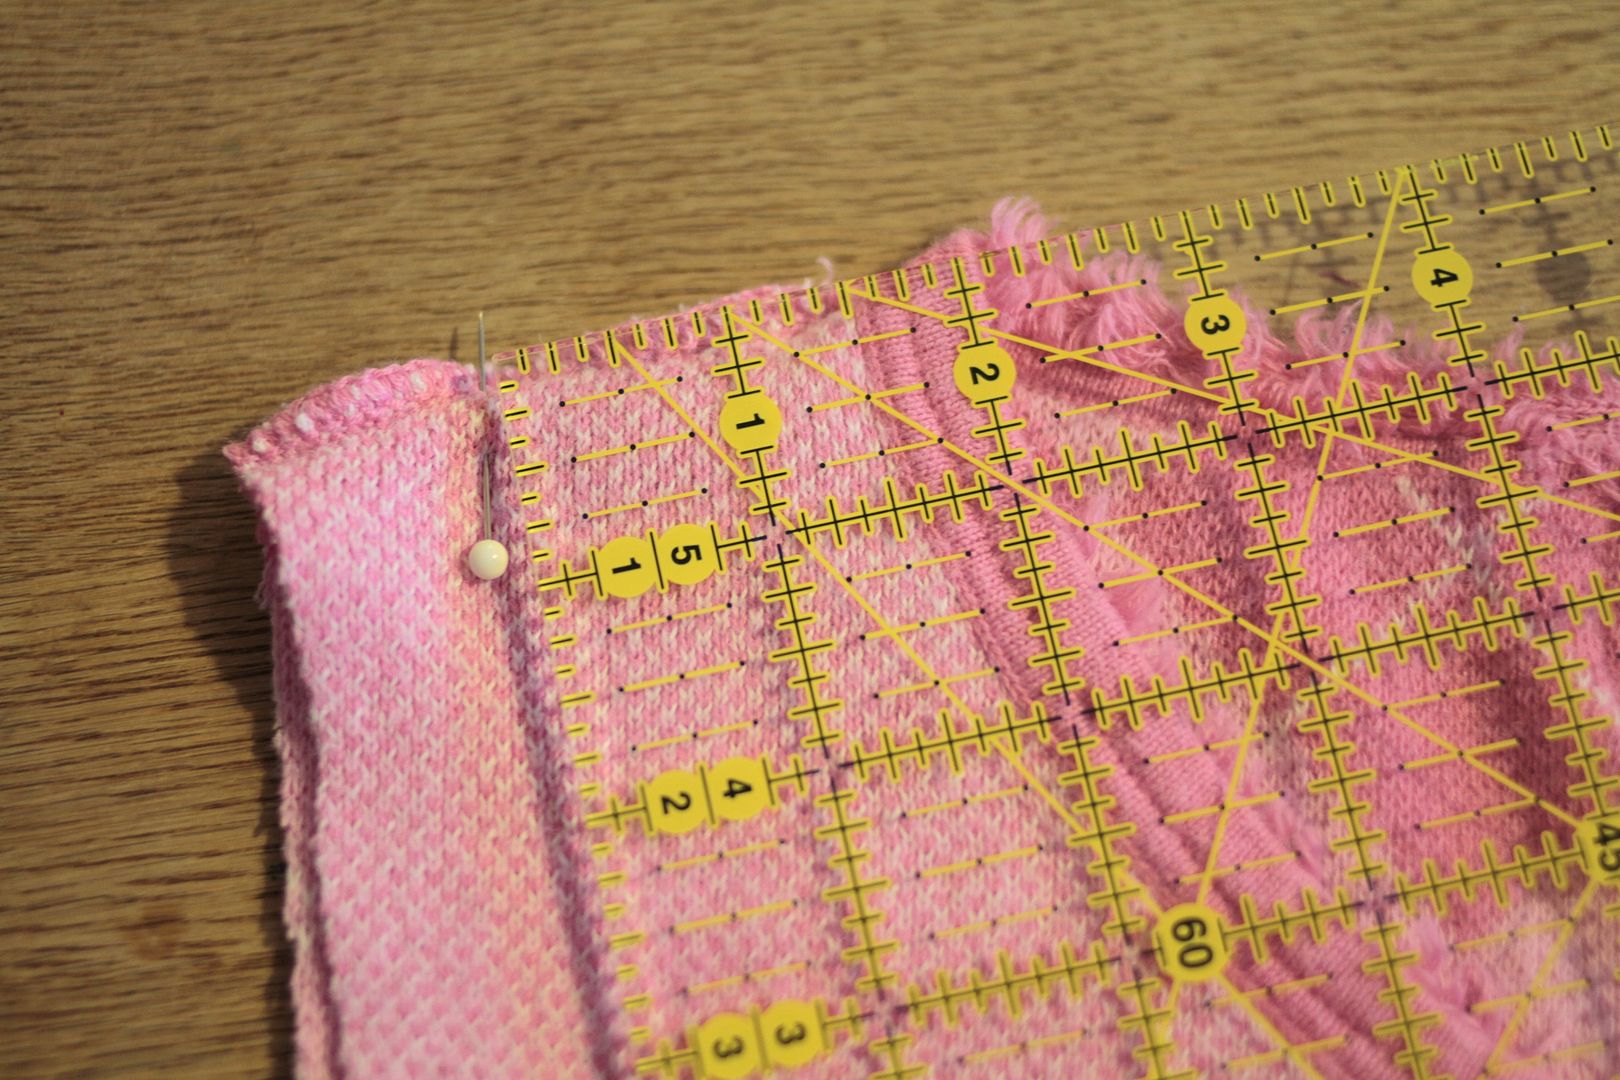
The first time I pinned the sleeves in I stepped back to take a picture and realized that I had only turned one of them right-side-out before pinning. Note to self: Photographing everything does have it’s rewards.
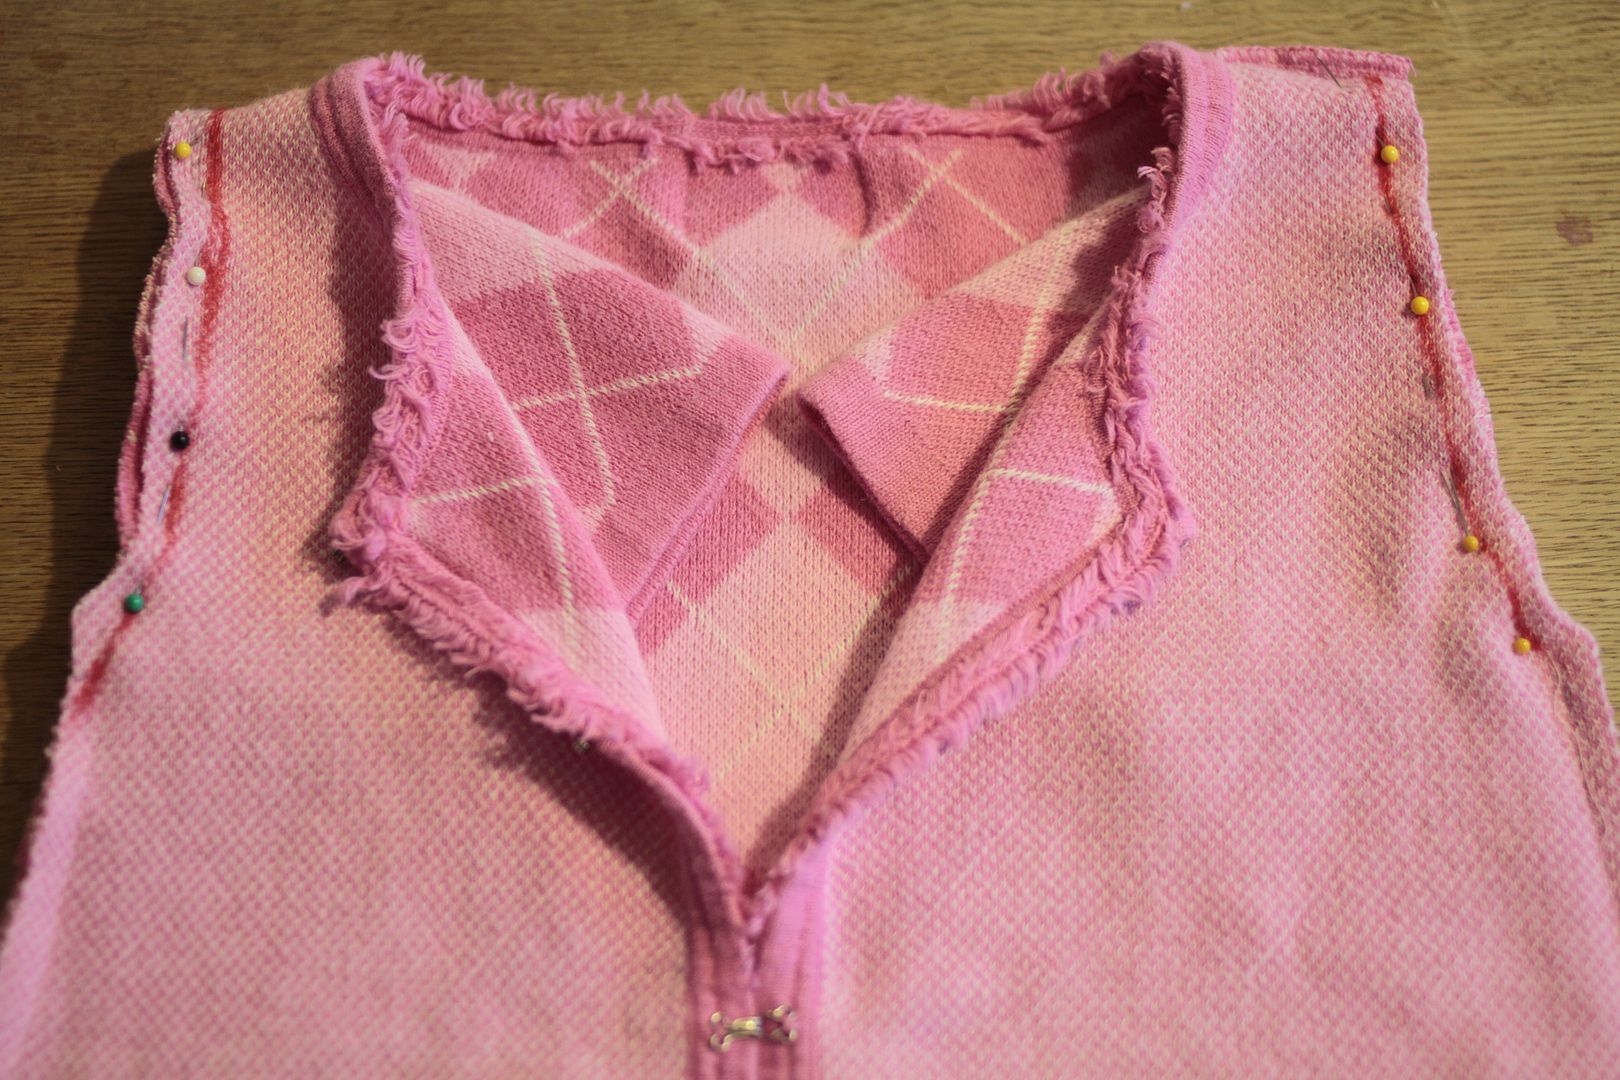
The final step was removing the clasps and hand sewing the cardigan up the front. I originally thought the cardigan would be a good idea because I could leave a little bit of the front open to make it easier to put on. However, the neck hole turned out to be big enough to put on anyway and sewing the front was a pain. Also, the front of the bottom hem is a little wonky because of how it shrank in the wash. Next time I’ll just buy a regular sweater.
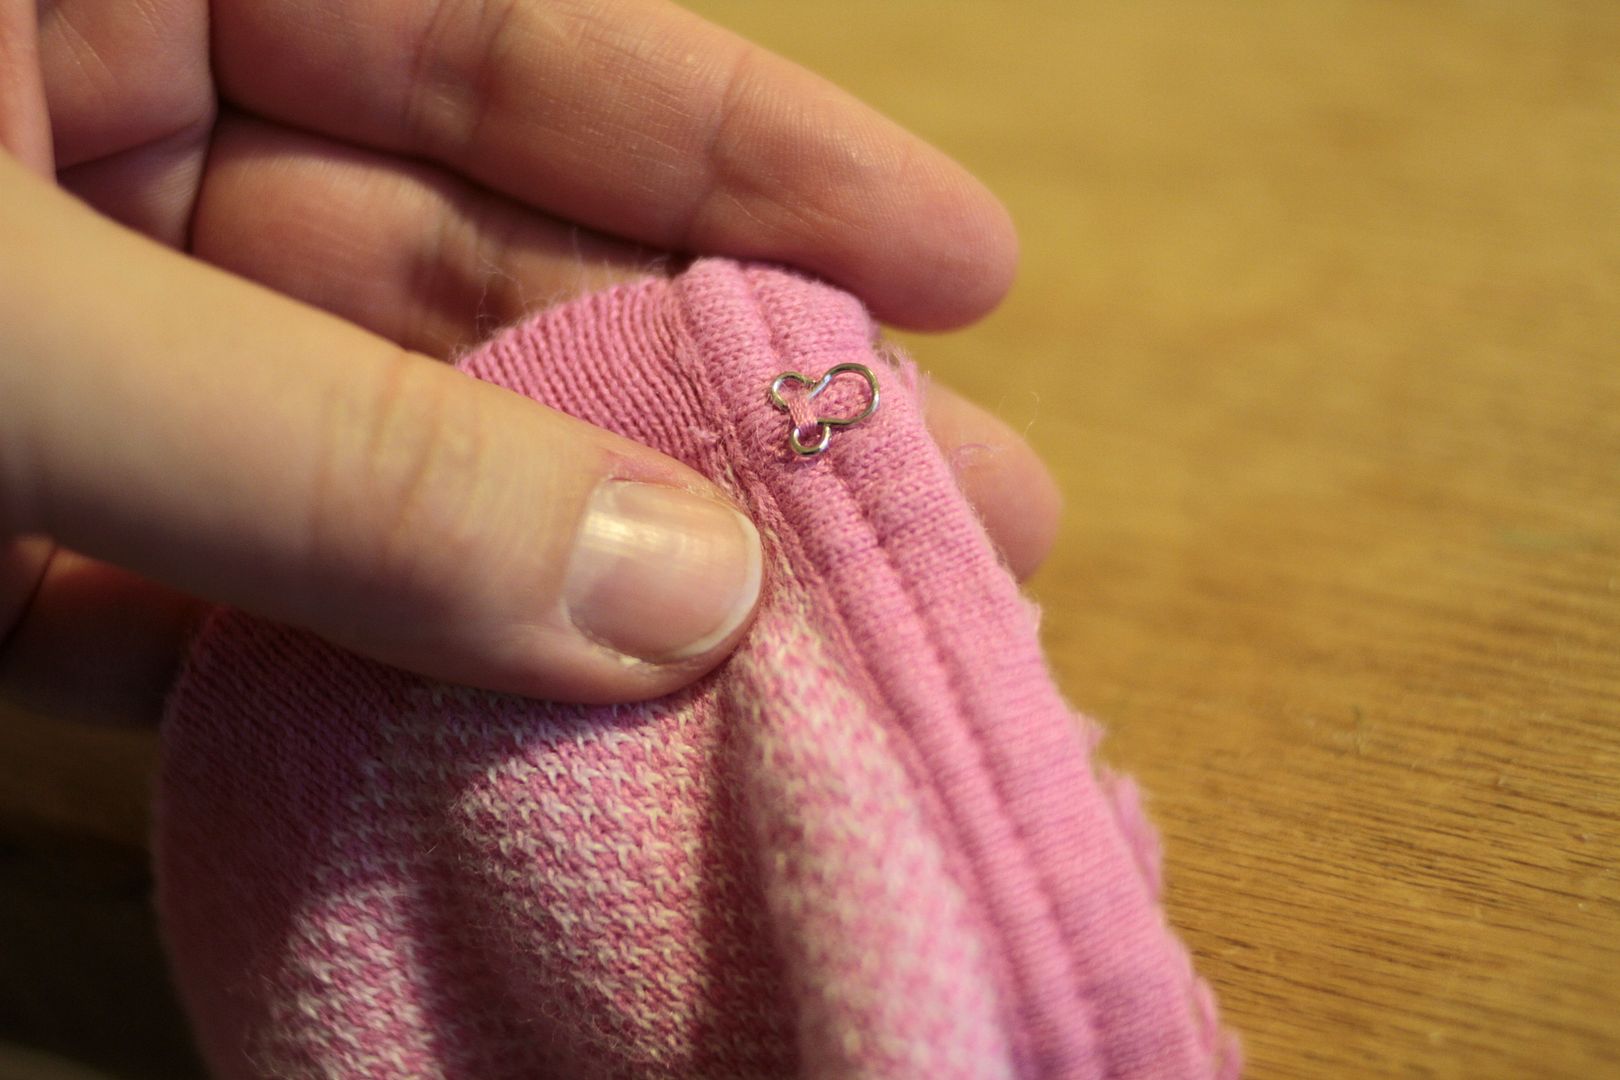
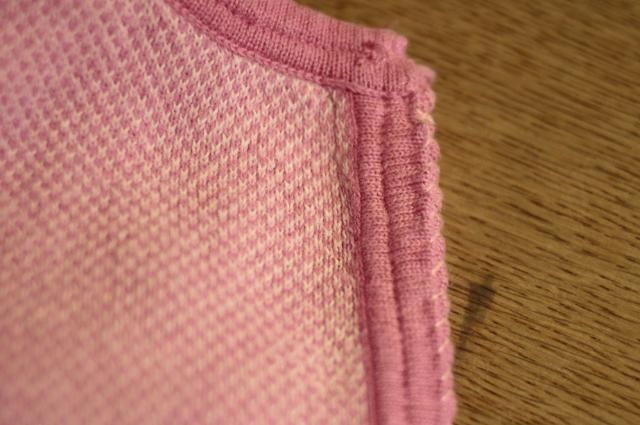
Hannah loves the finished dress! It definitely needs a shirt underneath because the neck hole is so swoopy.
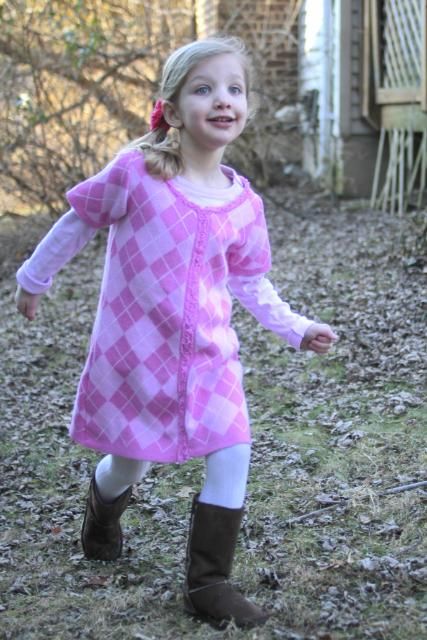

I will be making more dresses like this… at least until she’s too tall to wear adult sweaters as a dress! The project took me (a non-professional sewer) about 90 minutes and cost $4.75.
