04-11-2014

Beautiful Baby Bows

Bows Header

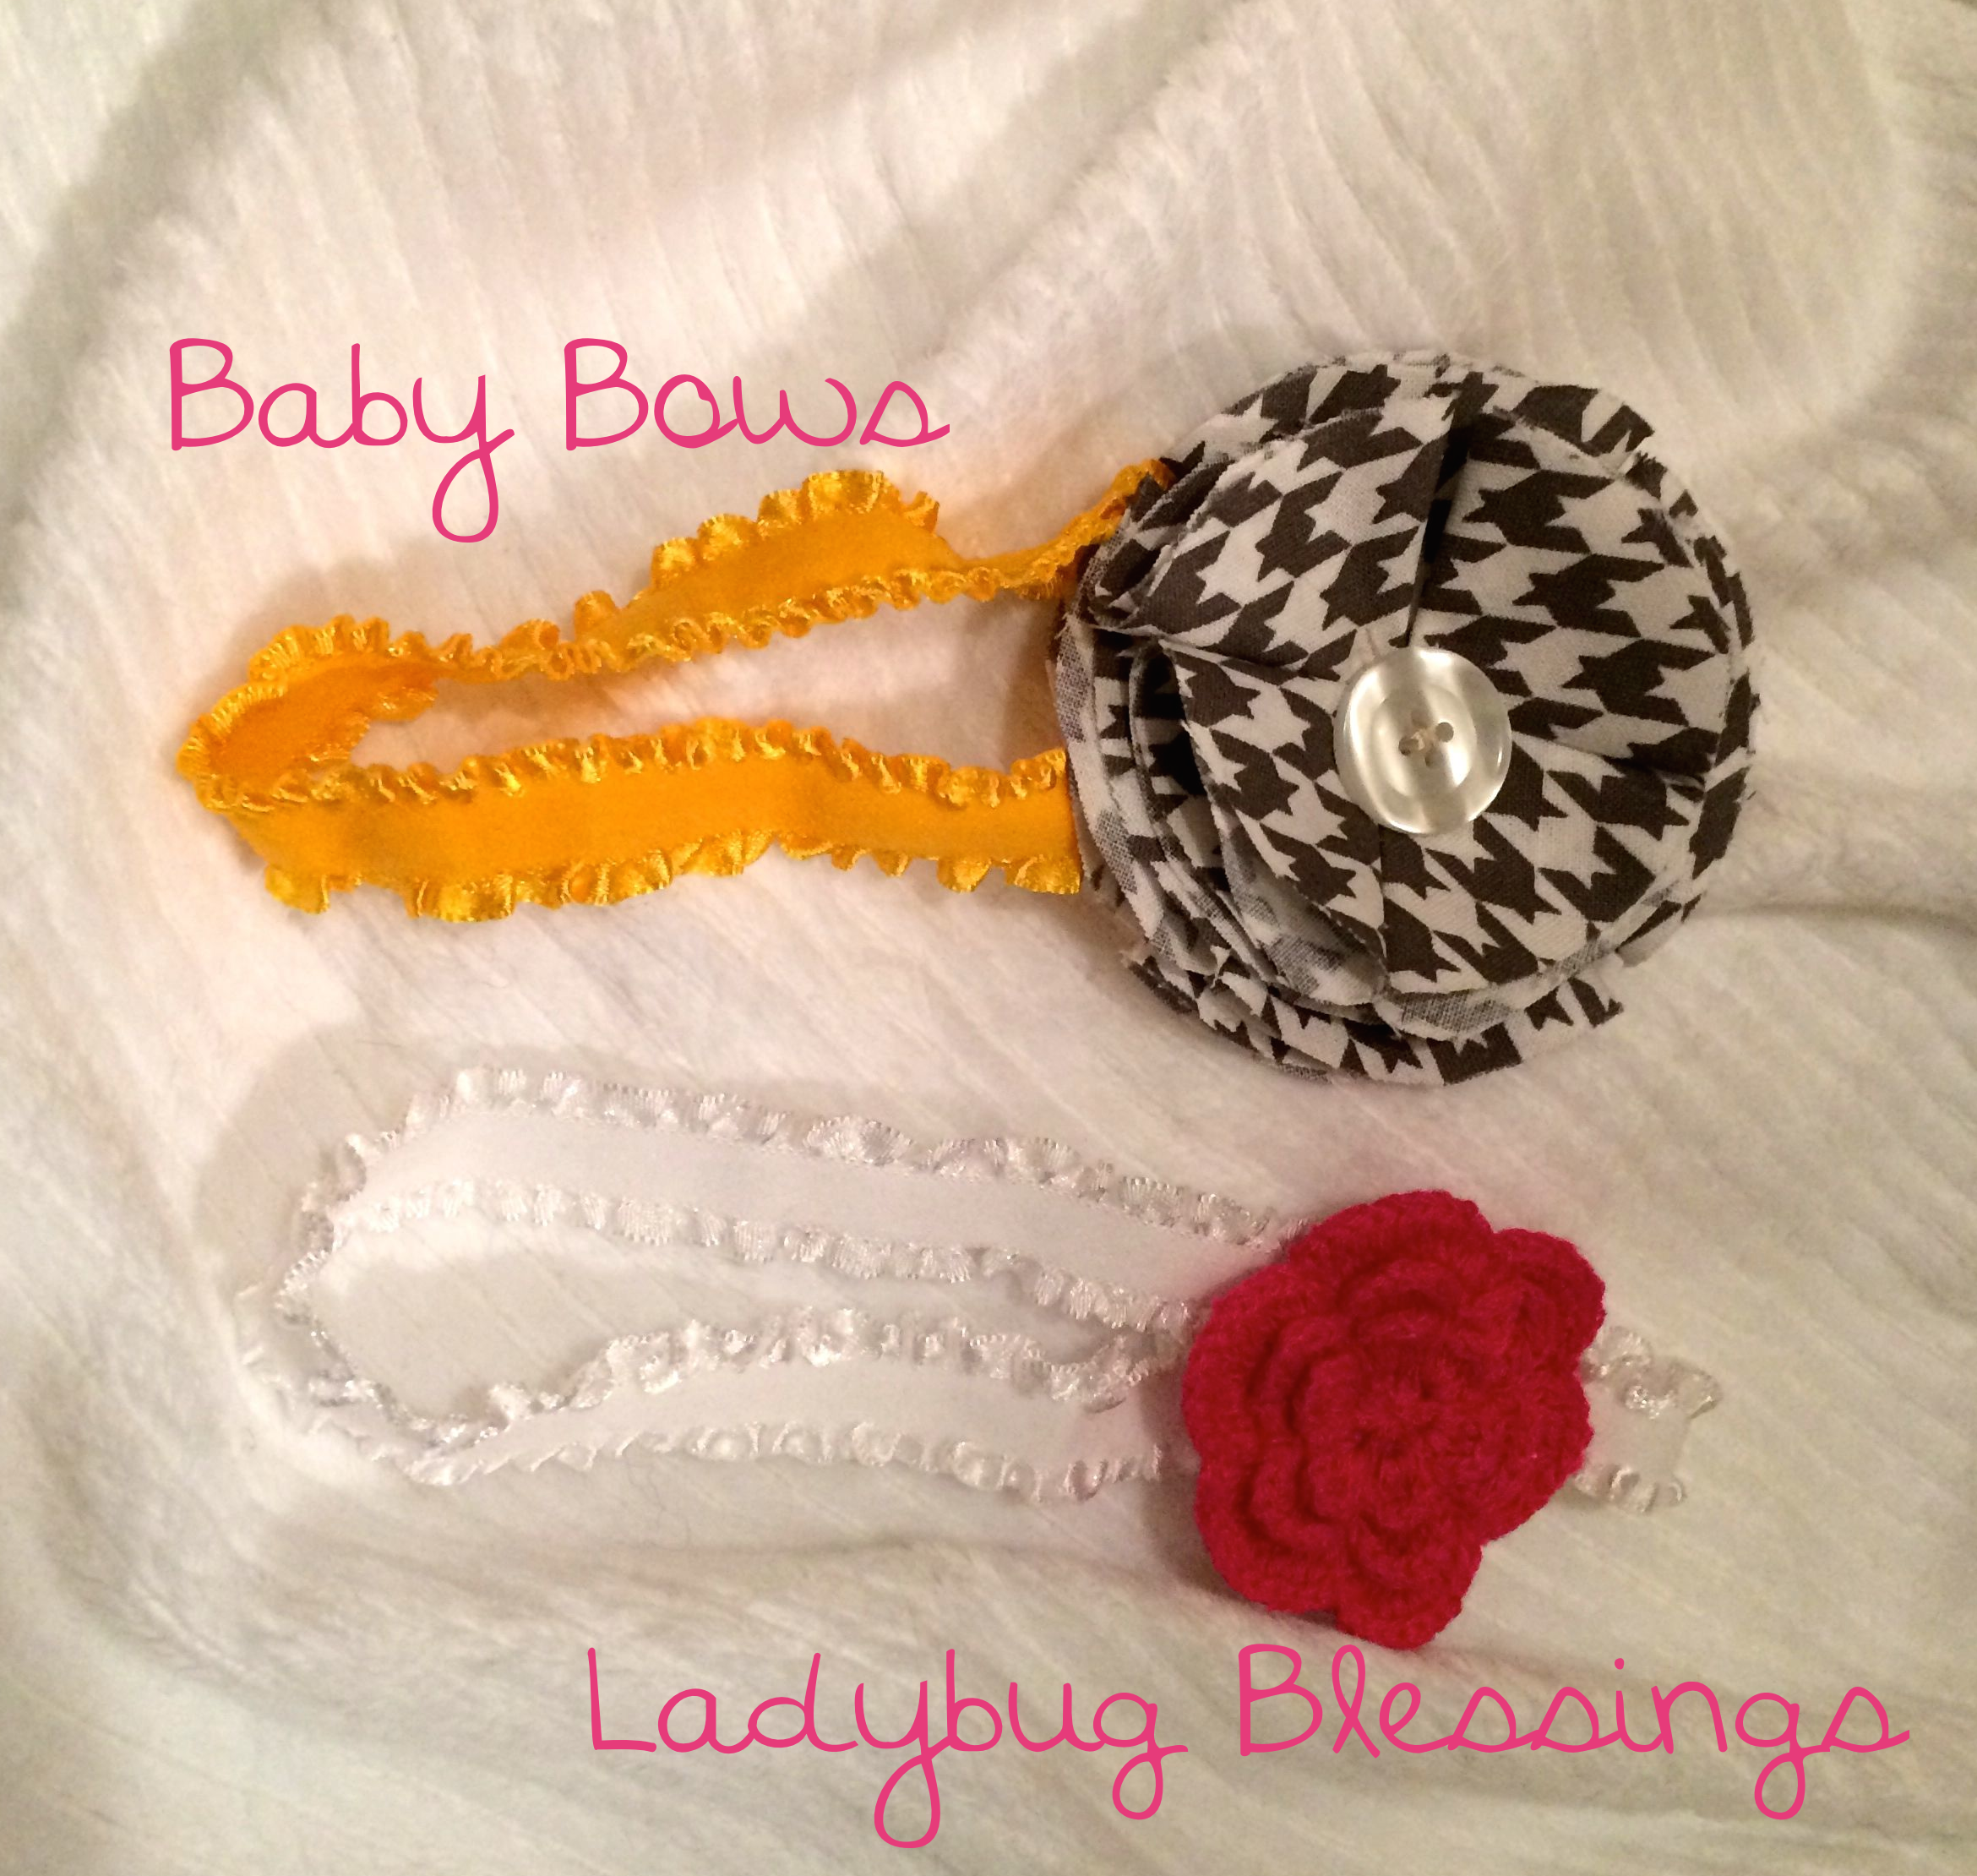
I think making headbands for kids is so much fun.  They are a quick craft you can knock out and you feel accomplished instead of one that can take days.  If I felt comfortable wearing the headbands, I probably would wear them as well!  I am sure y’all know how to make them but here are my steps anyway….

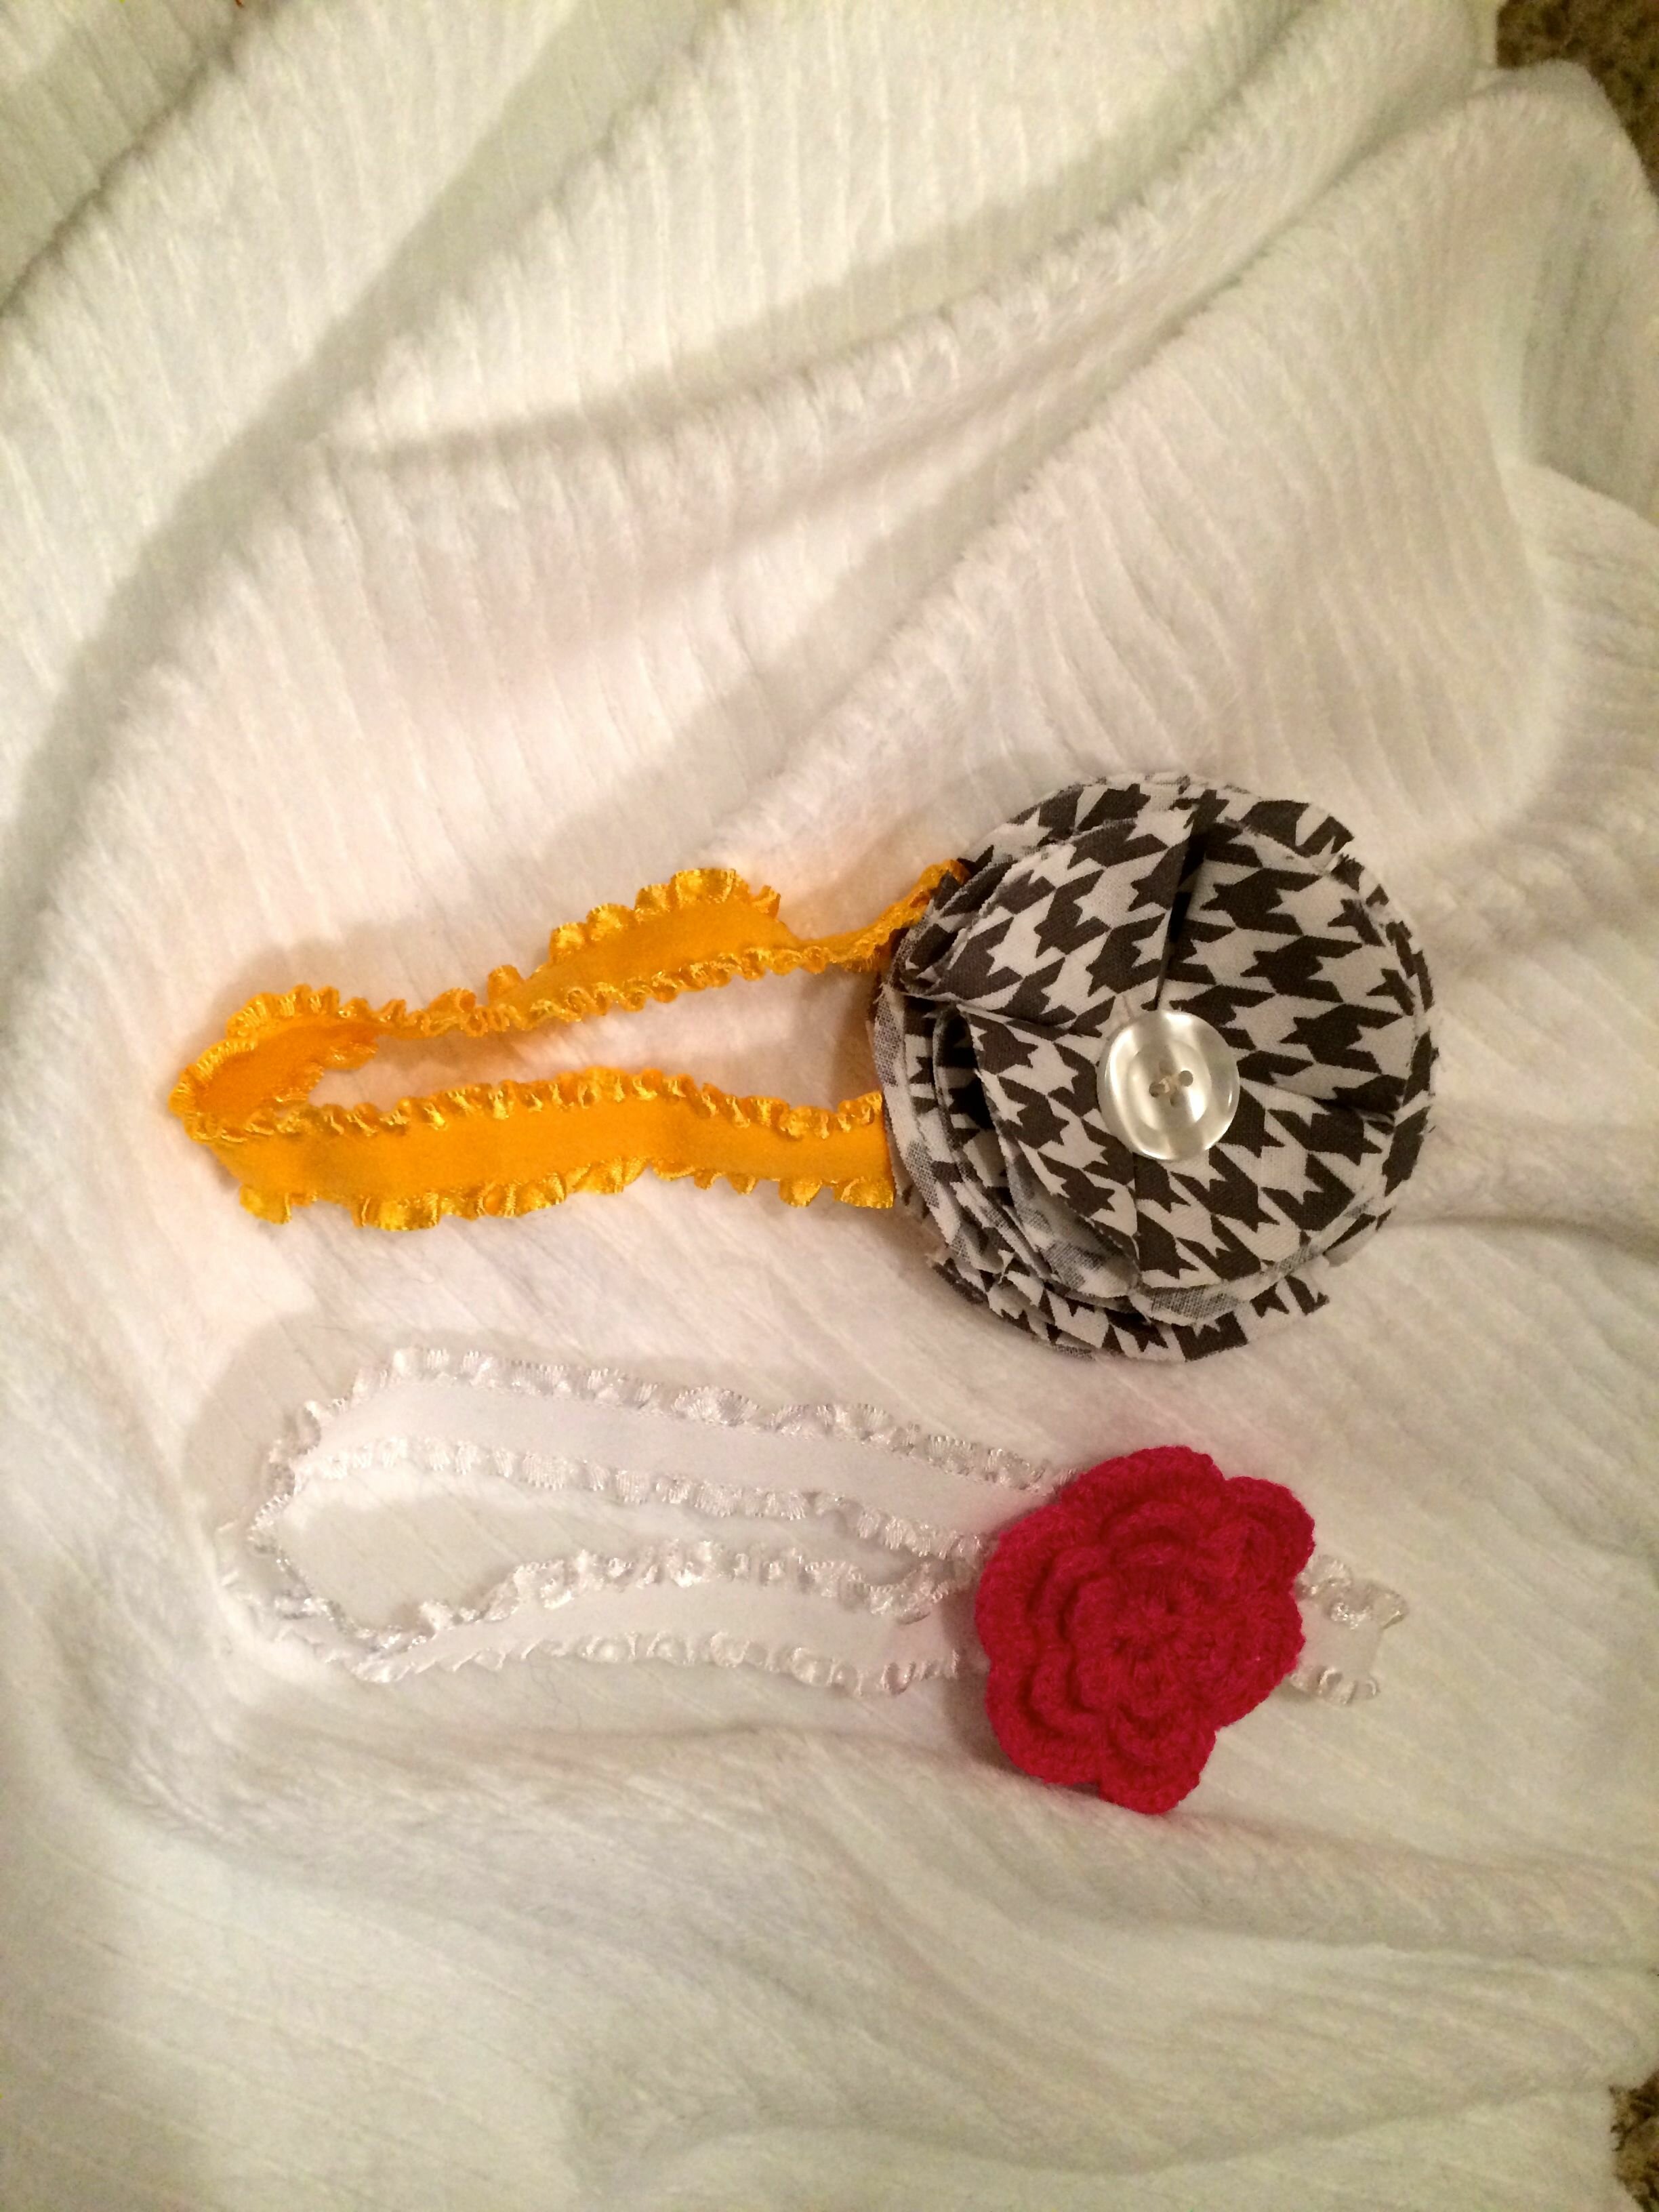
I purchased elastic at JoAnn’s.  I love that they now have the elastic as I used to have to purchase it online.  I picked a cute ruffly one in white and then one in yellow.  I purchased the pink crochet flower as well, but you could easily make that.  I sewed it onto a felt backing and then onto the ribbon.

I then made the hounds tooth one.

IMG_0388

Supplies: I just randomly cut the circles for the flowers.  I cut four of them.  I later on (not in this picture) cut smaller flowers to give it another layer.

IMG_0389

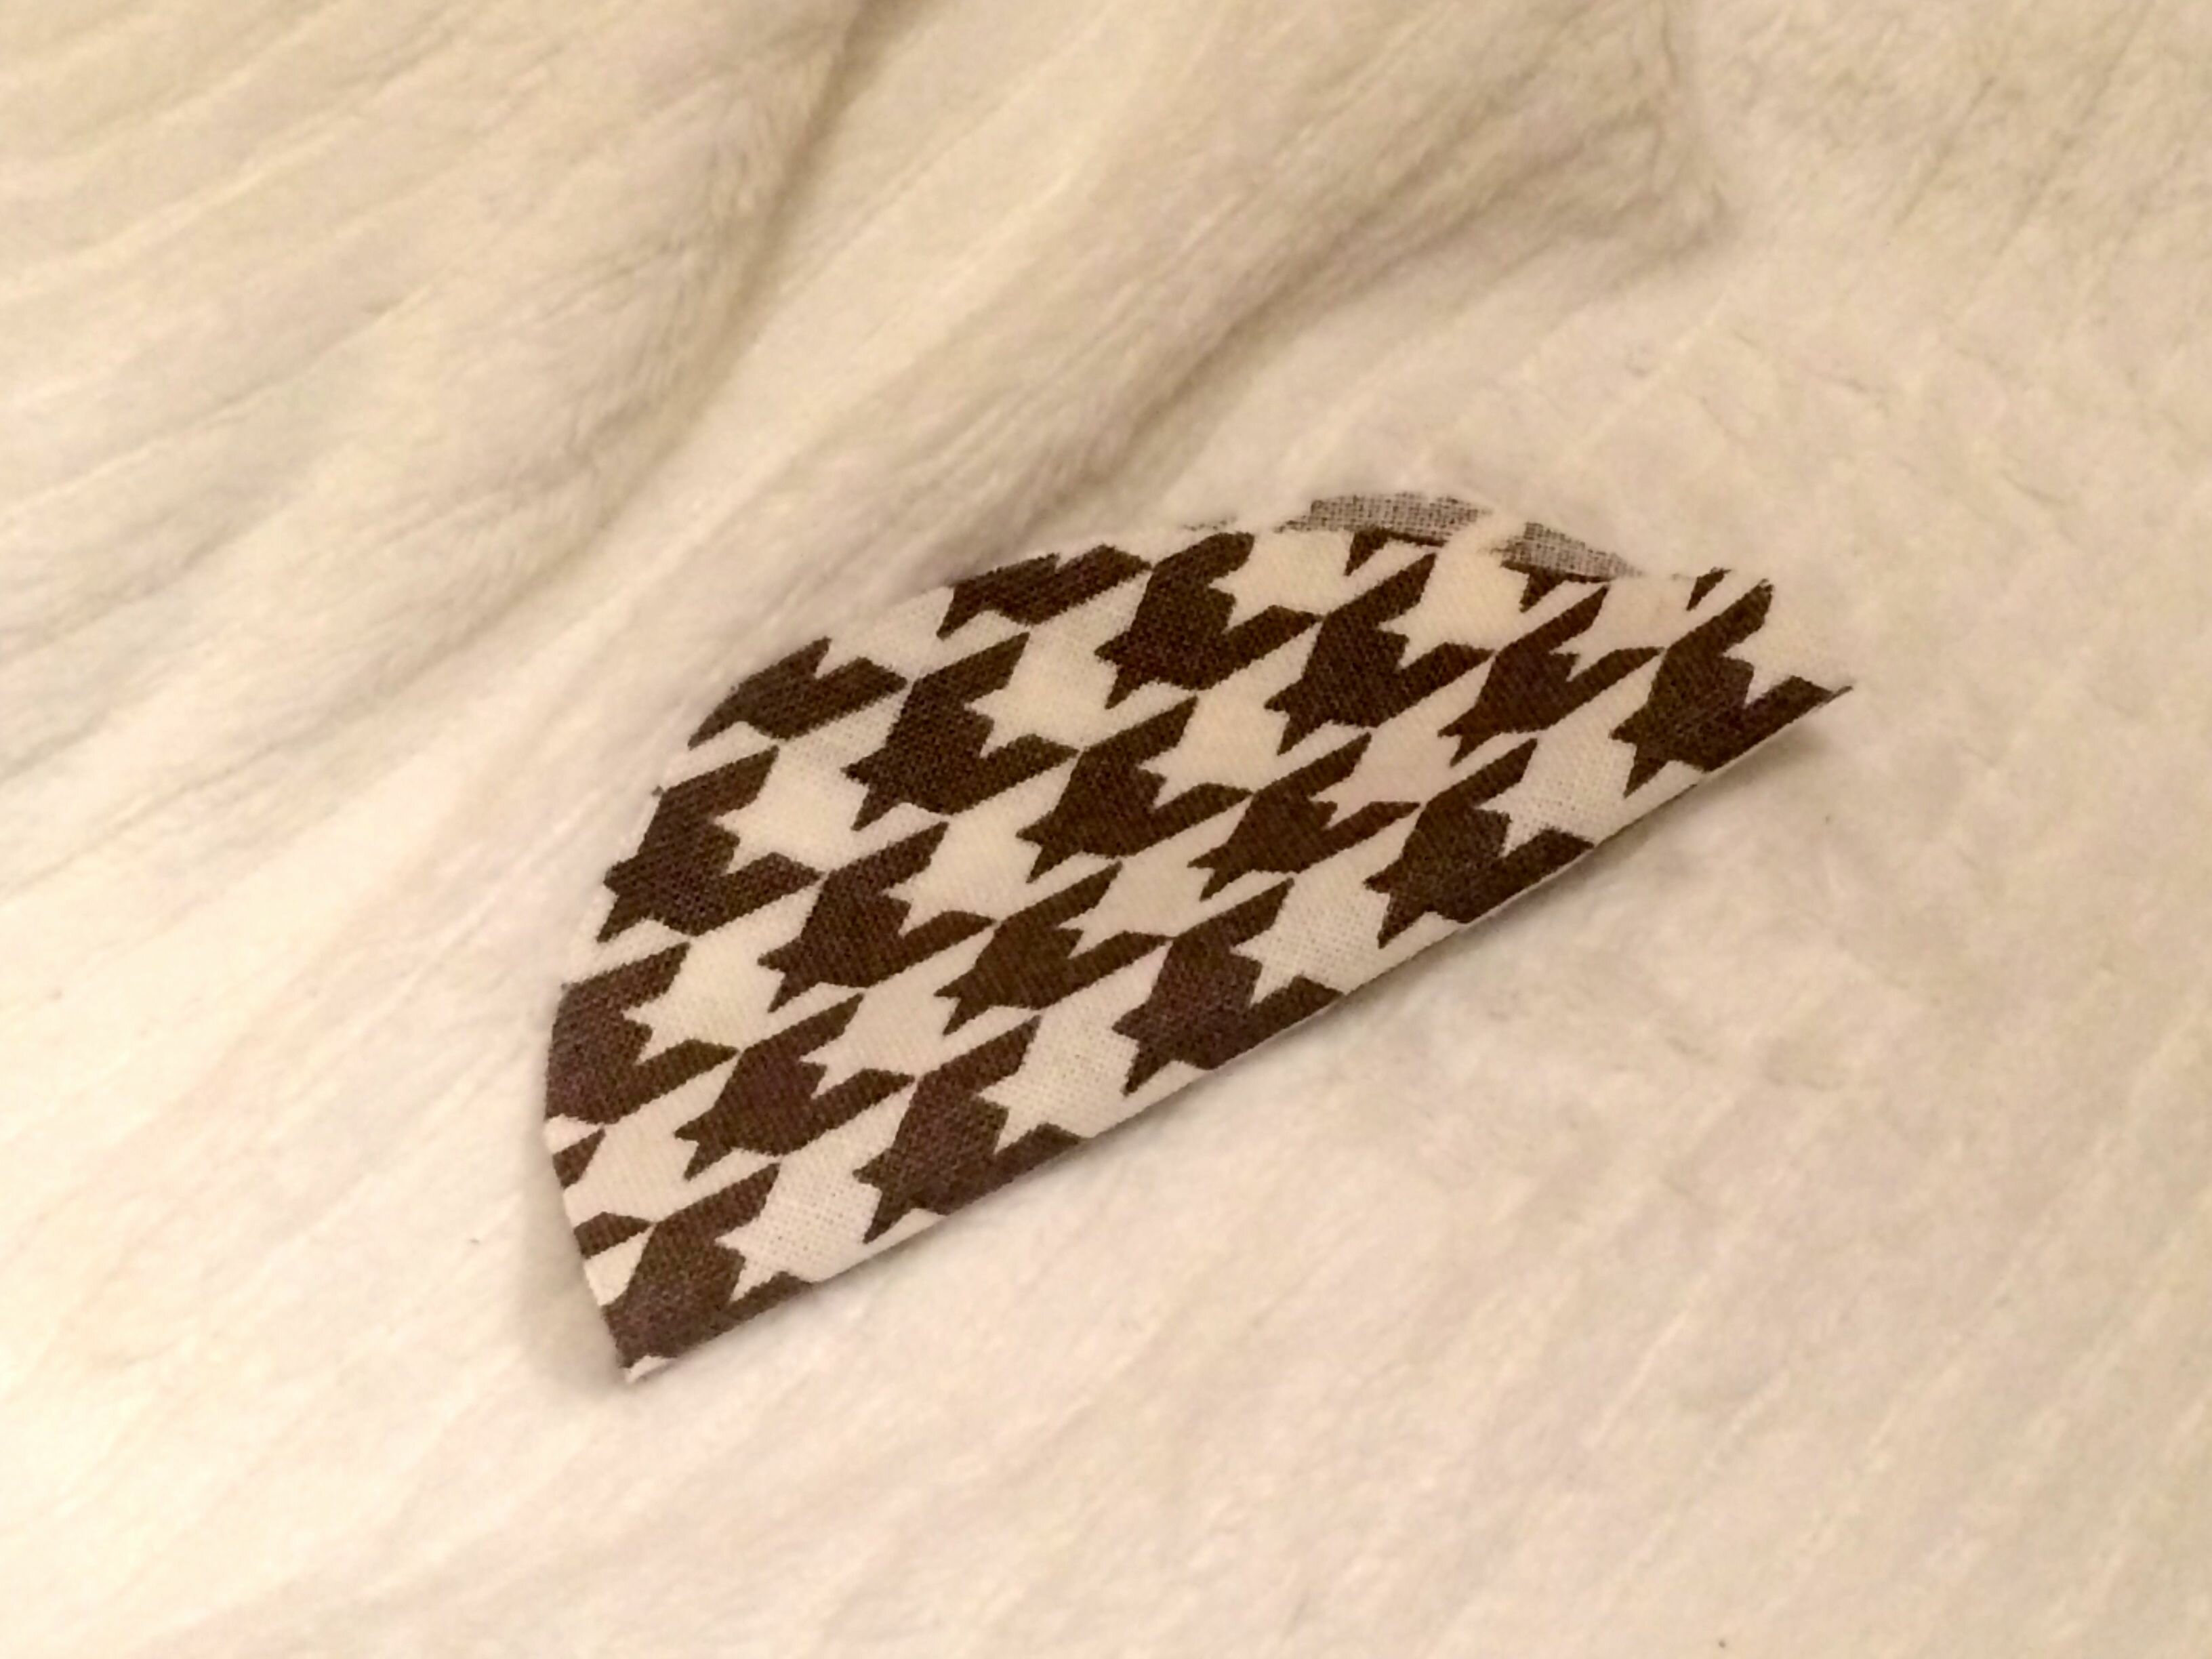
First fold the circle in half

IMG_0390

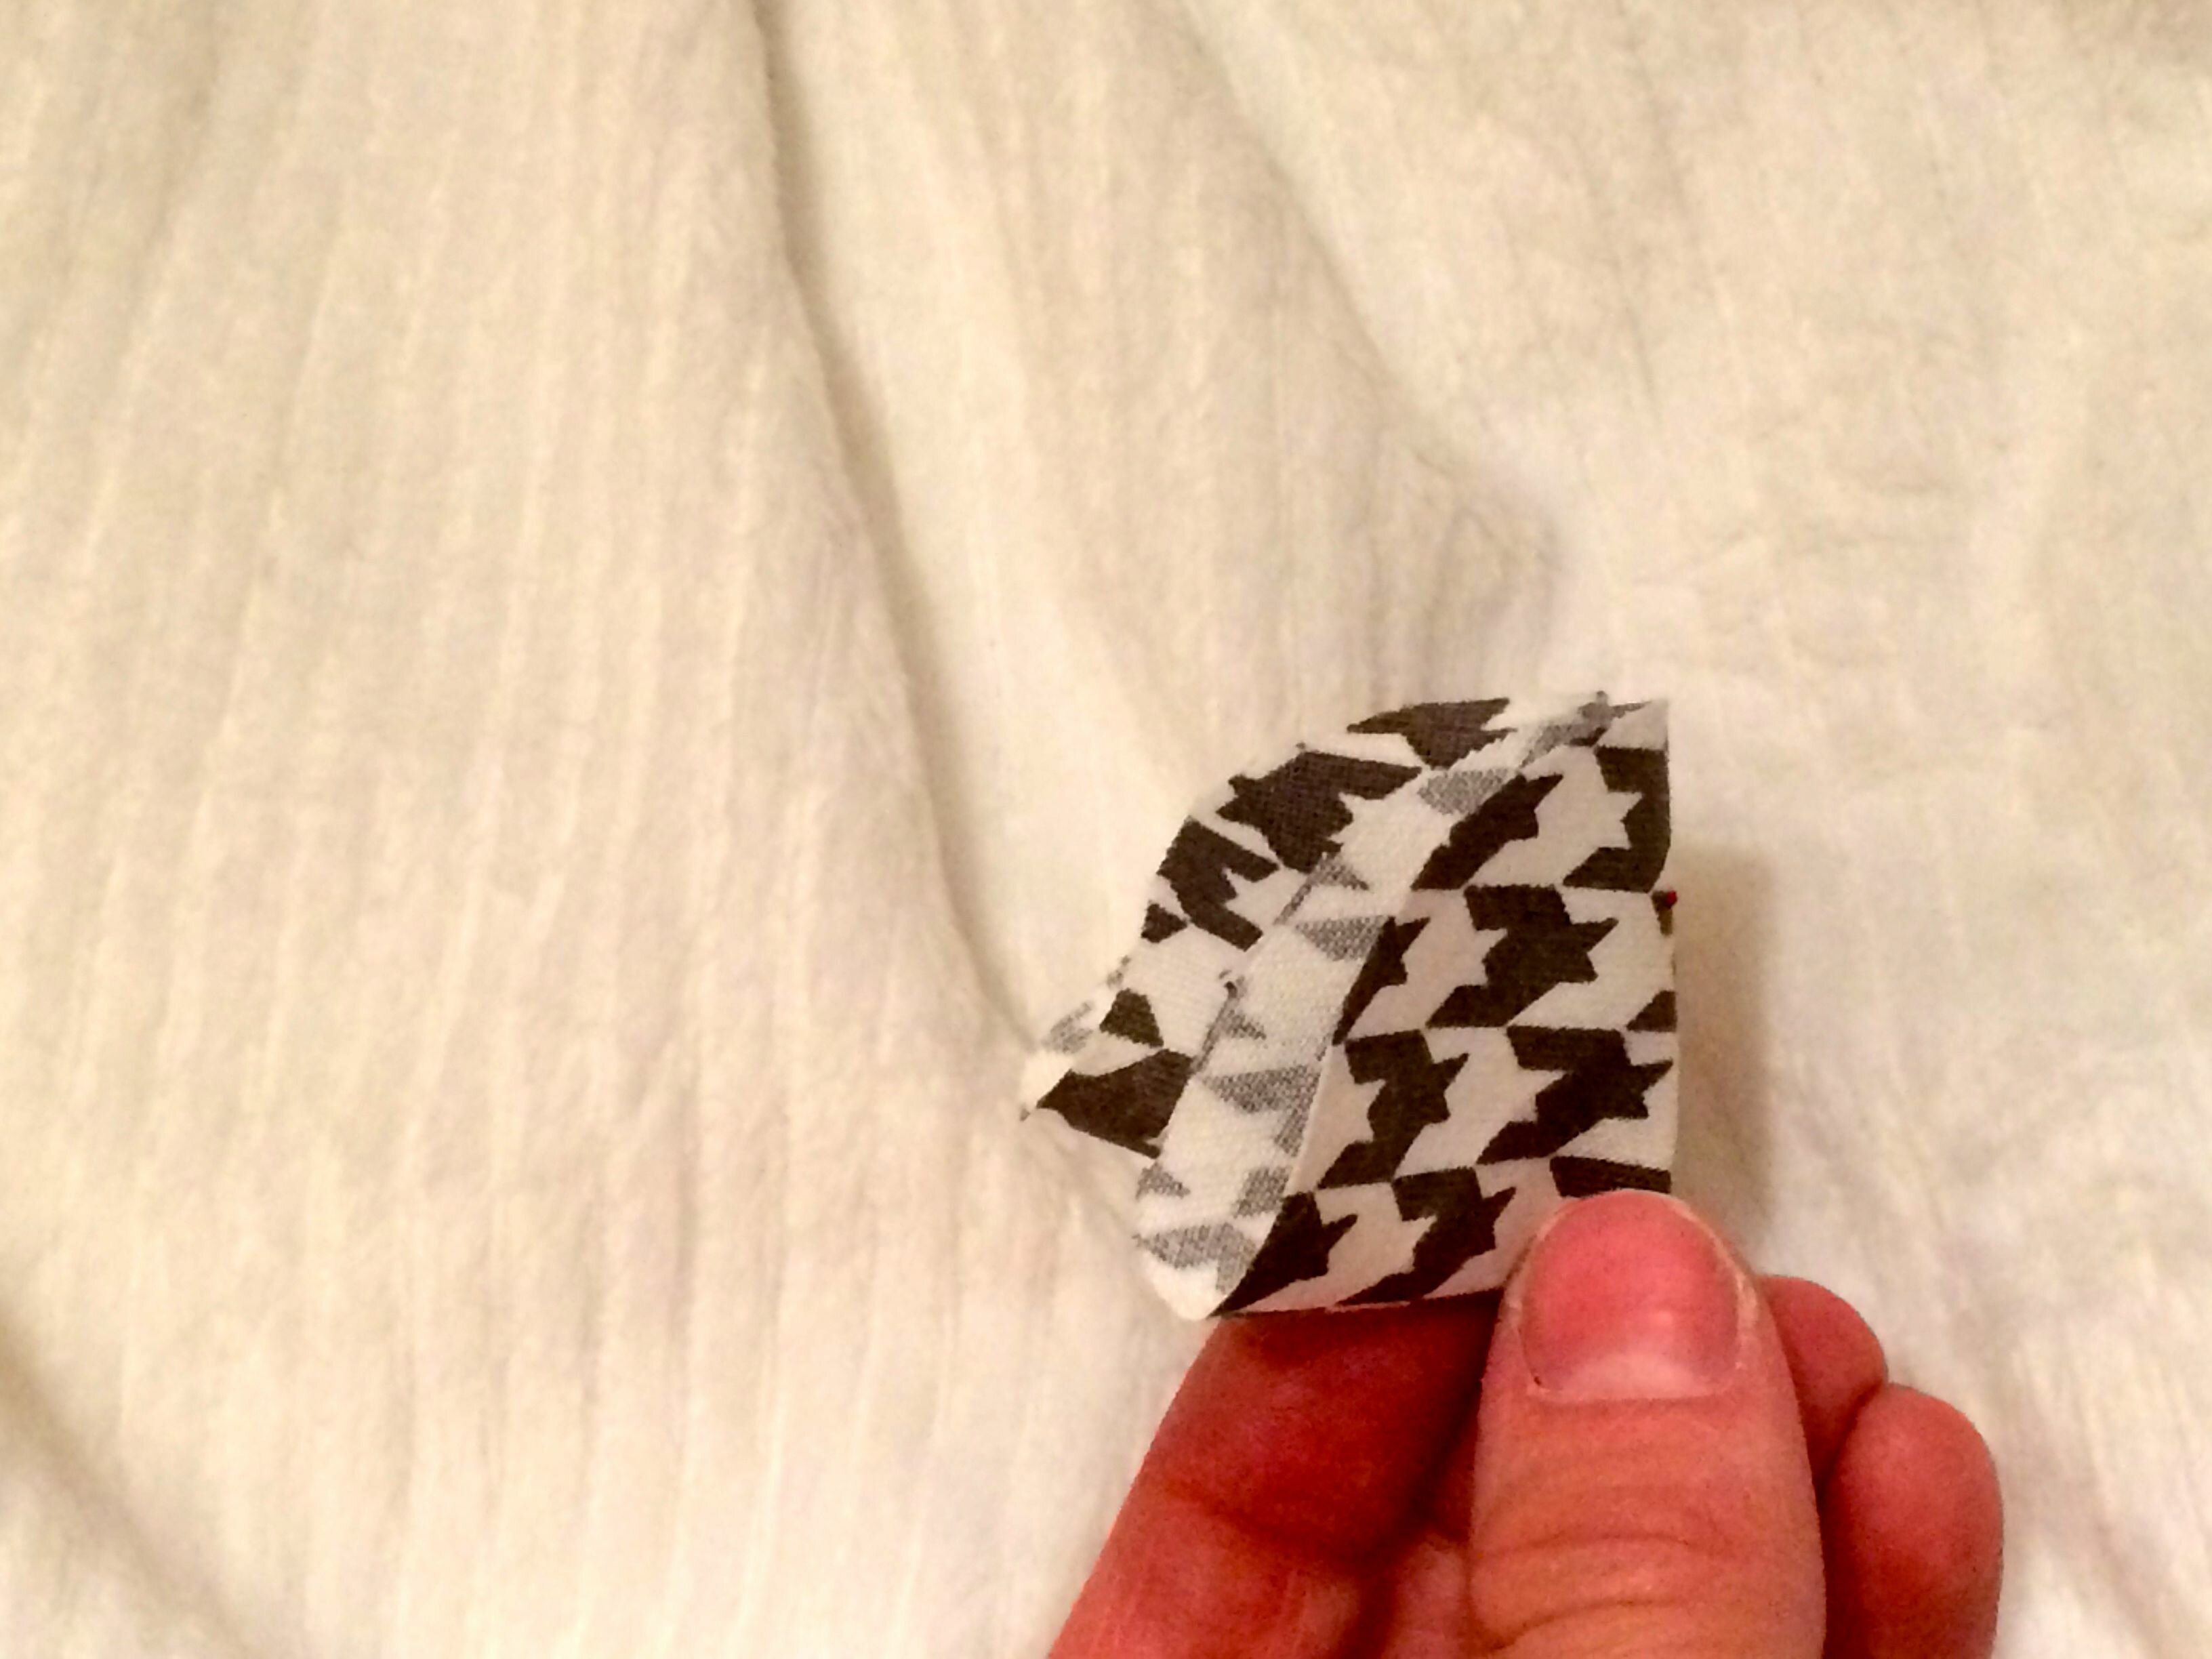
Then fold it in half again.  This is what you are going to sew.

IMG_0391

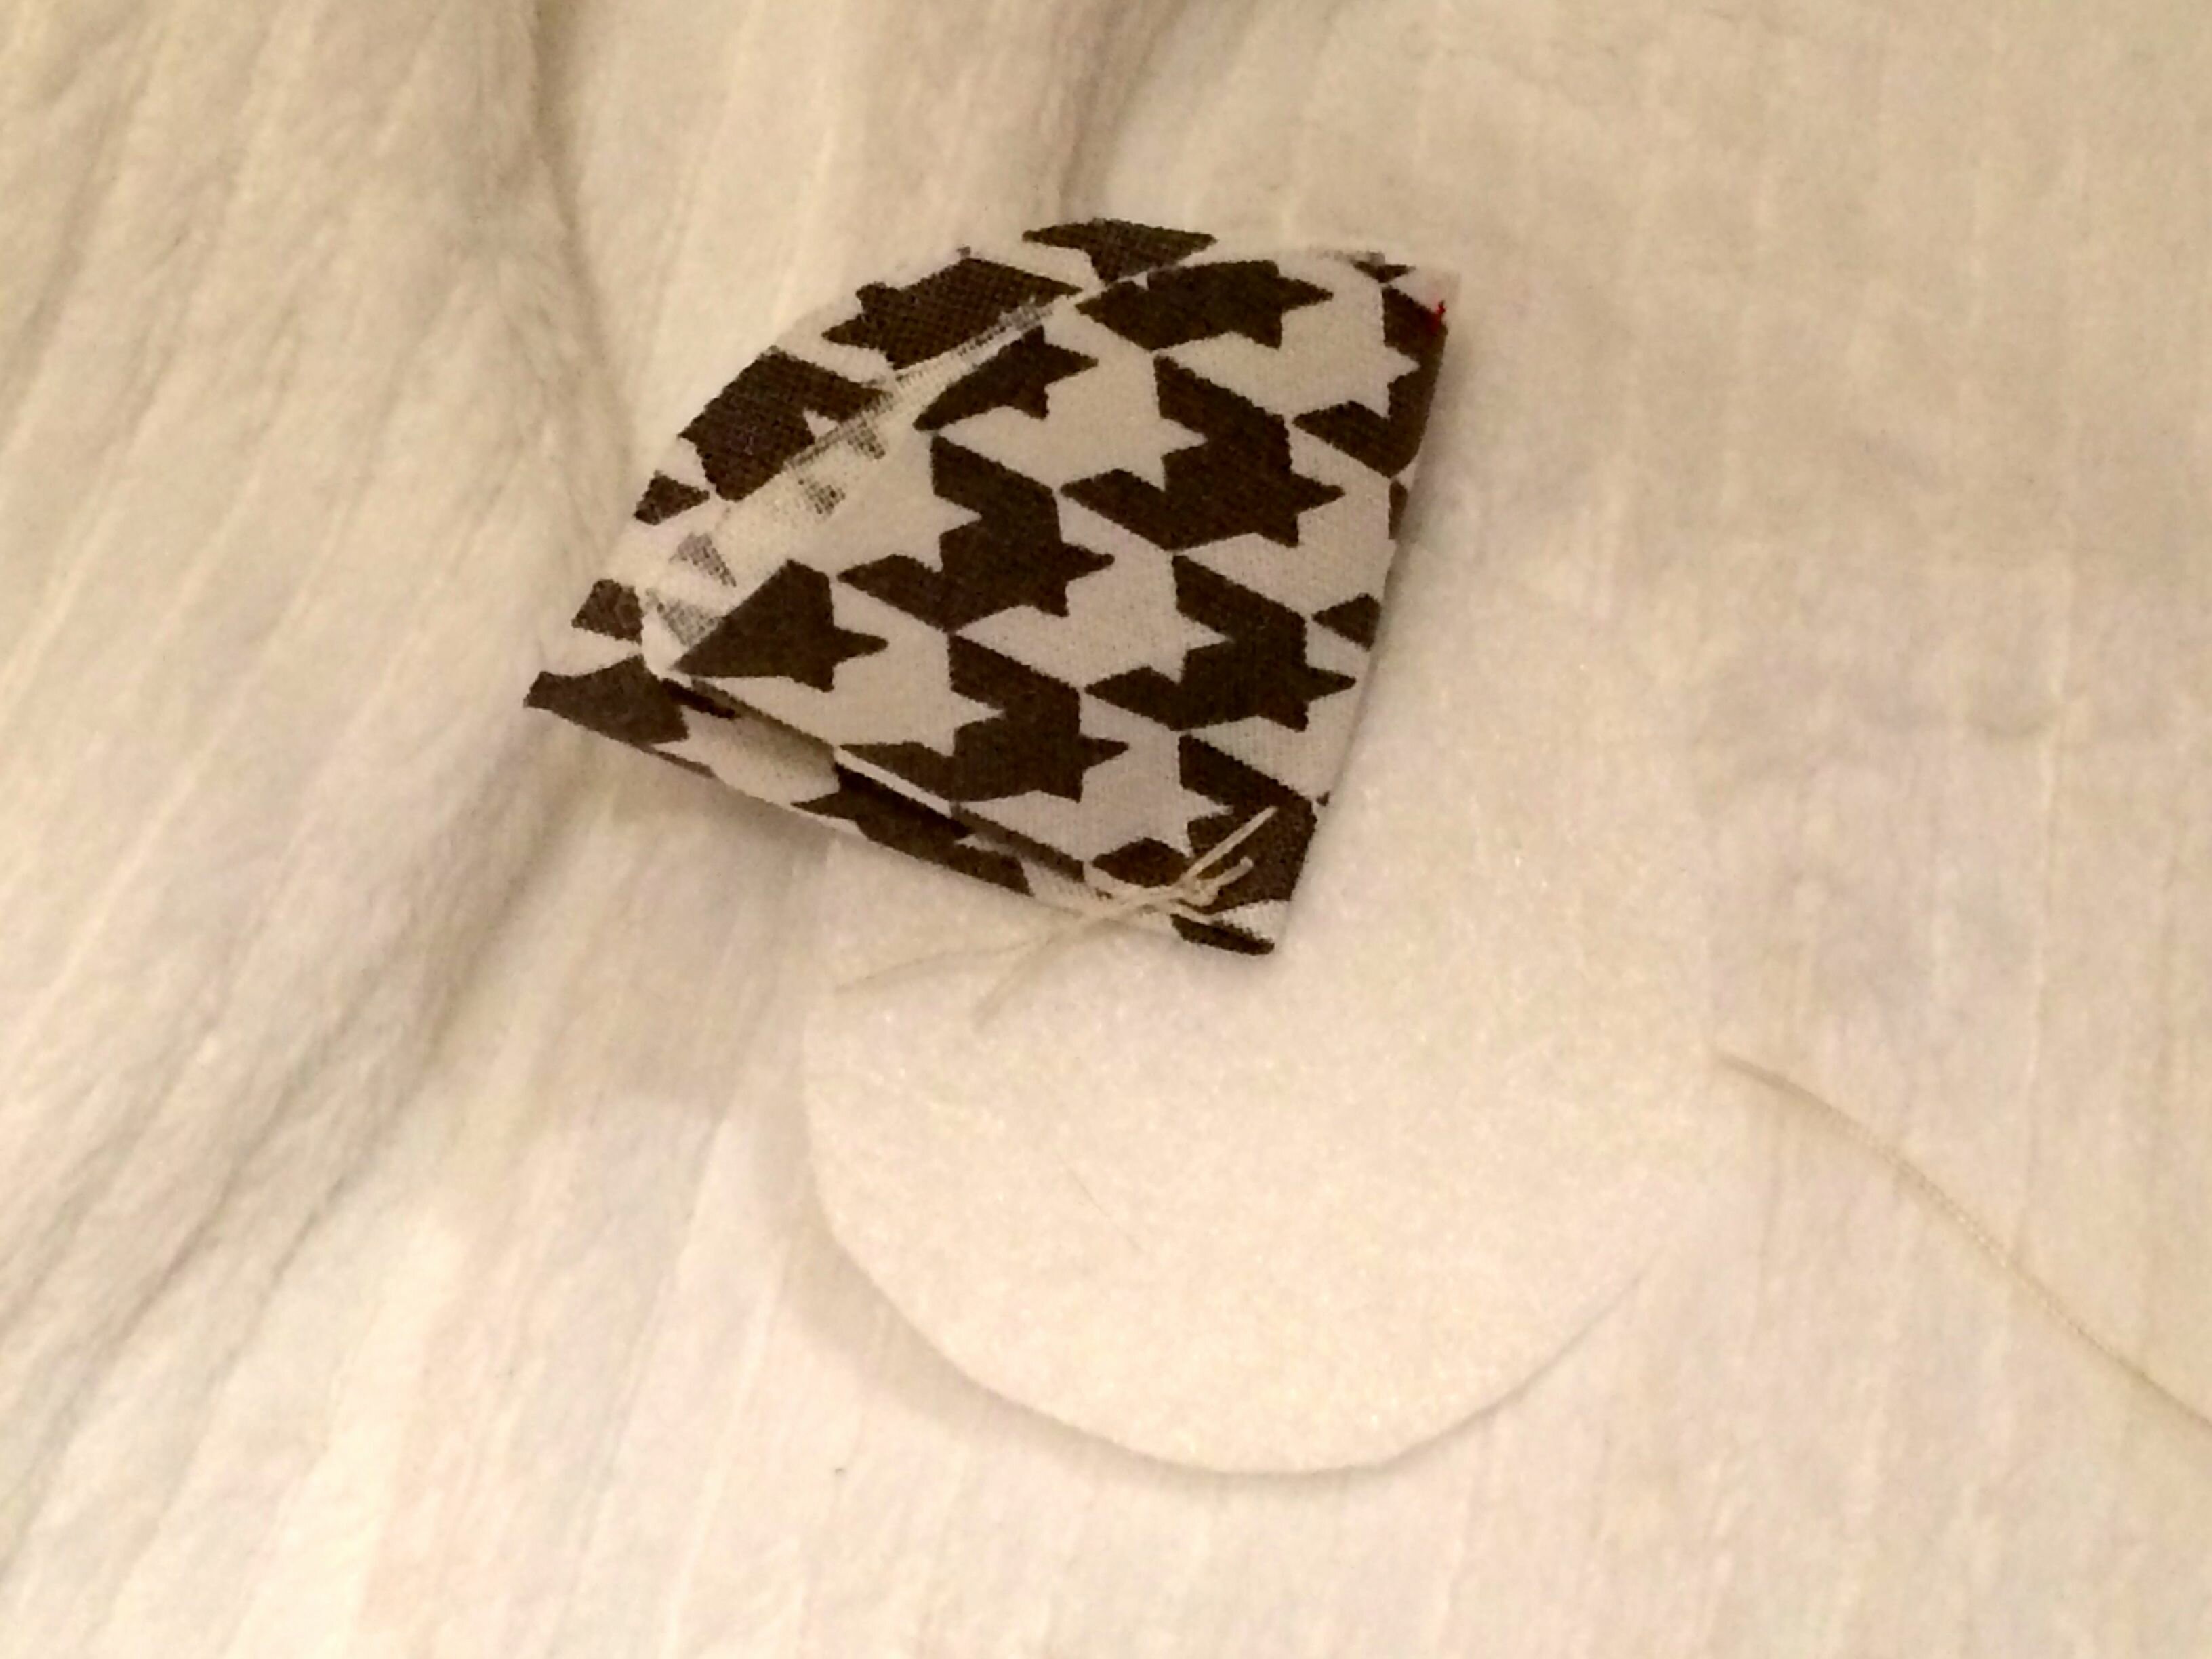
Sew it onto your felt.  Some people use a hot glue gun but I don’t like how the hot glue gun can leave bumps and felt the sewing made it more secure.

IMG_0392

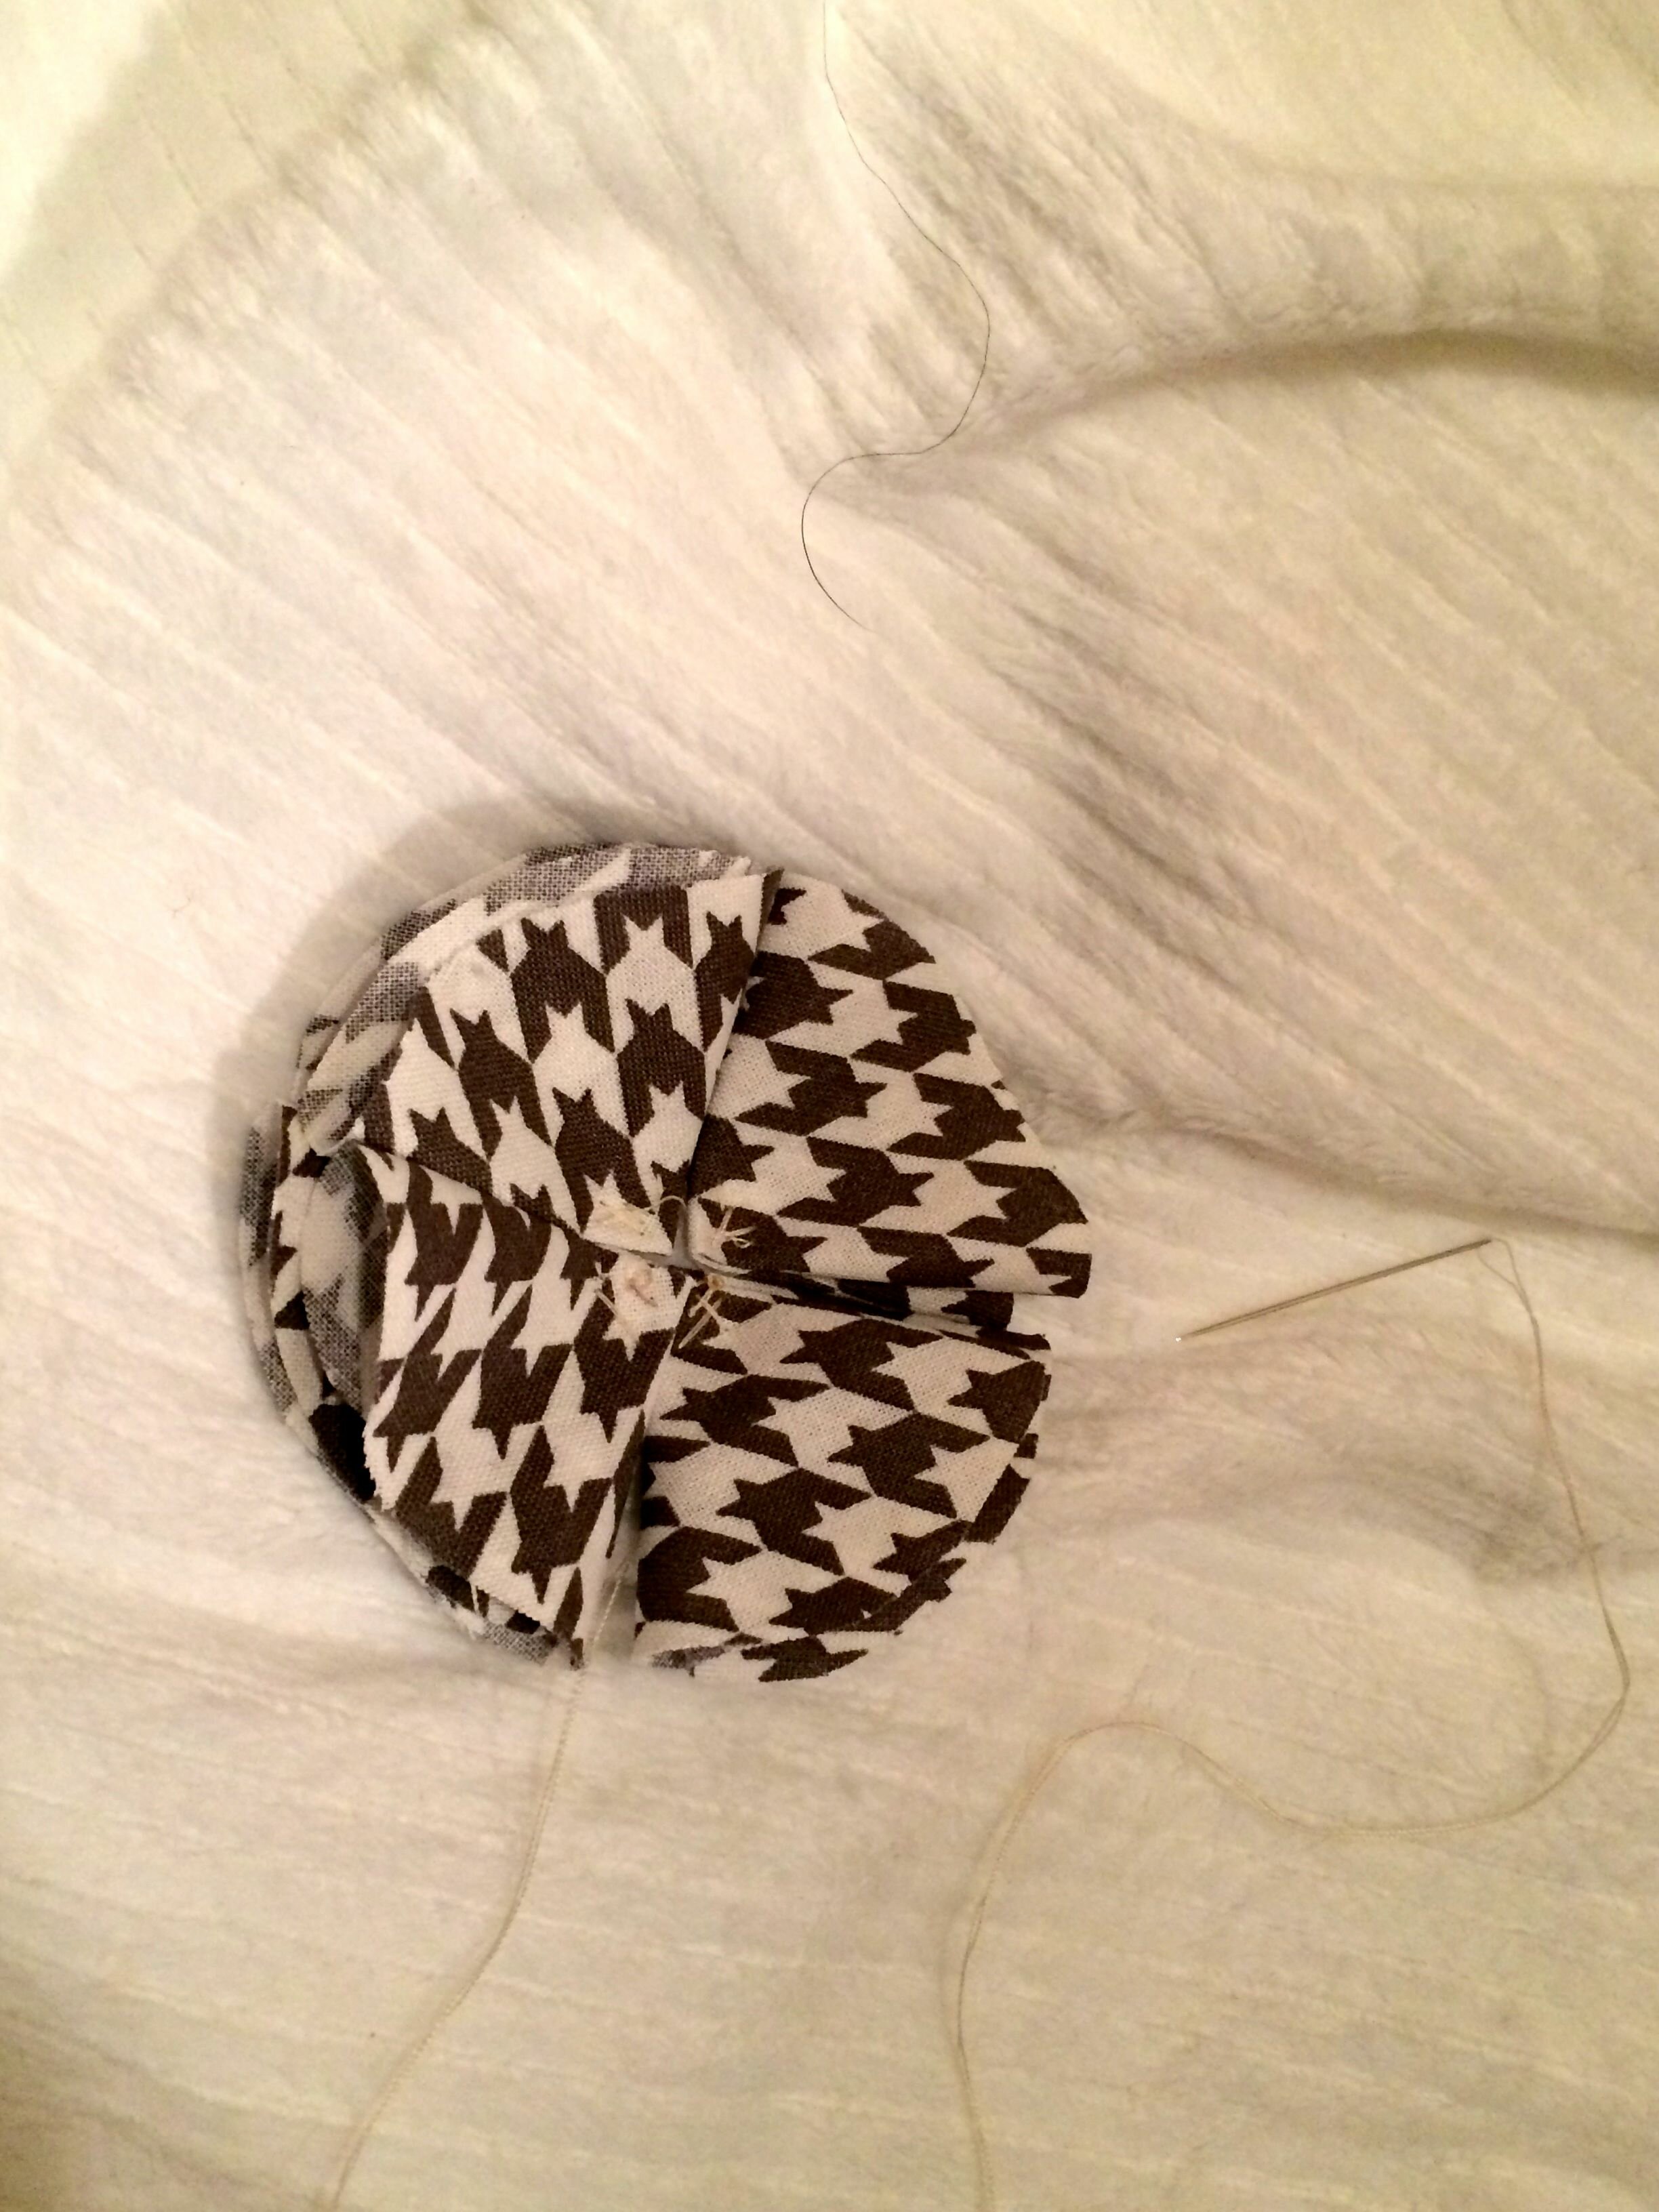
Once you have all four petals sewn on it will look like this.  Now you could leave it like this, sew the button in the middle and be done but I wanted to add another layer of petals.  You do the exact same thing.  I made these circles a little smaller than the originals.

IMG_0394

04-09-2014

Easter Egg Wreaths

IMG_0434

I know the egg wreath has been done before but I really wanted to make one for my office door.  I used a wire frame wreath form wrapped in fabric.

IMG_0435


Not sure what I am going to do for next month!

04-06-2014

Laundry Room Frames

IMG_0588

So I have been working on my Laundry Room little by little.  The painting was finally done but it still needed some fun touches.  Like most people I love using printables.  They are absolutely adorable and say just what you  need them to say.  I was going to buy already finished frames and instead I purchased just plain wood frames to paint.  I first painted them a green.  It looked so much better in the bottle than it did once they were on the frames.  Oops!  Had to cover that one up with some black.  It worked out though because you can see some green through the black after I distressed it with a heavy grit sandpaper.  I love the contrast with the light blue and the printables are absolutely perfect!

IMG_9854

Printables from Angie Sandy Designs & The 36th Avenue.


04-03-2014

Simple Accent Topiaries

finished

I have a small side table next to the chaise in the living room.  For Valentine’s day I had some little trees on it but recently it has been pretty plain.  Cue the topiaries for spring.  Now, I could have easily purchased them (well, maybe not so easily as I live in the country and getting to the shops isn’t always the easiest) but I like to try to make things for less money.

Supplies Needed: Terracotta pots, Styrofoam balls, dried moss, wooden dowel, glue, glue gun and a piece of styrofoam.

supplies

First step involved messily hot gluing the moss to the balls.  Be prepared to have your vacuum ready after you are done with this step.  I did the first ball without having the dowel in it first and the second one I did with the dowel in it.  I am still not sure which way is easier.

pot

When I was done with my tops, I traced the pots around this piece of Styrofoam.  This is what I was using to stick the dowel in.

pot2

I then shoved the Styrofoam into the pots.  I had to trim it a little bit more.  In hind site I would have put rocks or dirt or something under the Styrofoam to hold the dowel a little bit better.  I put glue in there and held it until I felt it as secure but I still would have stuck it in better.

IMG_0383

And ta-da!  They are done and sitting on my table.  The only thing I think they are missing is some ribbon around the pots.  Maybe I can pick that up next time I am in town!